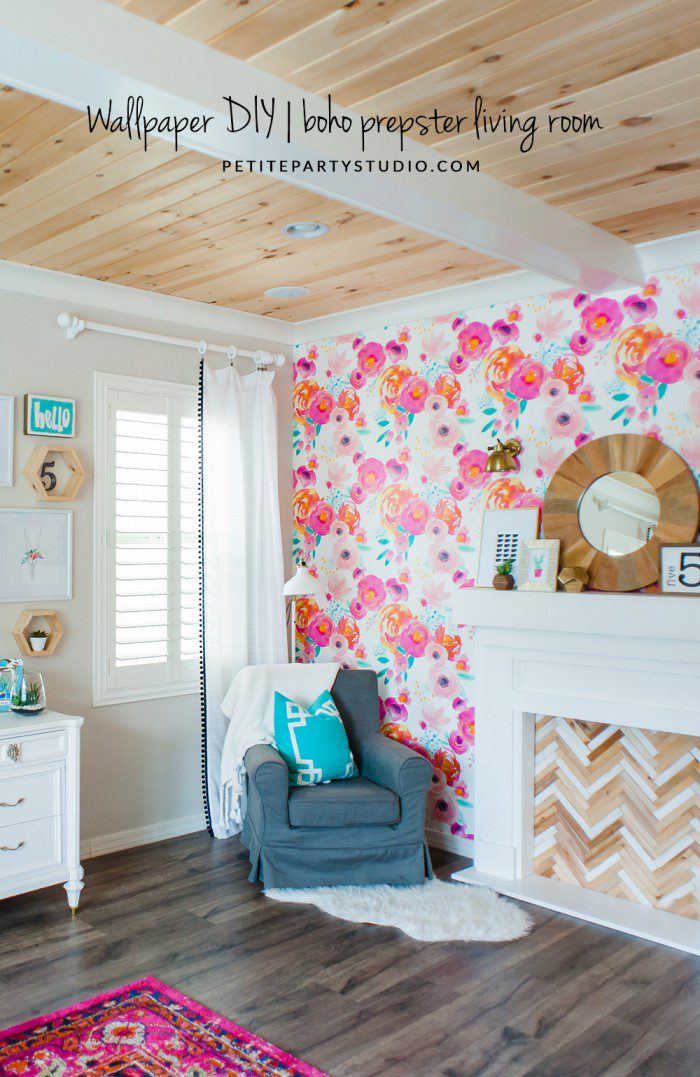
I don’t know if I have EVER been so excited to post a reveal!!!! I am soon excited to share my Living Room Watercolor Wallpaper Refresh Project If you follow us on Instagram you may have seen peeks into my home. We moved in 3 years ago and since living here, I have felt that the main living space needed a BIG impact!! I mean…BIG!! I envisioned bright bold hues, watercolor and florals, and knowing that the only way to achieve that was going to be by bringing in wallpaper. I consider my style Boho-Prepster…a causal eclectic feel with varying patterns and textures mixed with bright, bold colors.
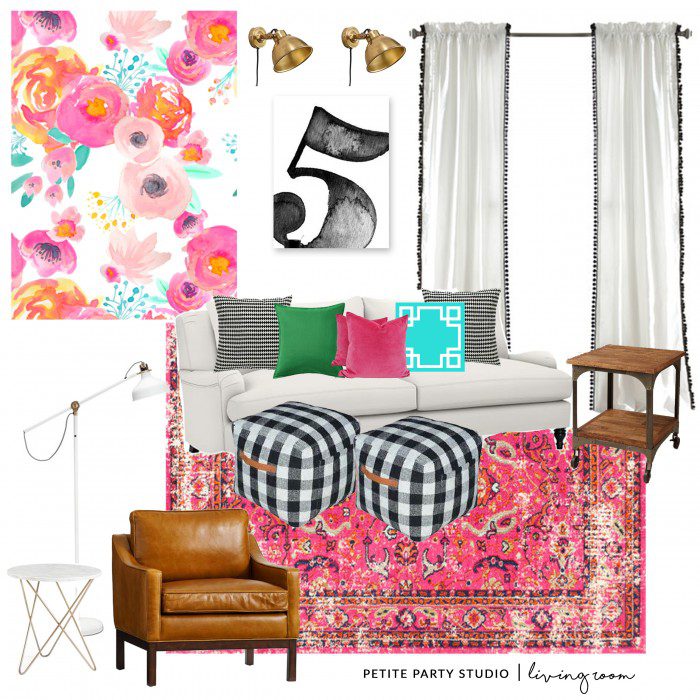
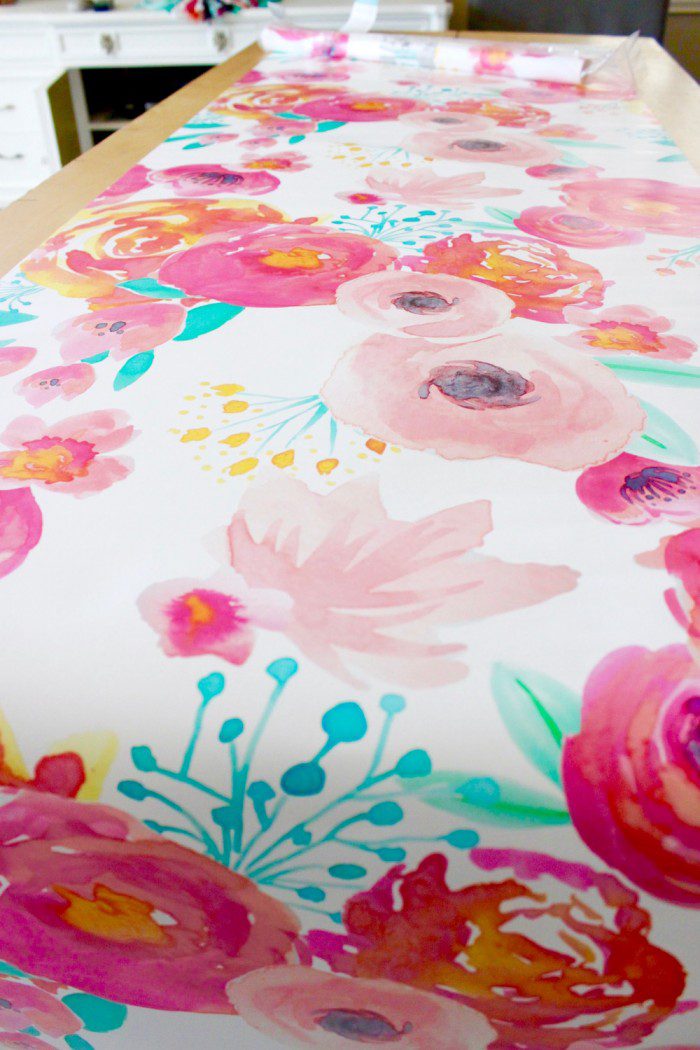
Ok, the first thing people say when I told them I was going to wallpaper my main living space, their first reaction was…”is wallpaper back in style??” Well, being a designer I can tell you that wallpaper has never really been “out-of-style”. In the more recent years with trends and design, wallpaper is not so budget friendly and readily available for the general public to browse unless you had an “in” with a designer that had access to all of its amazingness. Well, that was until Spoonflower. Oh yes, is probably one of my favorite go-to sites to look for fabric and wallpaper. Even better? You can upload your own designs to be printed or sell to the public!! This is brilliant!! Plus it is absolutely budget friendly compared to some of the papers that I considered. I had an idea in my head of exactly what I wanted and after searching their site, I stumbled across an amazing design from Indy Bloom. Her yummy Blush Florals White Wallpaper…large scale, bold colors was EXACTLY what I was looking for. Once I decided that this was the one, I got busy pulling together a mood board to navigate the project. We can chat more about all of the design shenanigans later, but today I am going to talk about how easy it is to hang wallpaper from Spoonflower.
There are FULL instructions in each roll plus a great step by step on line and a video
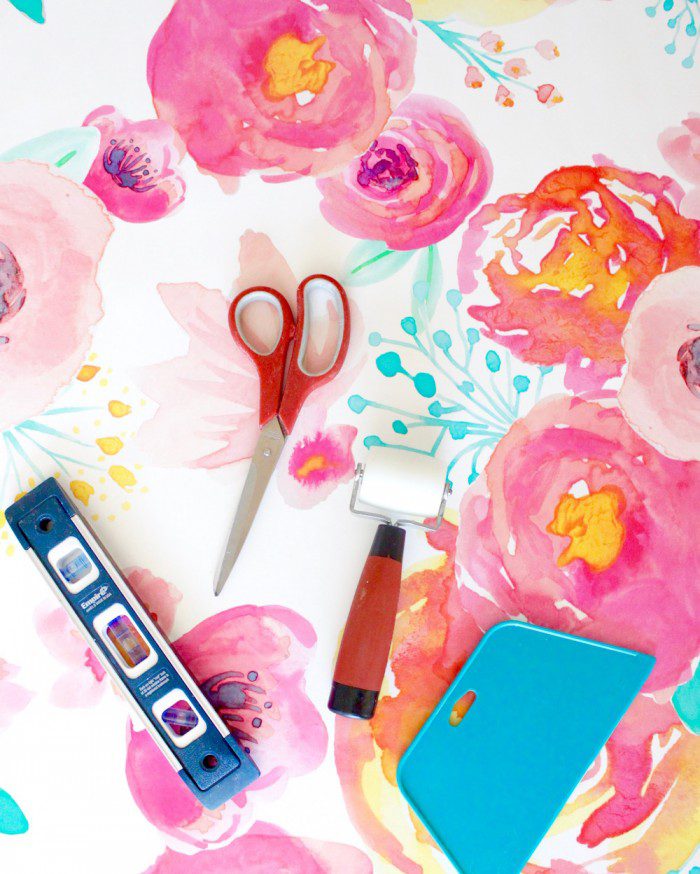
Let’s get started…this what you will need:
A friend that owes you a favor
Paint roller or sponge
Sharp utility knife | Scissors
Drop cloth
Bucket of clean water
Optional: Wallpaper roller & smoother
I had to hold it up to see it in the space!! I was immediately in LOVE!!
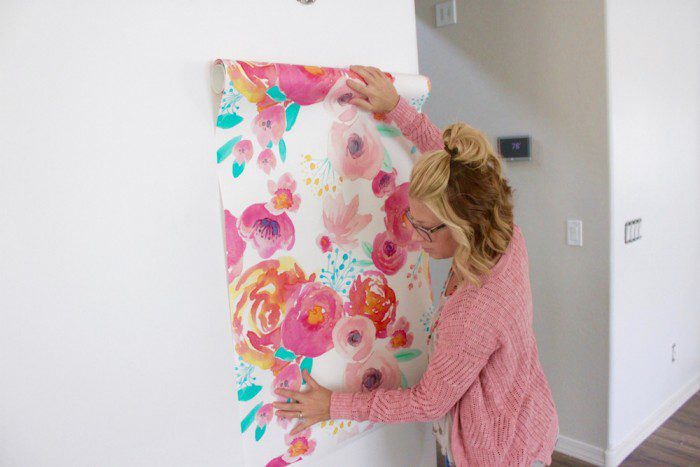
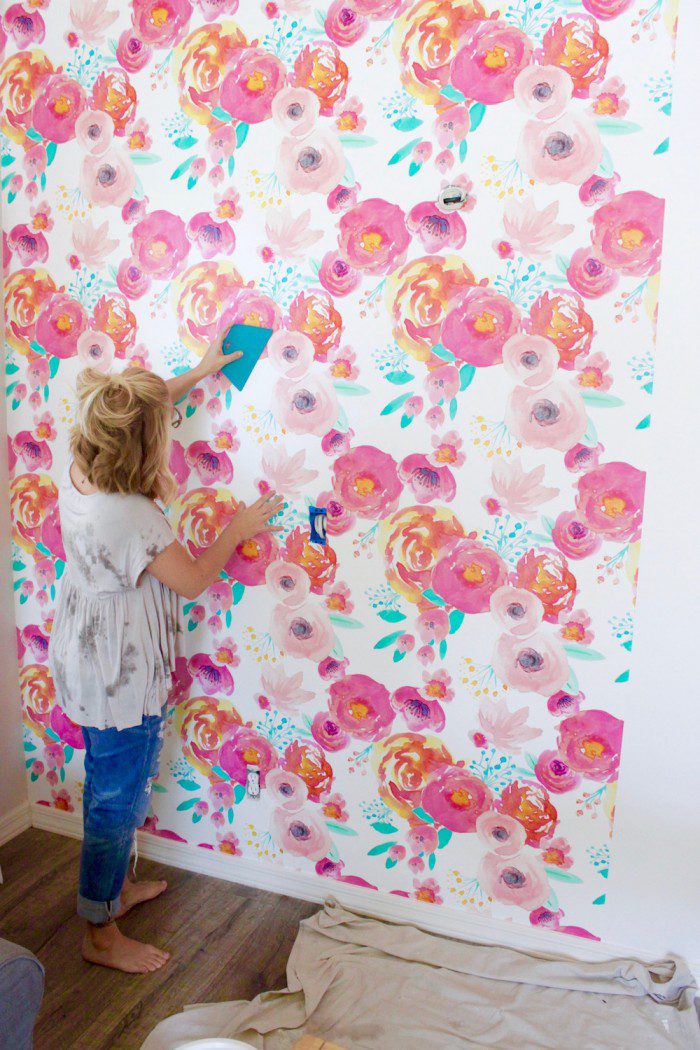
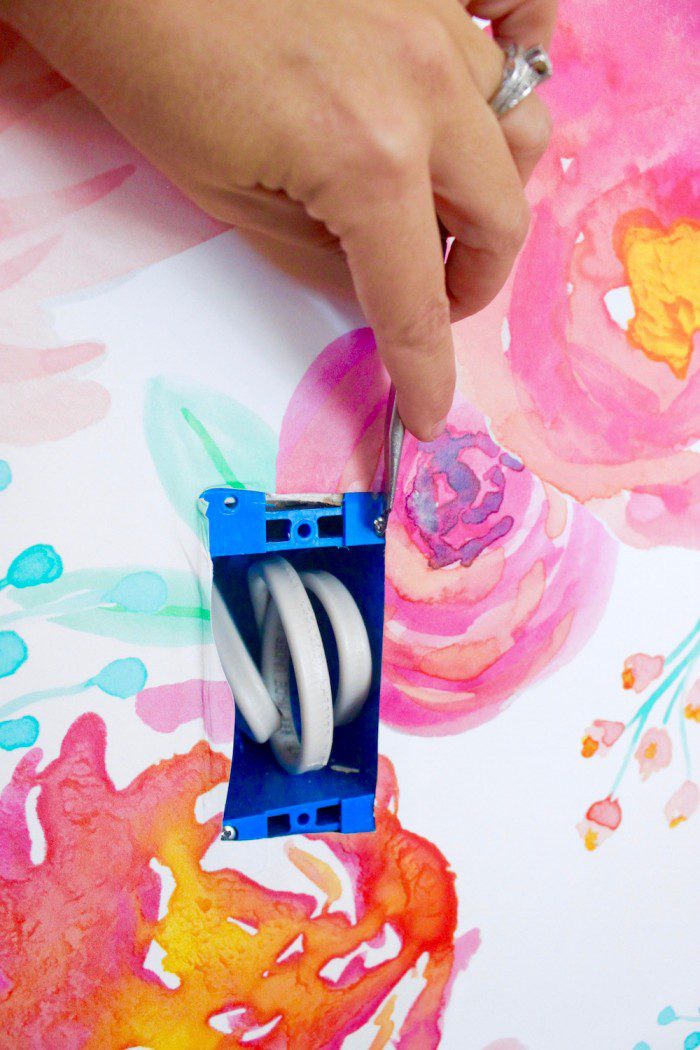
The wallpaper needed to be installed from left to right. Make sure the wall is clean and free of dust.
Start by rolling out your paper and get the paper wet using a sponge, paint roller or trough to wet the back of the paper. Book the paper (SEE full tutorial HERE) and let rest for 3-5 minutes to activate the adhesive.
Once activated, using a level start at the top, align the paper. Once your paper is in position, unfold the bottom half and start to smooth out from top to bottom. You will overlap the next section by 3/4″ being careful to match the repeat.
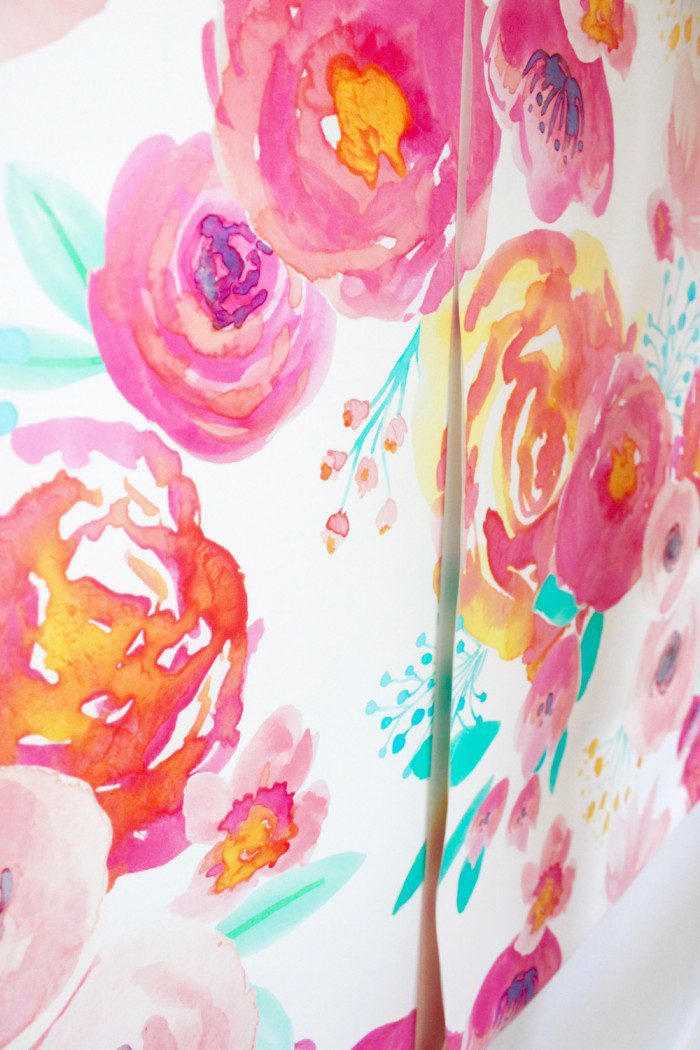 Smooth large air bubble out with your sponge or smoother, smaller ones will go away once the paper starts to dry. Work your way across your wall.
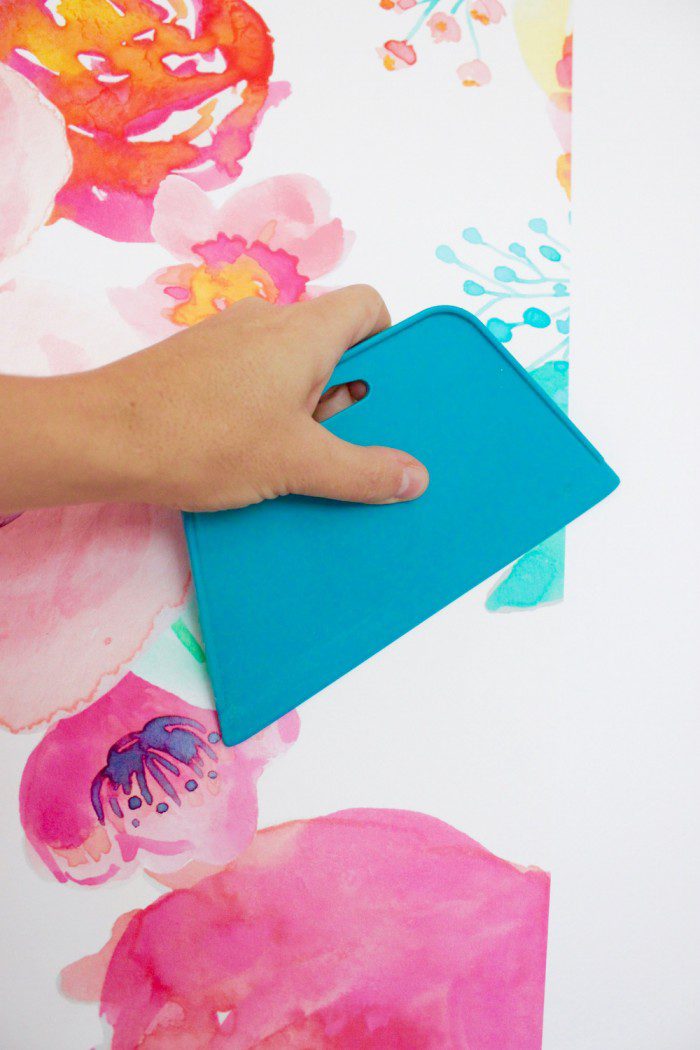
This step was not necessary, but since I have hung wallpaper before, I used my roller at the seams.
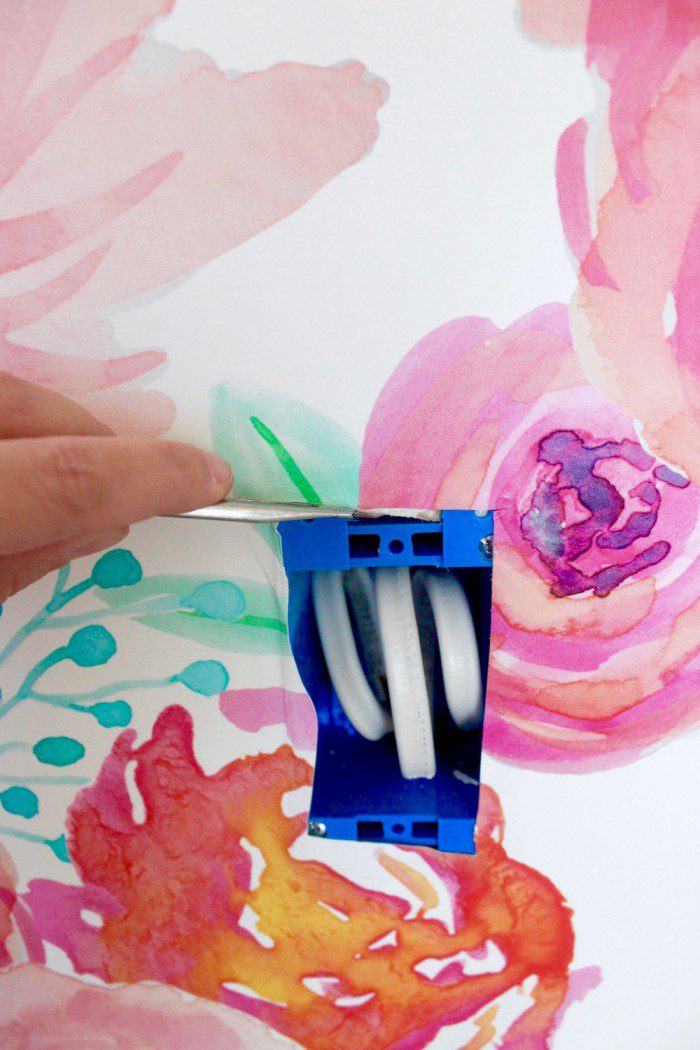
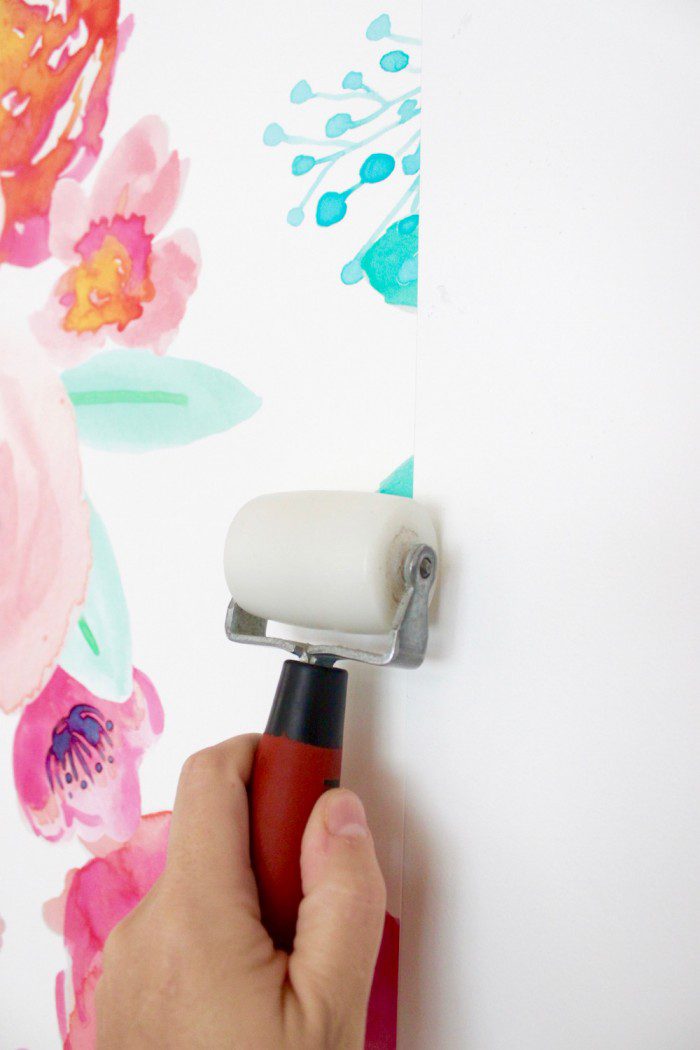 Now that all of the paper is hung, wait 3 hours before trimming.
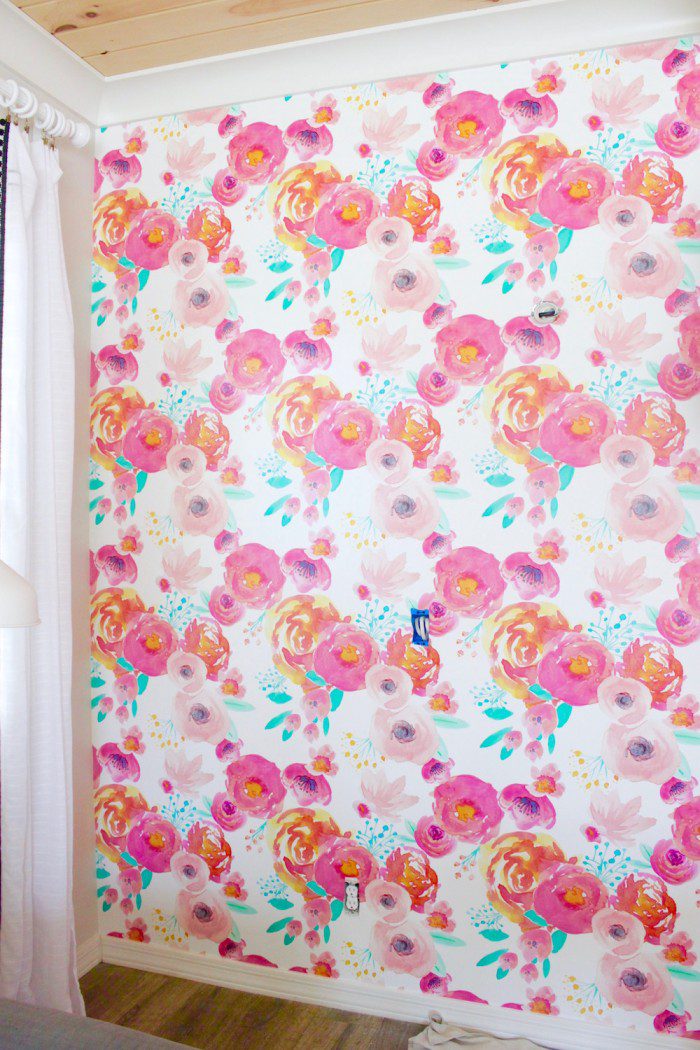
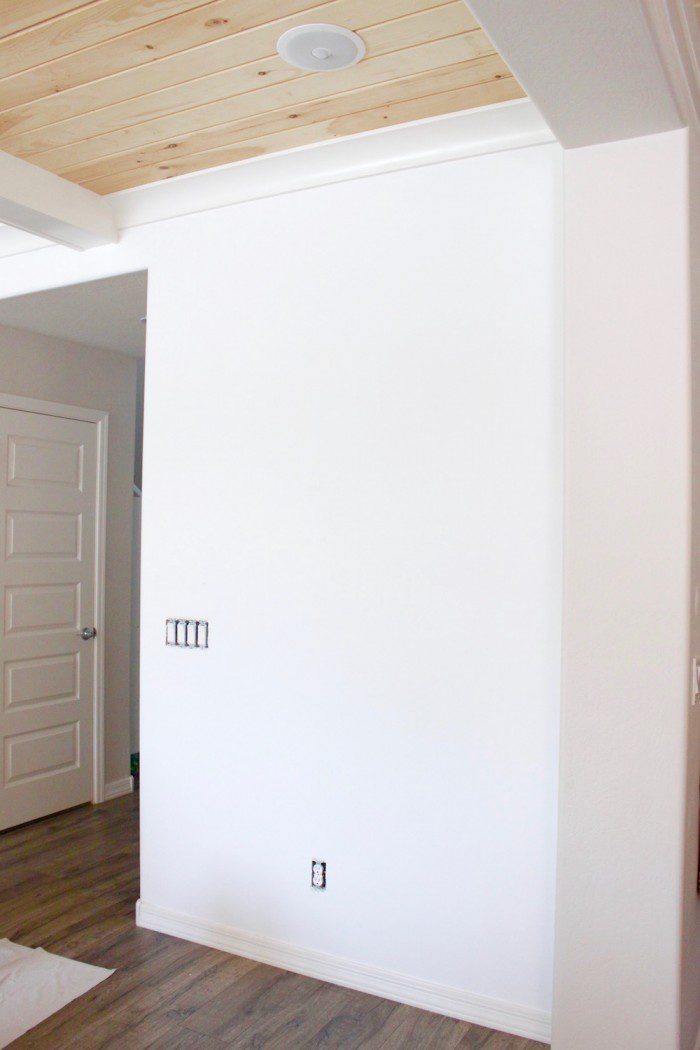
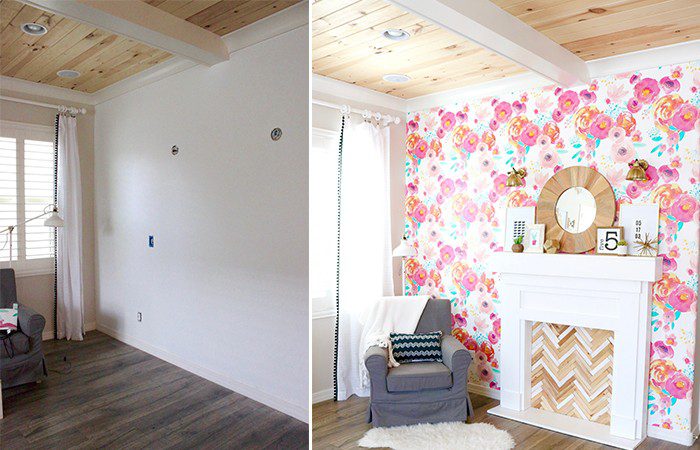
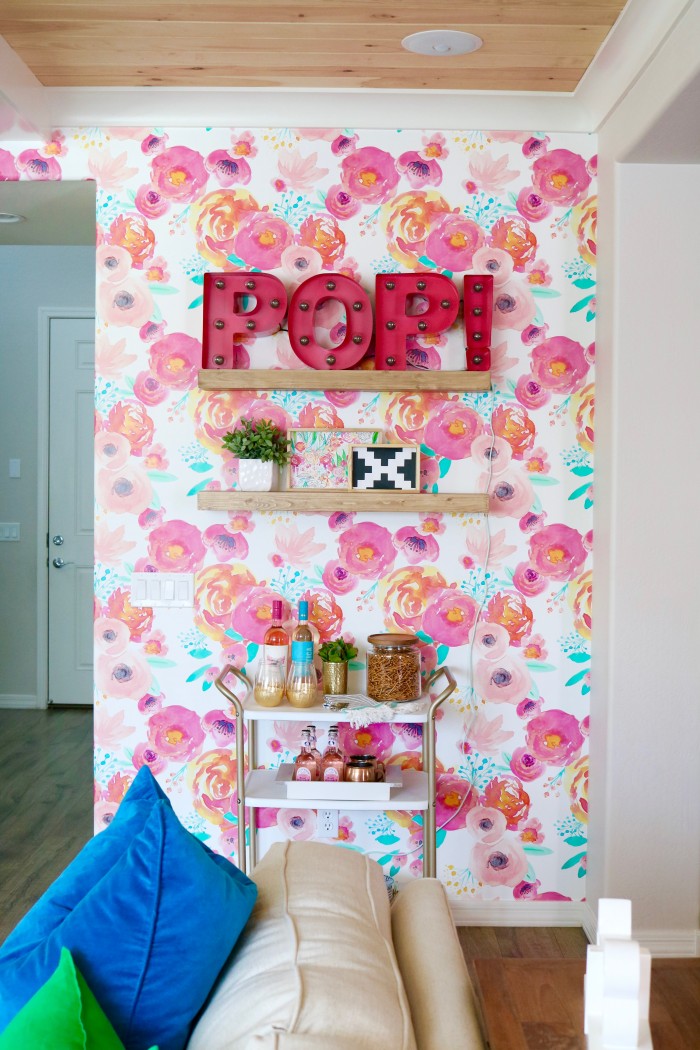
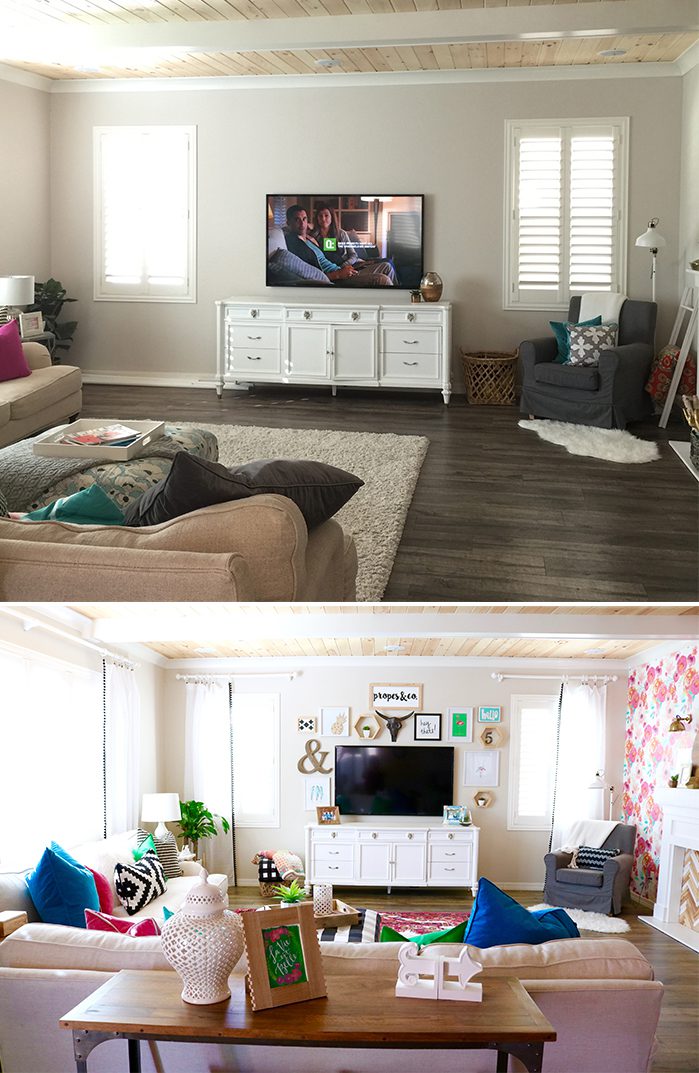
 ok, let’s take a step back and admire a quick before and after of this gorgeous paper!!!! GAH!!!
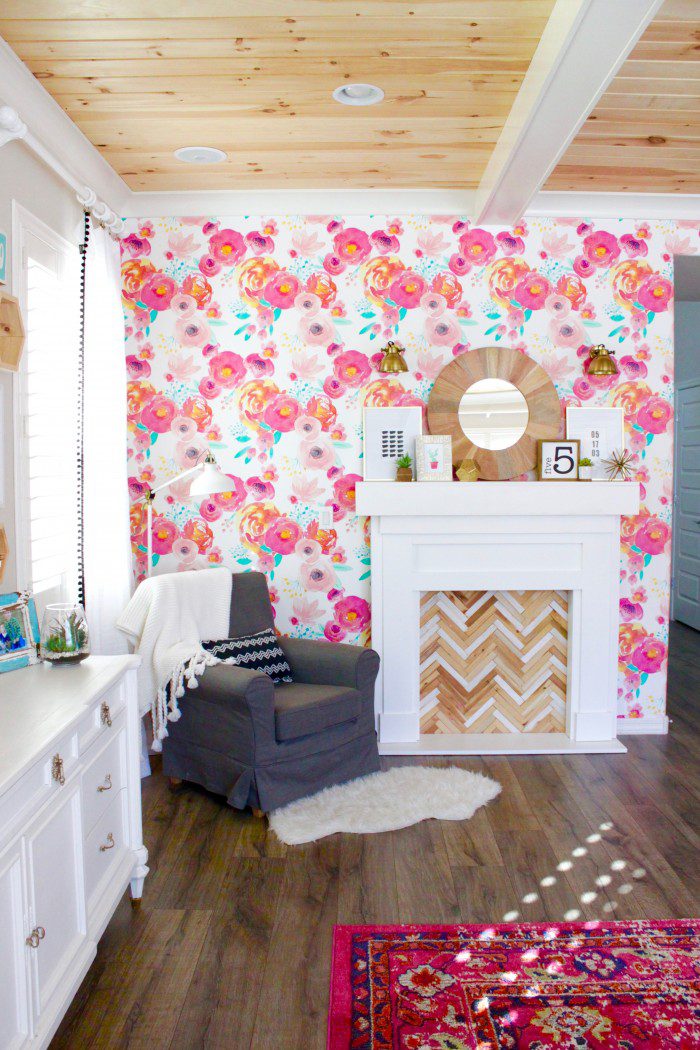
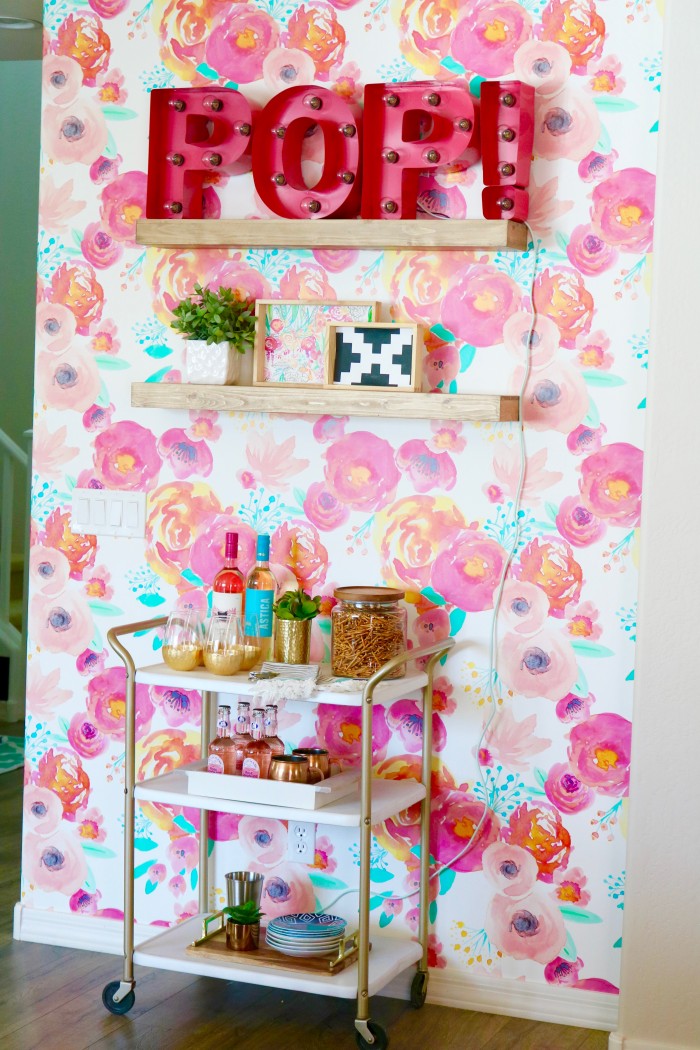
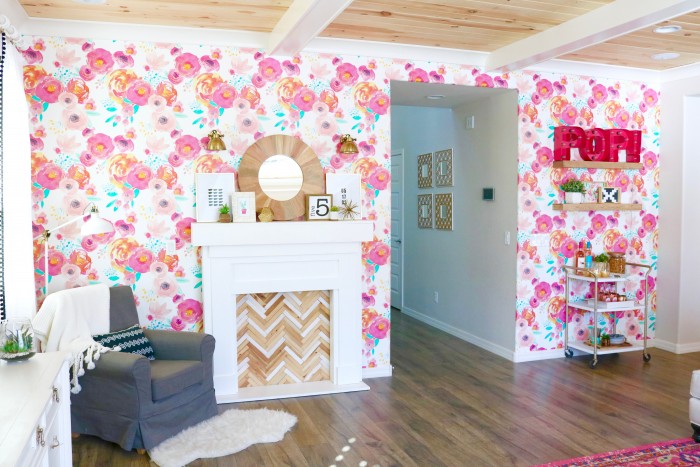
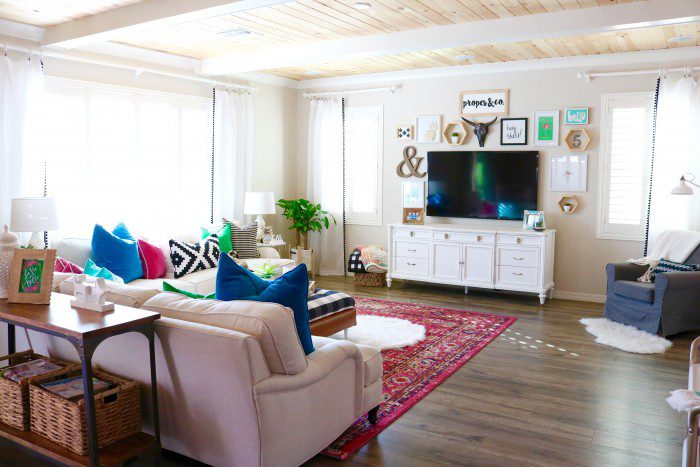
Here is a look at the opposite side of the space, make sure to stop back next week and we will go over all of the design details of the space!
Ok, one last look and another before & after!!!
Do you love it as much as I do!?? I am already picking out wallpaper for my next project!! Head over to Spoonflower and see all that they have to offer!!! Don’t forget to check back next week to see more pics from this living room refresh!
Photography | Everydayness Photography
Design & Styling | Rebecca Propes, Petite Party Studio
Wallpaper | Spoonflower, Indy Bloom Blush Florals White
Disclosure | Thank you to Spoonflower for sponsoring this post. All opinions and ideas are my own.

Tori Tai says
It looks GORGEOUS! What a happy space 🙂
Rebecca says
Thanks girl!!!!
Stephanie Mosby says
This room screams fun! and that is exactly what I am trying to create in my daughters shared bedroom. I have a crush on black and white buffalo check and pom pom drapes, and you even used those too!! Now to find this fabric in more bluish hues bc my daughters favorite color is indigo/ periwinkle and aqua. know of any? Hopefully I can get the ball rolling. Love your site and blog. thanks!