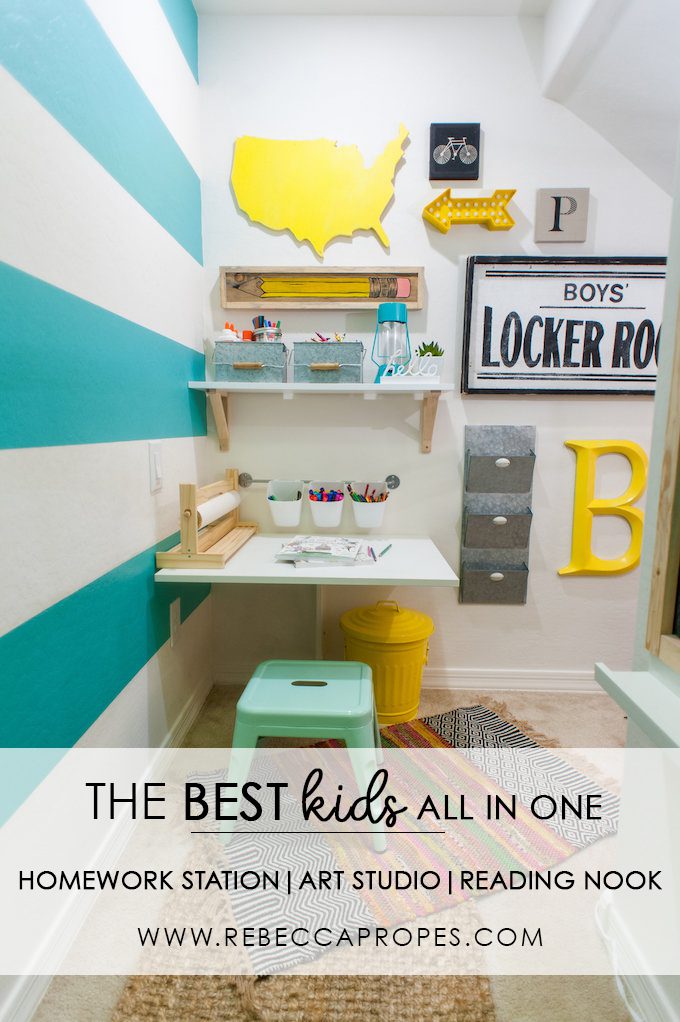
Hello friends! Checking in with another fun project! You may remember my boys under the stairs clubhouse from HERE and last month it receive a small refresh as the purpose of this small s[ace has changed. This is by far one of my most FAVORITE space I have ever created and it get SO.MUCH.USE! A few years ago, it was an unused, under the stairs closet that I converted into a space my kids could use daily. As they have gotten a tad older, this space is ever-changing and right now they spend a lot of time in there. Whether they are curled up reading a book, working on homework or creating a mini art masterpiece…this space is AWESOME and I wanted to create a few things to make it more functional. So let’s take a look to see how you can create a Kids Homework Hideaway, Reading Nook & Art Studio.
Creating a space like this for your kiddos is so much fun and you don’t need a closet to do so. You can simply pick a small corner in a bedroom, office or playroom and set up little zones for them to create & dream with a few supplies from your local Jo-ann Fabric and Craft Store.
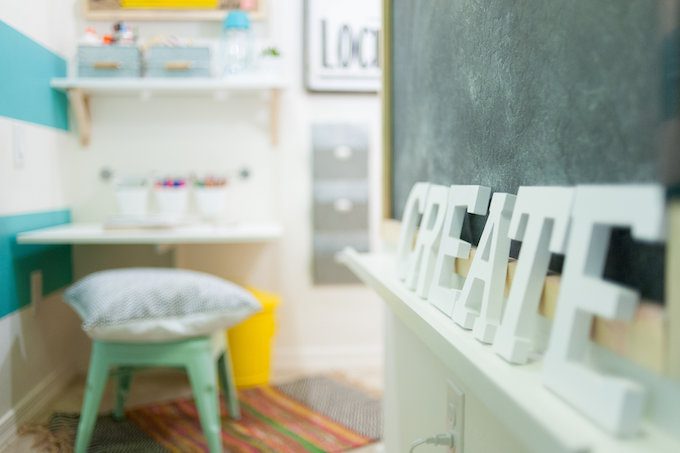
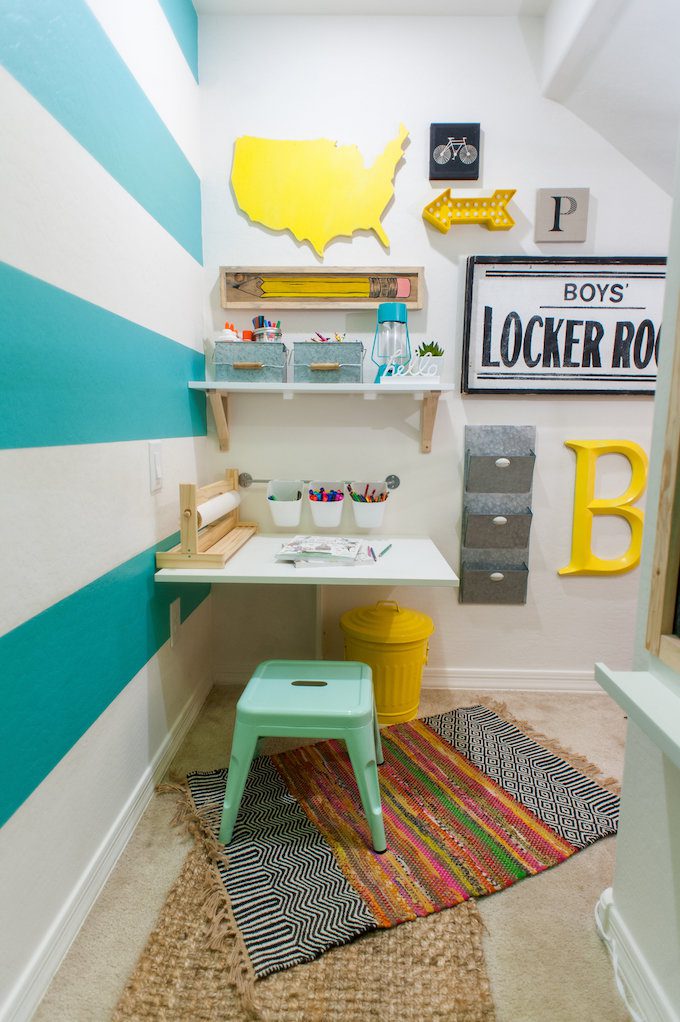
I wanted to focus on creating zones, so when you first enter the space, there is a small wall mounted table that is the perfect area to draw, paint or work on the latest school assignment.
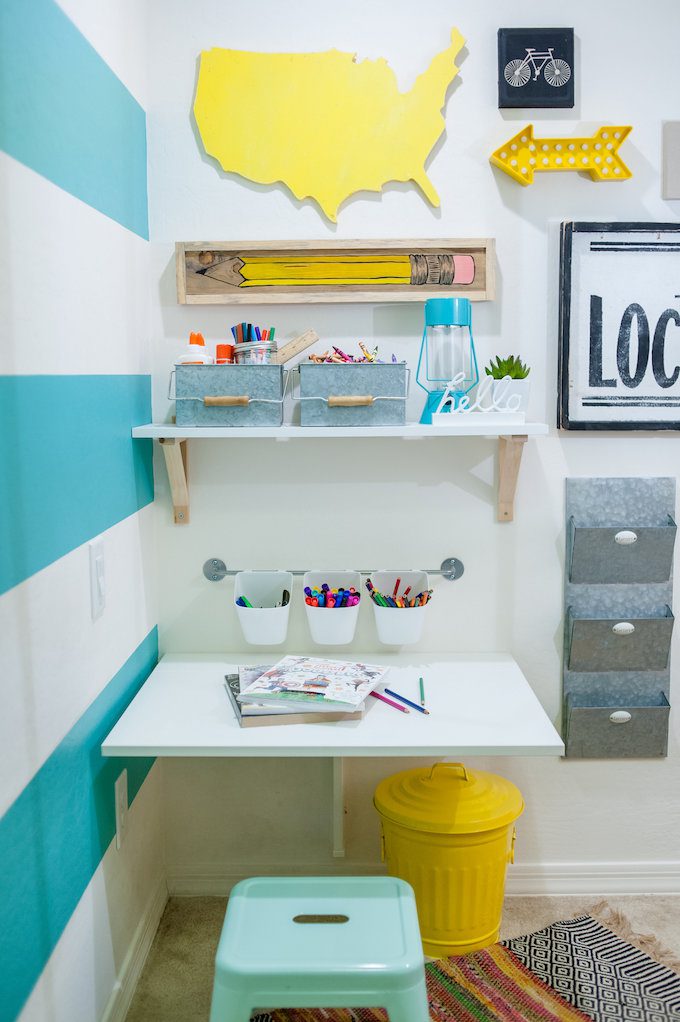
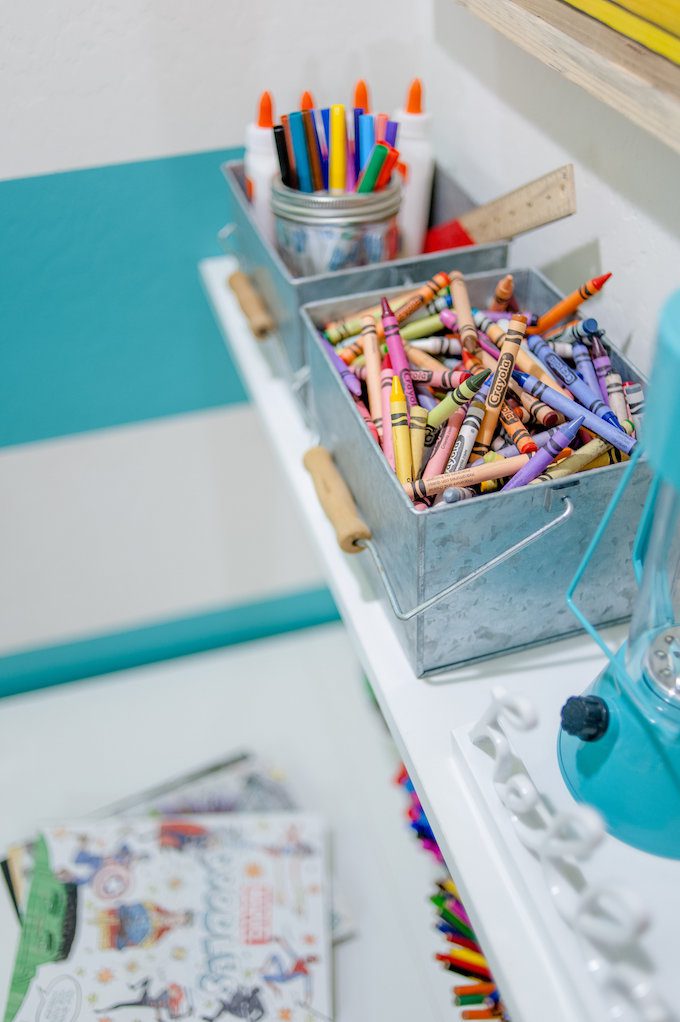
I have all of the supplies they need stored neatly in these galvanized handle buckets …crayons, glue, scissors, pencils and paper punches.
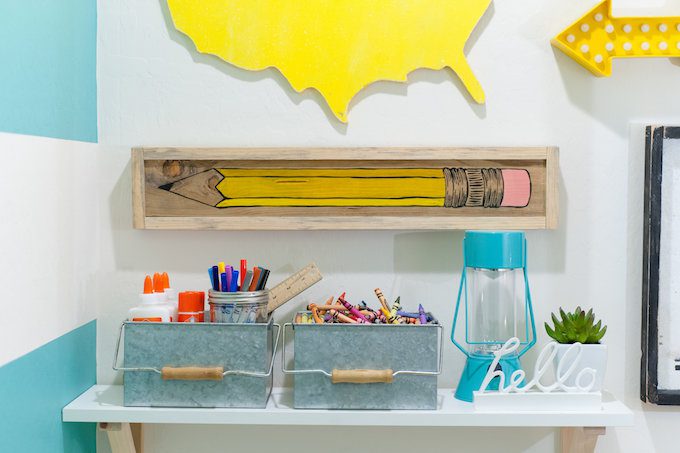
They are perfect for keeping all of their art supplies neat & organized.
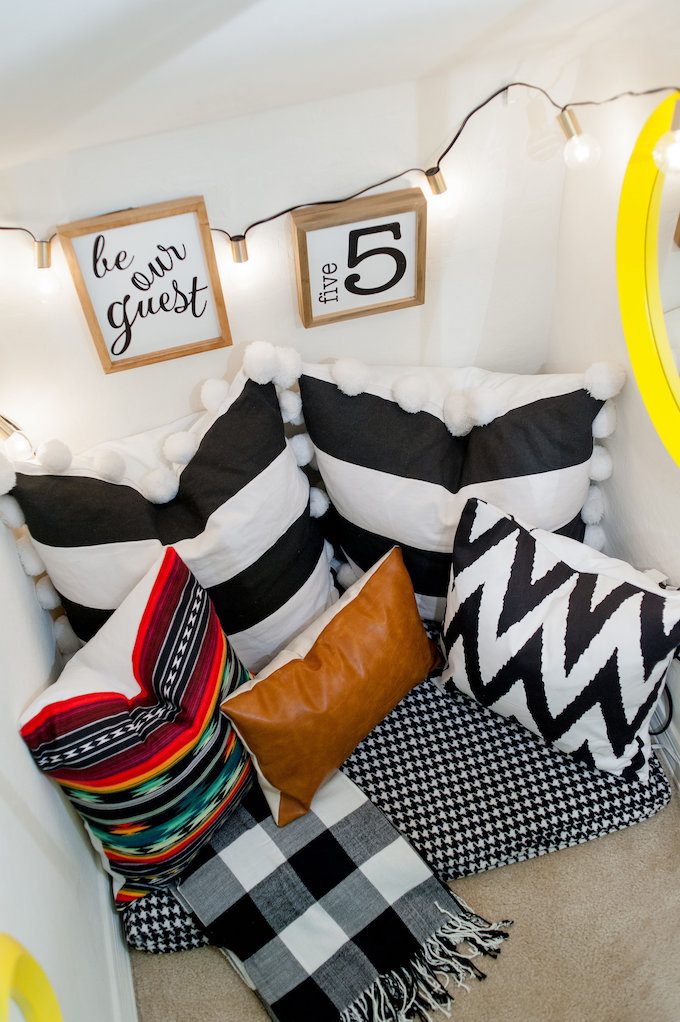
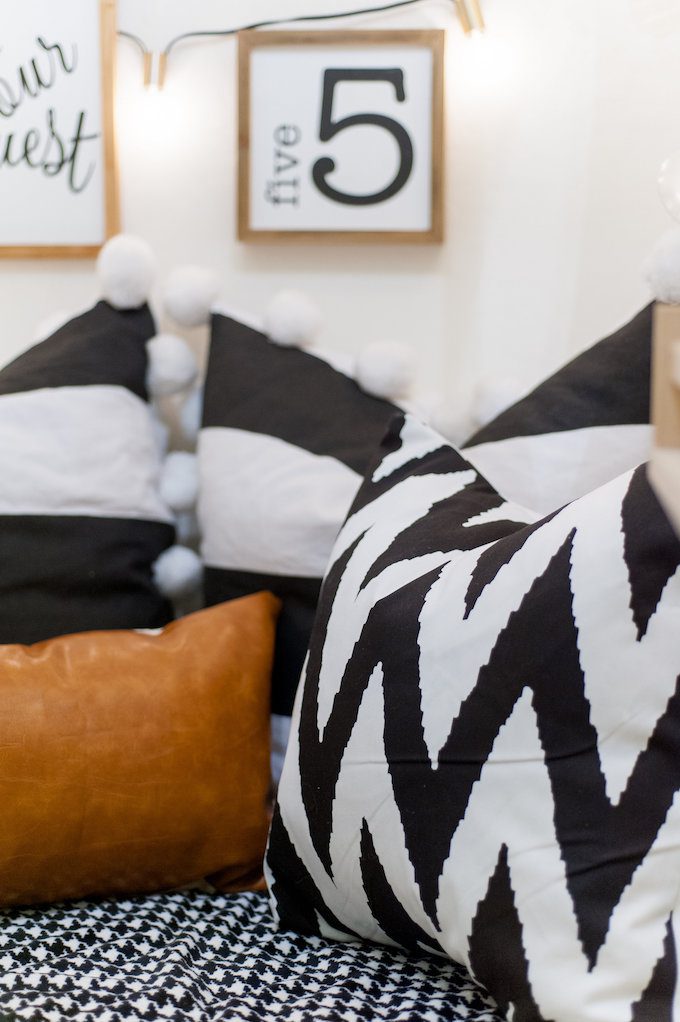
The next area of this space is the reading nook. This space can be easily recreated with a fabric canopy, draped curtain or a bunch a throw pillows tossed into a corner. I love lots of pillows so I sewed up a bunch of simple envelope closure pillows with theses fun fabrics I picked up. The aztec flannel was my inspiration and then I added in two different black & white patterns and this amazing faux camel leather with some ready made pillows that I had on hand. A soft, comfy throw is another necessity to make any reading nook complete.
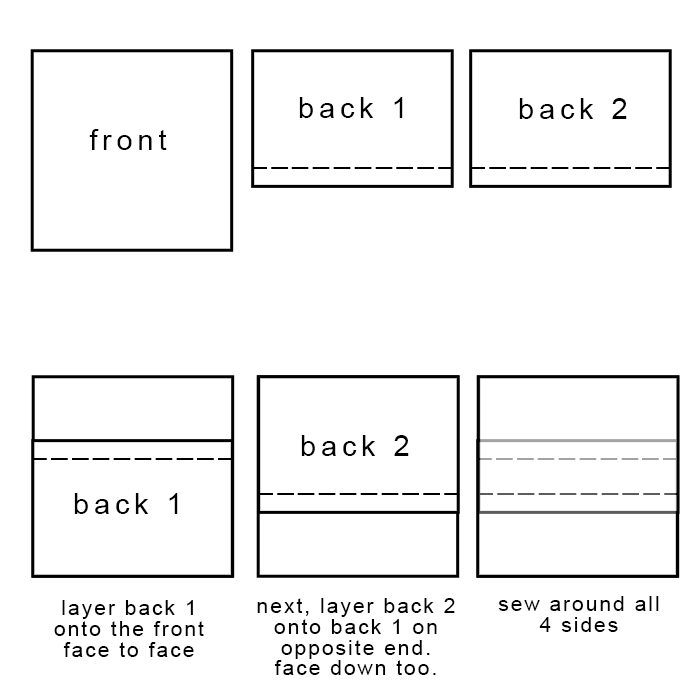
Here are the basic steps I follow to cut and sew my envelope pillows.
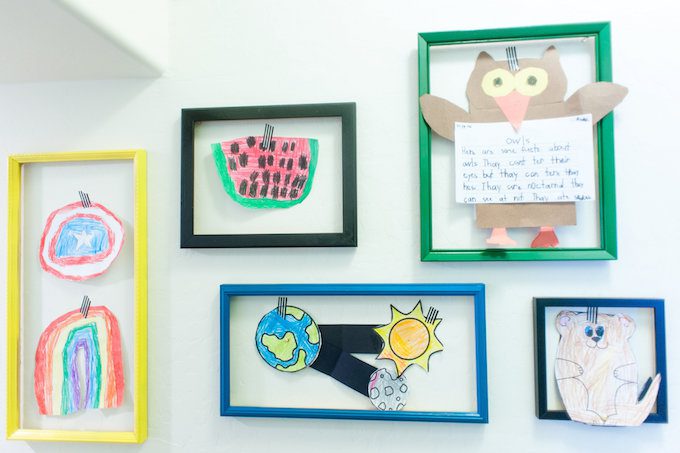
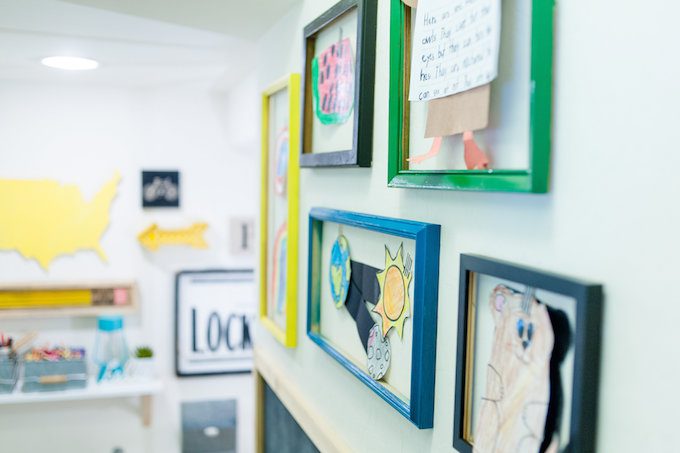
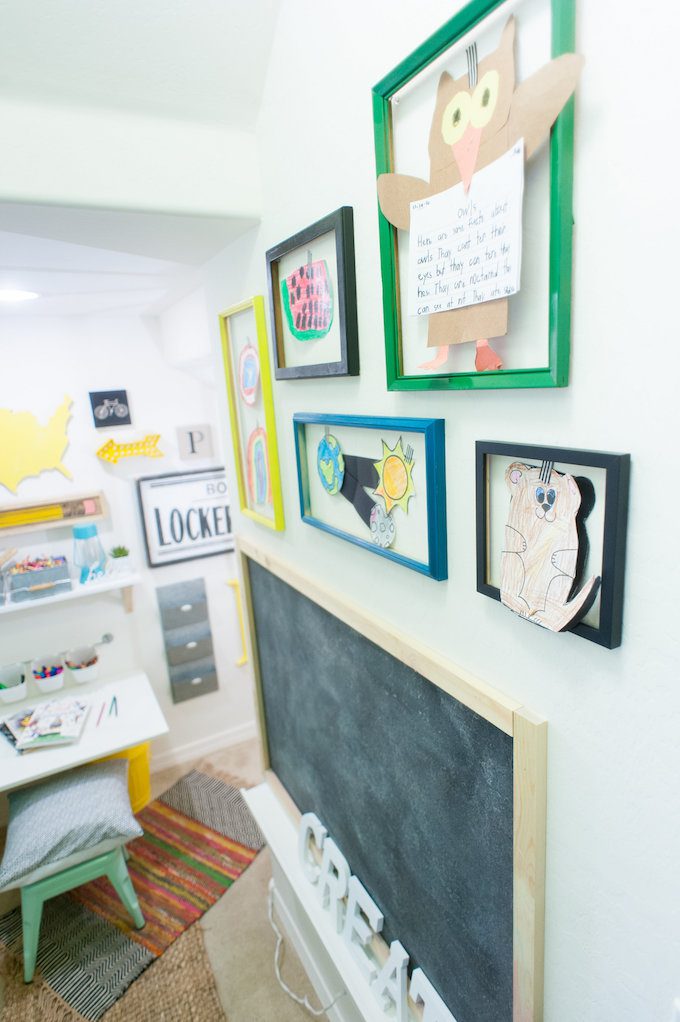
The last area of my kids nook is the art wall. I wanted to create an area that my kids could put their artwork on display. I shopped for some frames and removed the backing and glass so I was left with just the frame. I also found some great “misfit” frames in the custom framing department that I added a quick coat of spray paint to so that I could add them into my frame collage. Once I had the frames arranged the way I wanted them, I could showcase their artwork for everyone to see.
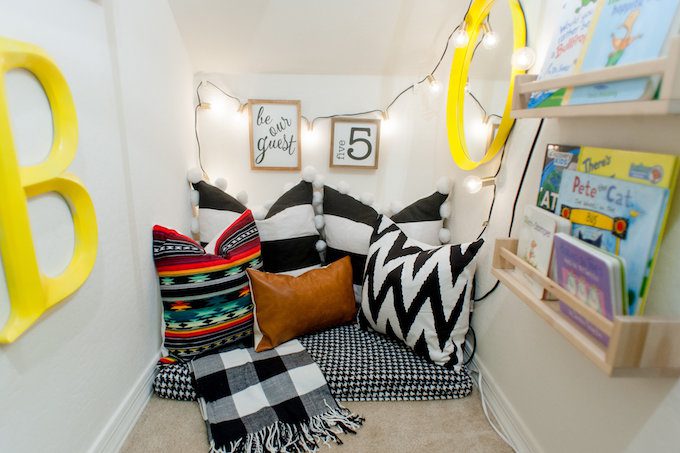
The last little touch for this space was adding in these fun wood letters to spell out the word “CREATE”…I want my kids to always remember to be creative in their thinking.
Ready to create your own Kids Nook? Head to you local Jo-ann Store and pick up all of the supplies to get it started! There are a few more tweaks I plan to make to this space but for now we’re just gonna kick back and chill!

Zarina says
This is the cutest little space! Love how styled and organized it is! Would you mind sharing where the desk and string lights are from?
Rebecca says
Thanks! The string light are from target and the desk is a wall fold down table from IKEA (: