This post is sponsored by JOANN...all thoughts and opinions are my own.
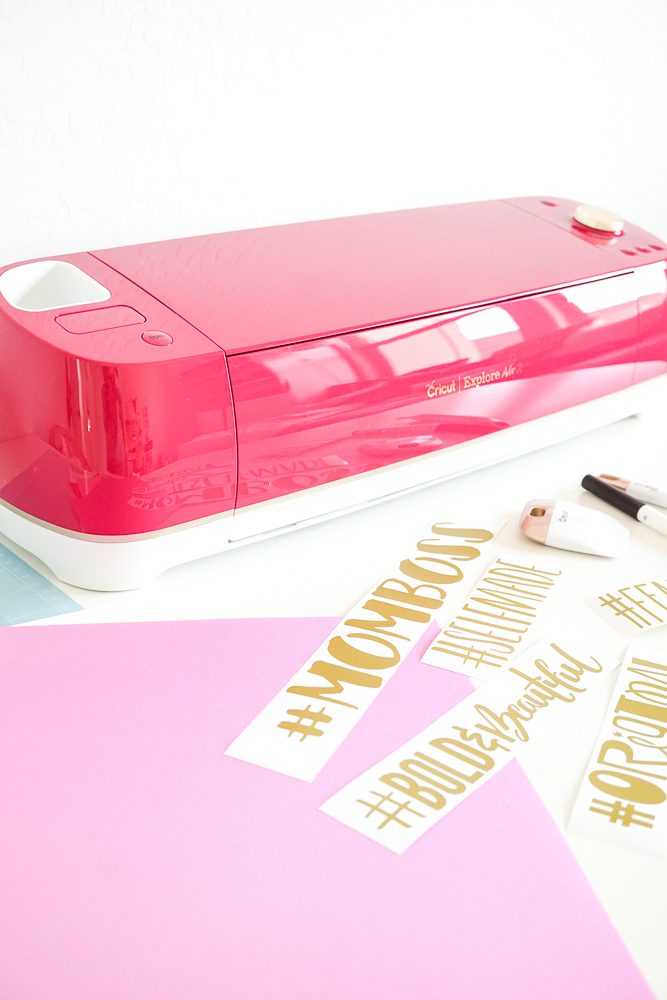
Well hello there! You guys!!!!! Every time Cricut comes out with a new color I fall more in LOVE!!! This time they won my heart over with PINK!!! Yes friends…a PINK Cricut, in fact here it is, the Wild Rose Explore Air 2 Cricut Bundle that is available exclusively at JOANN. and has all the things included to make some pretty amazing projects!!!
Seriously this is such a pretty color and seeing that March is Women’s History Month this color is perfection. Plus…if you don’t already have a Cricut Explore Air 2 this bundle is super awesome! The bundle includes so many amazing things to get you started…
Can you believe this bundle comes with over $100 of included materials!!!
– permanent vinyl
-removable vinyl
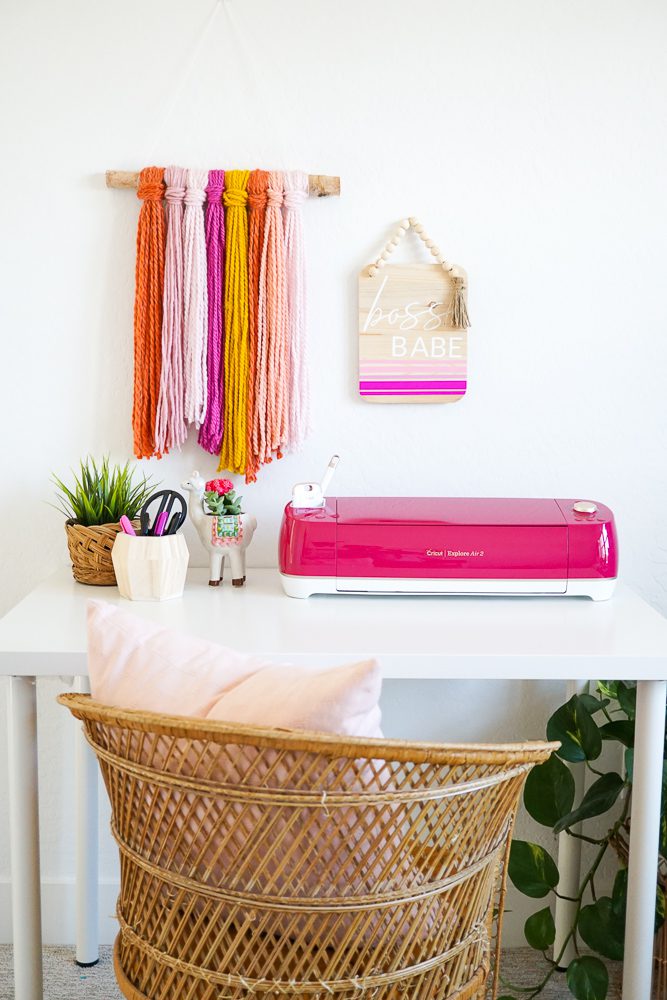
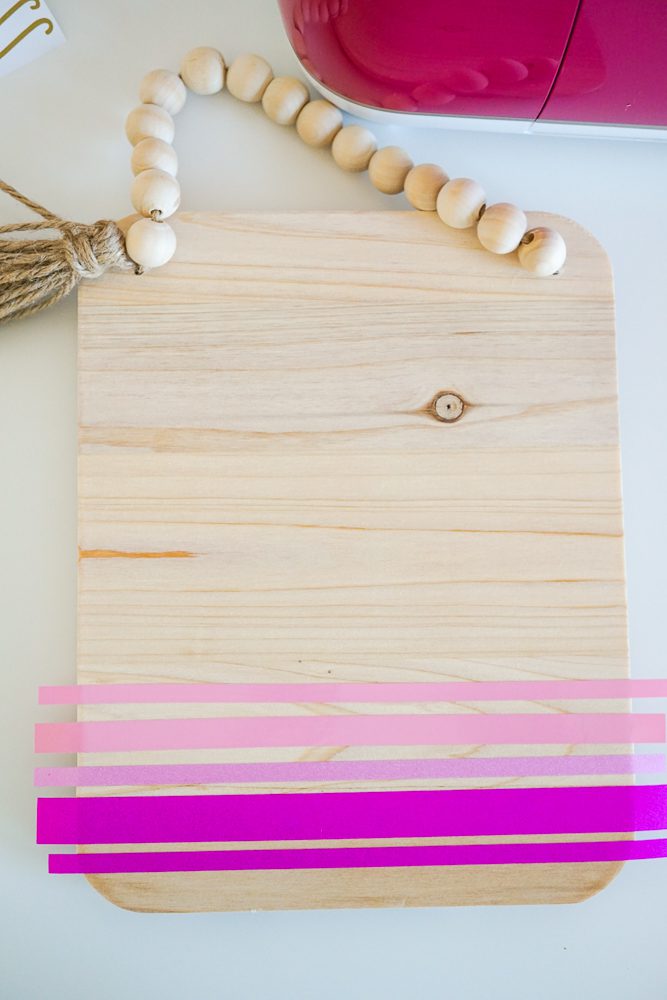
and…NEW shimmer vinyl and printable vinyl plus some tools! Literally everything you need to get your Cricut craft session going! I used the permanent vinyl to cut out a font graphic and some stripes. Ready to go? Here is how you too can make this darling BOSS BABE DIY vinyl and wood Sign. Start with some lines that have various thicknesses and any phrase that says YOU! I used a combo of a script font paired with a block font and spelled out BOSS BABE, in honor of Women’s History Month. A cute little inspirational sign to hang in my creative space!
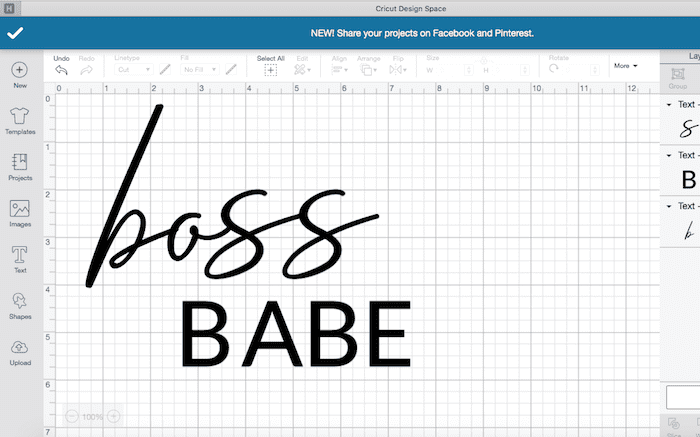
This was created right inside Cricut’s Design Space using free fonts and a basic rectangle shape. Here is how it lays out on the screen.
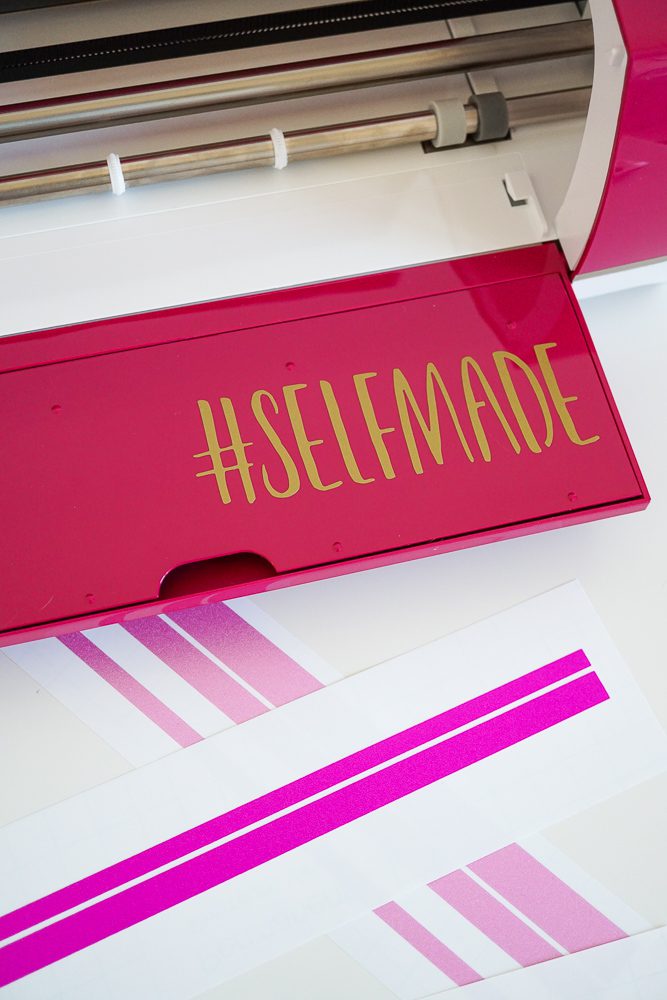
Once I had the file how I wanted it…I loaded the permanent vinyl onto the mat and hit print! All of the things you need to get projects like this done come with the Wild Rose Explore Air 2 Cricut Bundle. Best part? This is such a great project to attempt if you’ve never used a Cricut before and I promise it is super user friendly!!! This bundle even came with these cute pre-cut hashtags perfect for personalizing your machine.
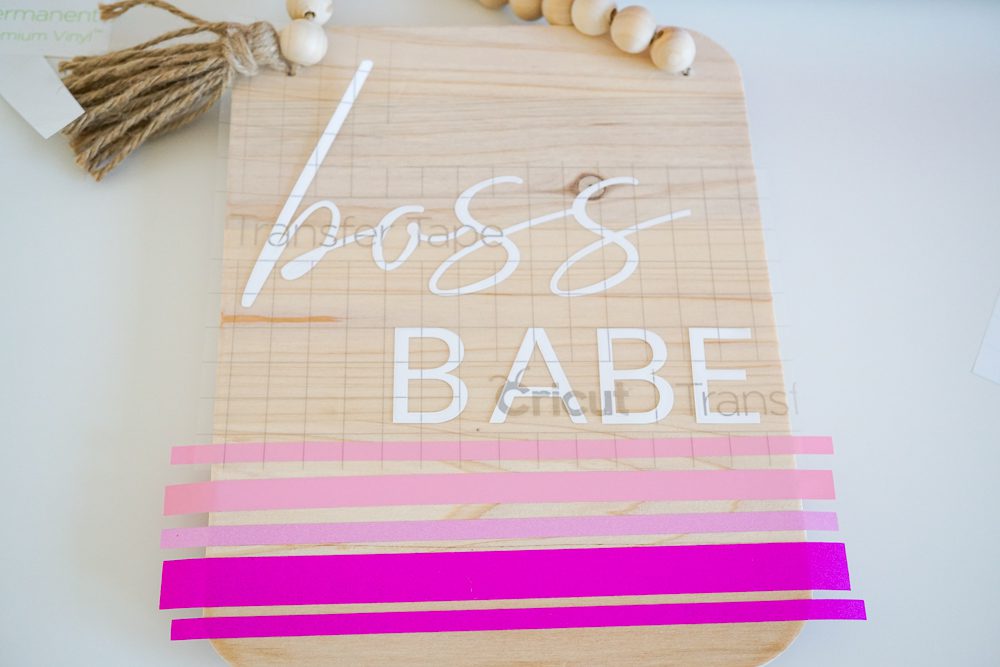
I found this cute wood plaque too, it served as the perfect canvas for my design. Once you have your vinyl cut, remove the part of the canvas you do not want to use and then apply your transfer tape. I did this as a two-part process. First, I laid down the stripes and then layered the type down.
Once I had the vinyl positioned where I wanted it, I squeegeed it into place.
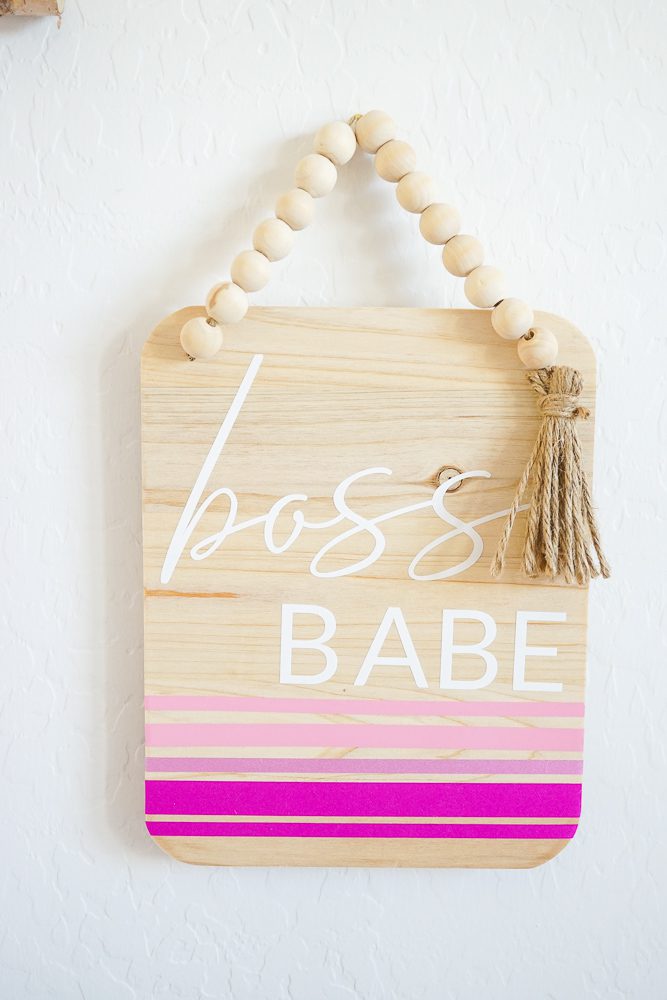
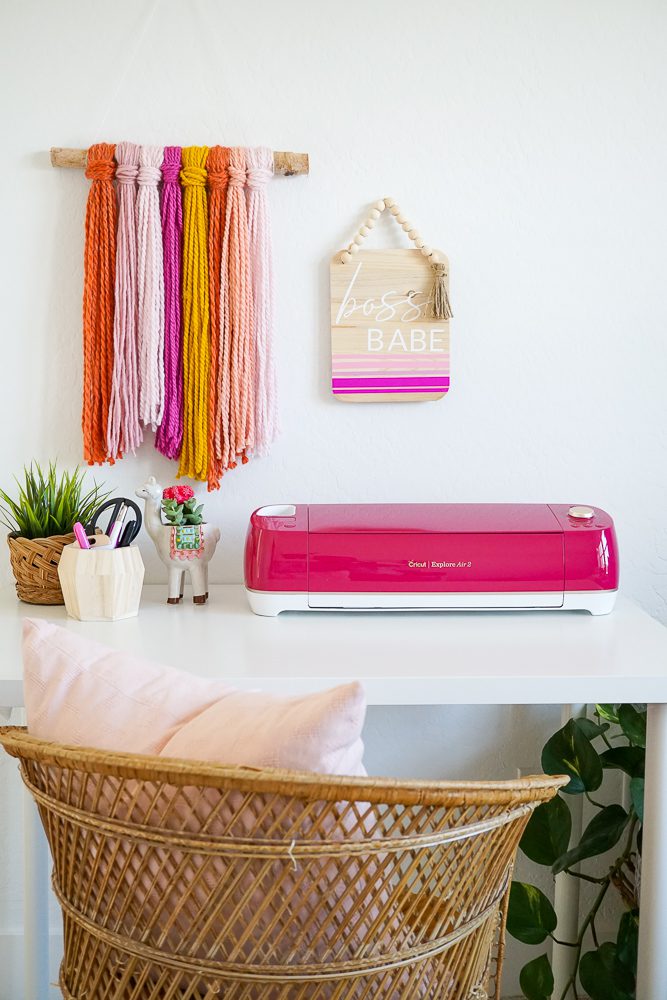
I love the way this turned out, it’s the perfect splash of color and inspiration for my space…are you ready to get creating? Well, run to JOANN to grab your Wild Rose Explore Air 2 Cricut Bundle.
