This post is sponsored by JOANN…all thoughts and opinions are my own.
I know…I know…July seems early for a back-to-school post but over here in Arizona we are on a modified year round schedule and we love it! In fact we go back in just a few short days! Part of me is sad that summer is coming to a close but I do really love to get back on track with a daily routine. Part of our routine involves sports schedules, homework, band days, book reports, etc…so…I decided that I wanted communication about school and supplies in one area, so I found a corner near my entry to create this cute DIY Back to School Homework Station with JOANN.
And…it won’t be long before you are going back-to-school too! So in honor of this time of year I wanted to come up with a no fail solution to keep my kiddos on track and make sure everyone is ready for school! Ready to see how to create your own little school command center?
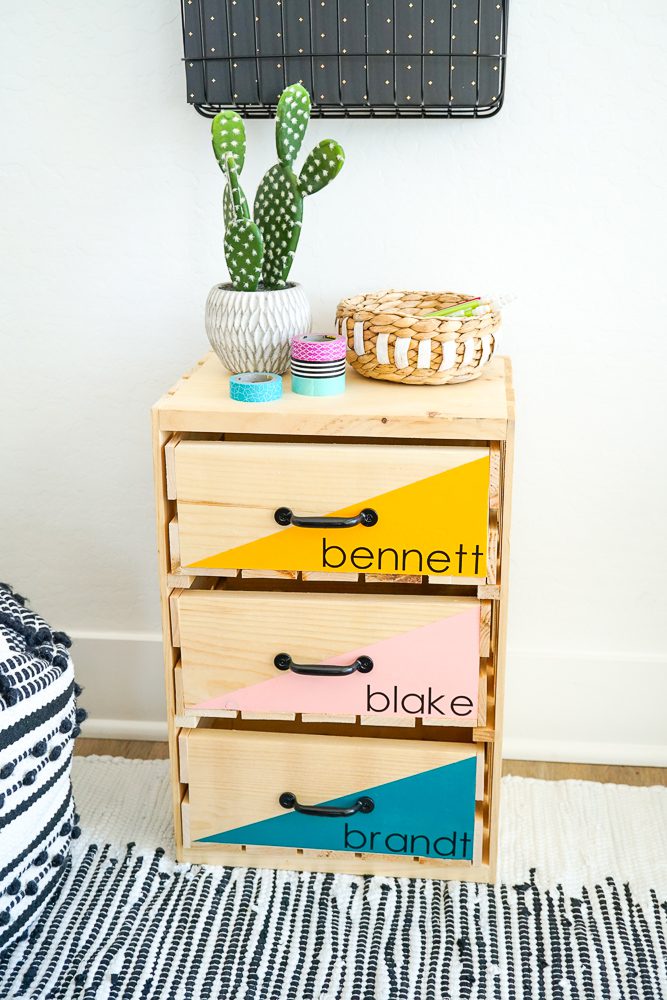
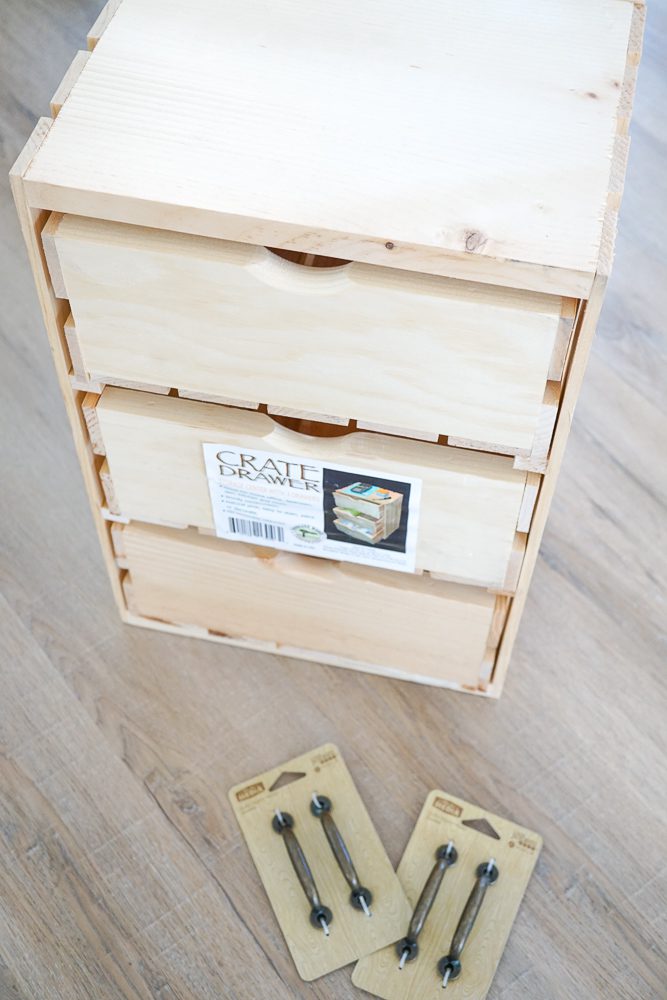
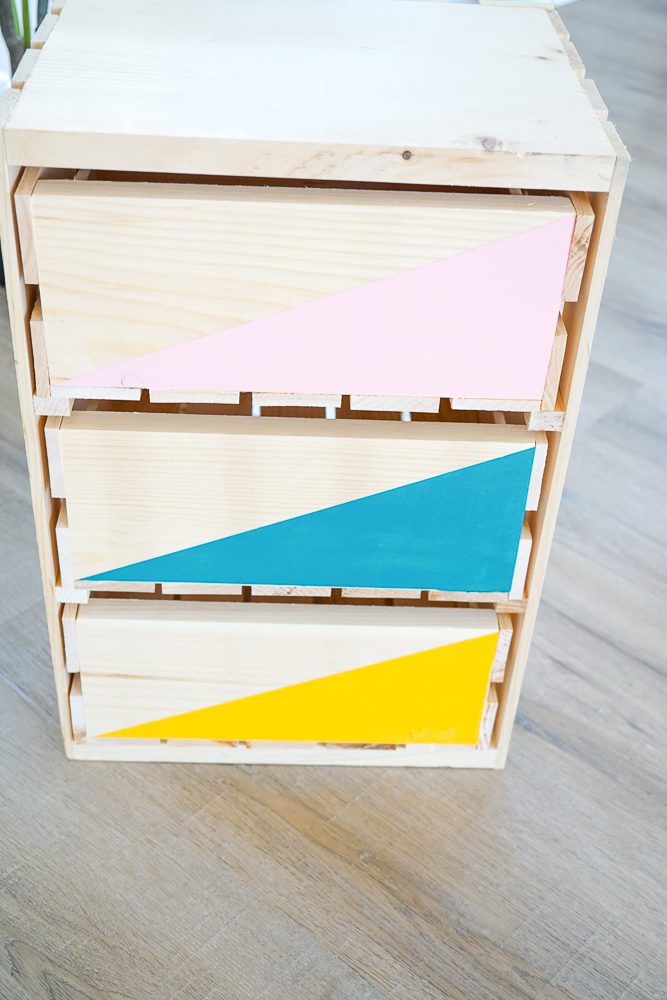
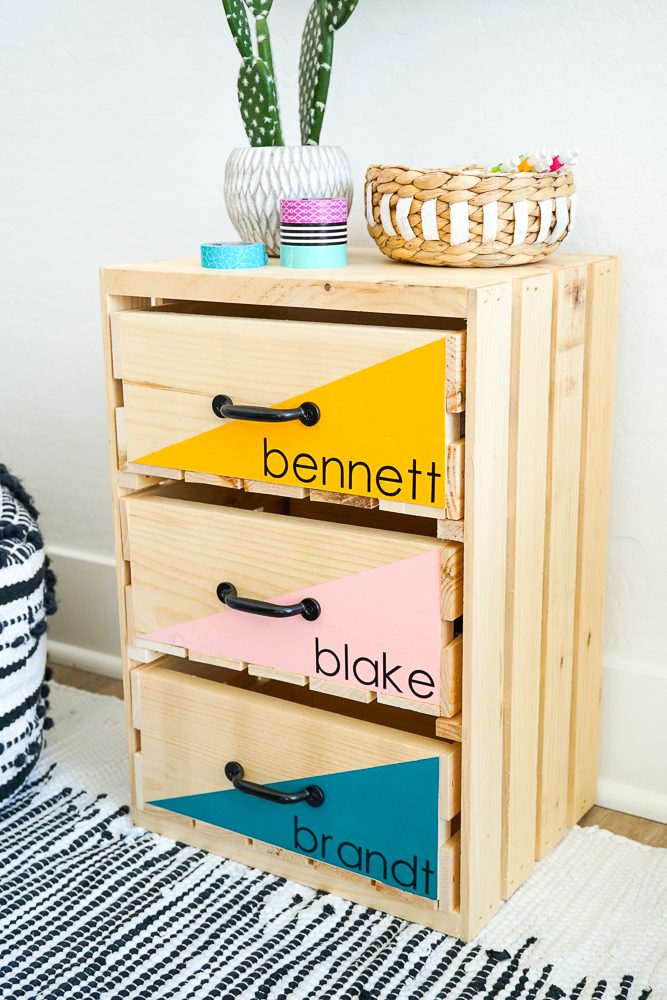
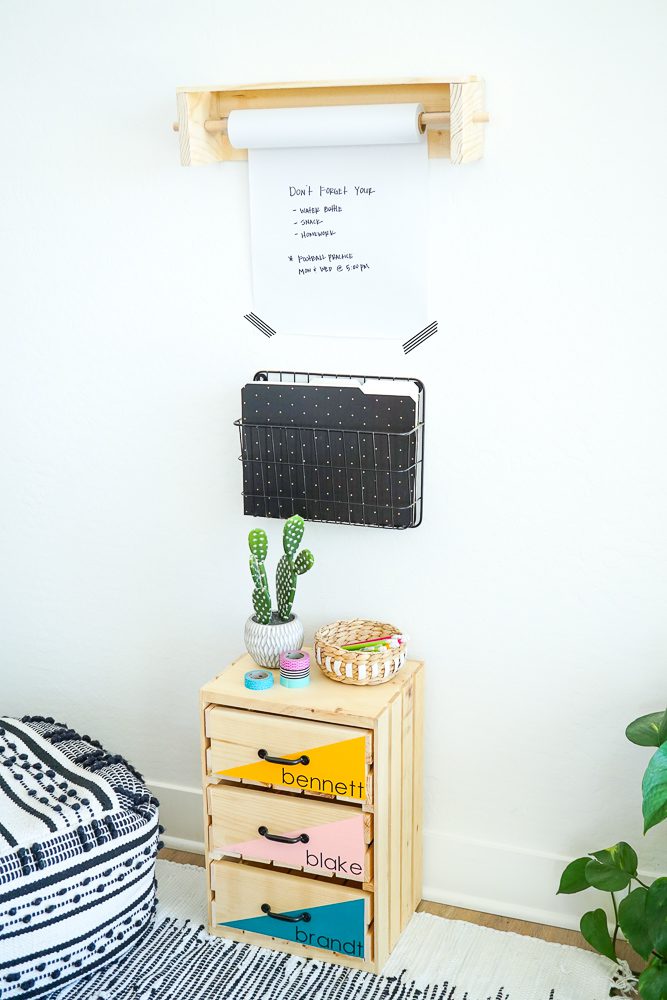
I headed out to my local JOANN store and grabbed all of the items that I needed to create this project. The main item that I found that was the inspiration was this 3-drawer crate.
I have 3 boys so I thought that assigning them each a drawer would help to keep them organized and responsible for their own supplies that they will keep at home to complete homework and projects.
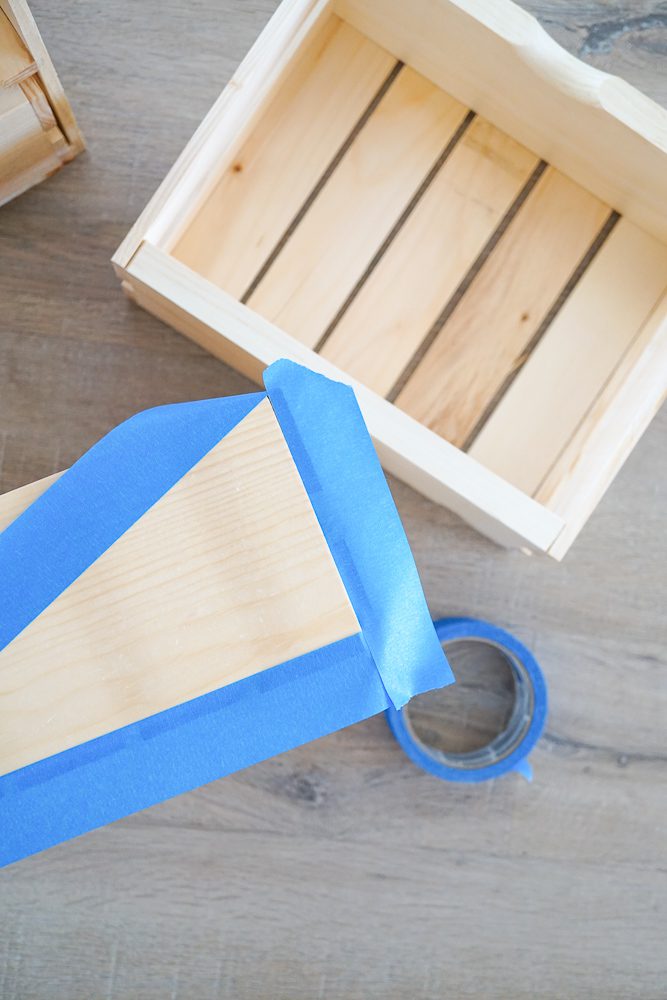
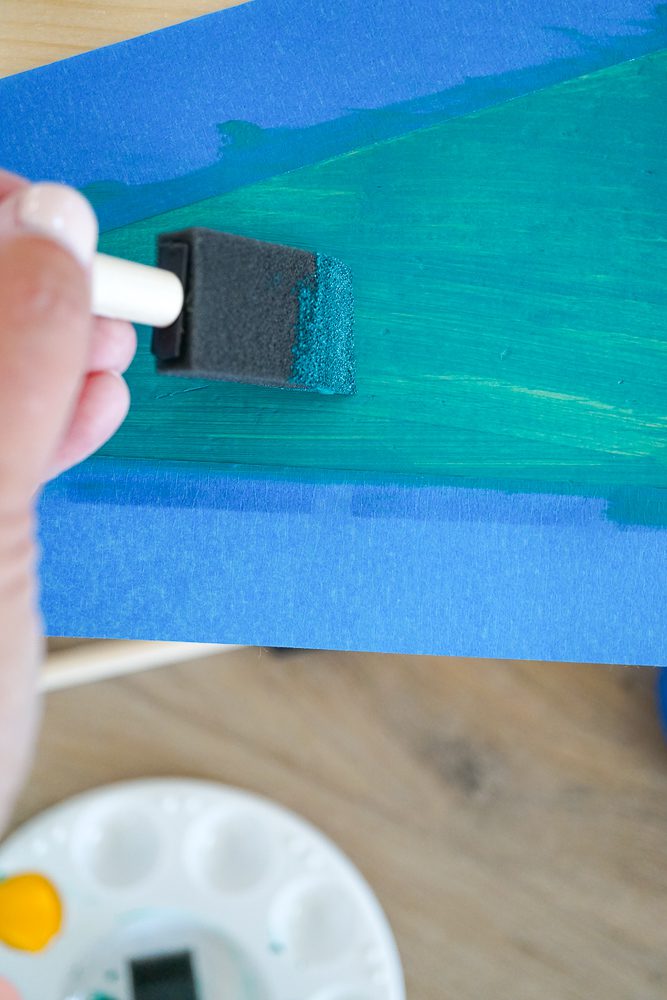
I started off by taping off the fronts of the drawers with painters tape. I wanted a geometric pattern on the fronts in different colors so I opted for some basic acrylic craft paint.
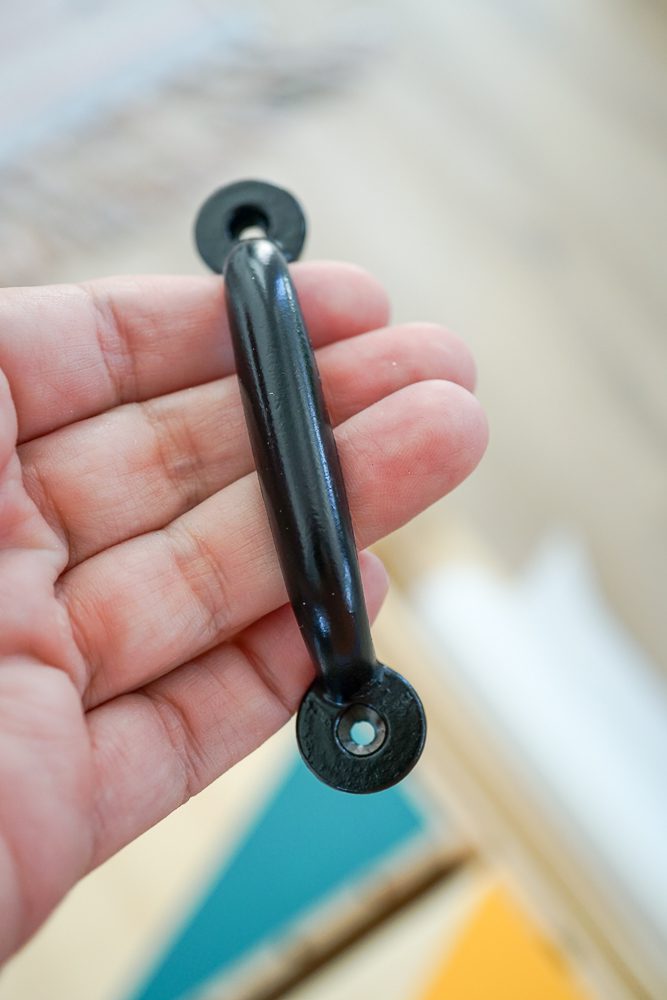
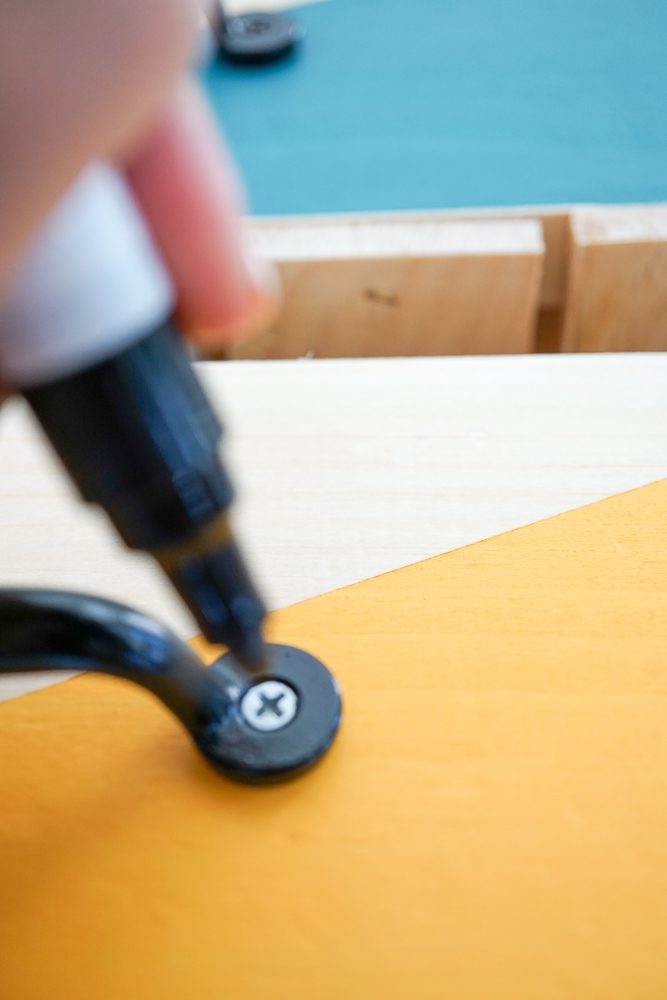
Once I had all 3 drawers painted I attached some pulls…the drawers did have a small cutout for a hand pull but I decided to turn the drawers around and add hardware.
Once this part of the project was complete, I added their names in black vinyl using my Cricut to the fronts of their drawers.
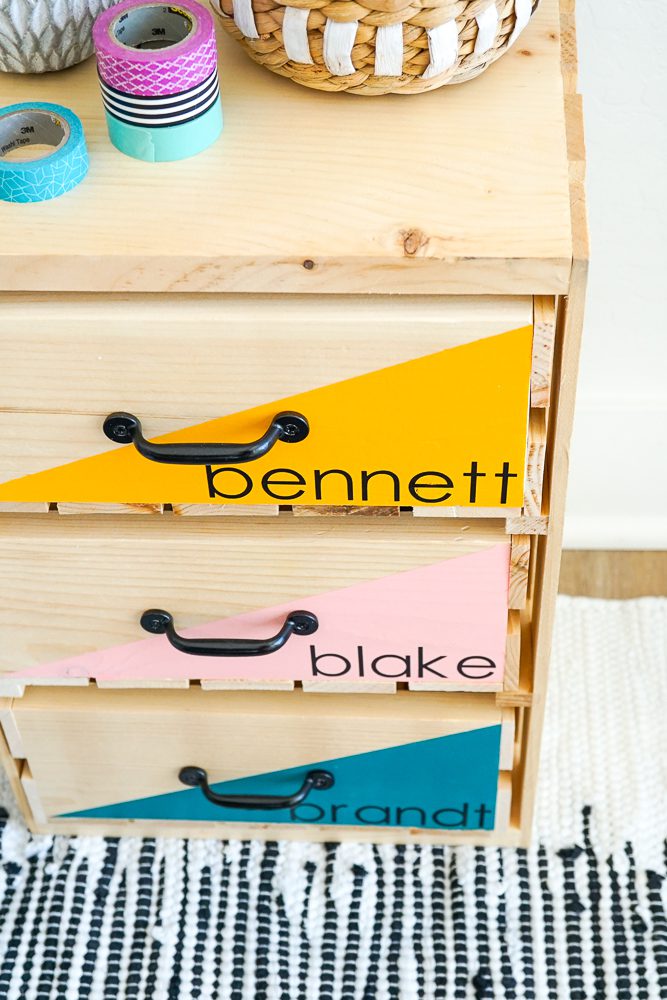
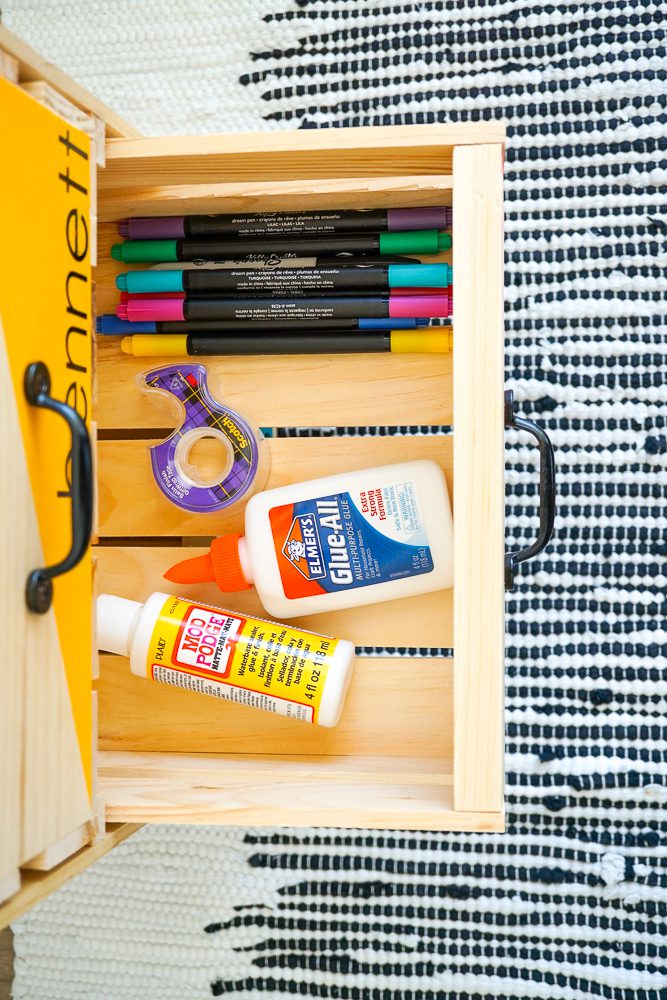
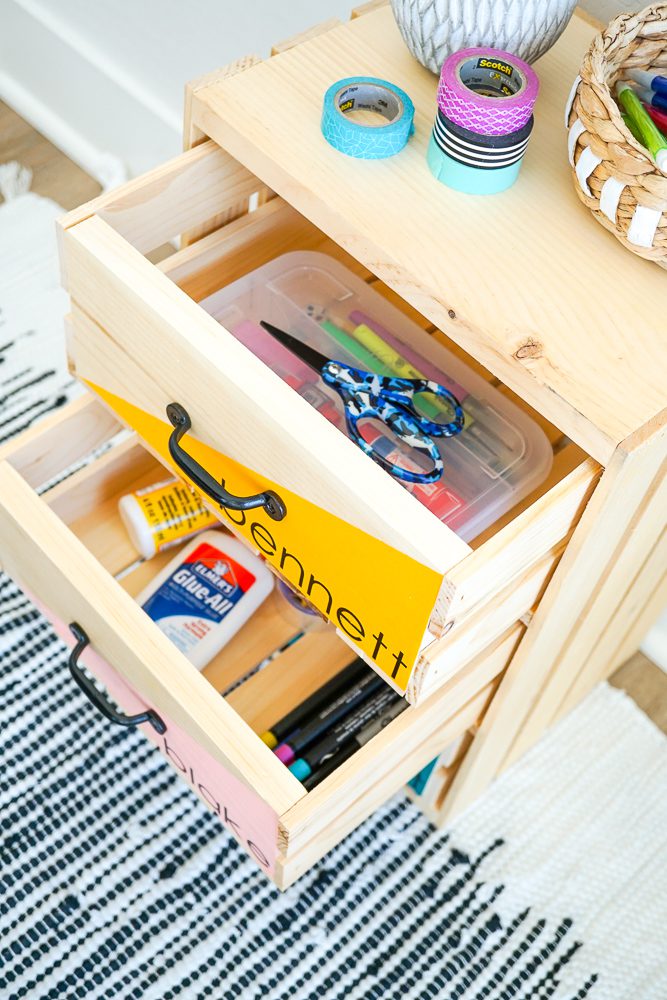
Now that the drawer unit is all decorated I loaded in their supplies.
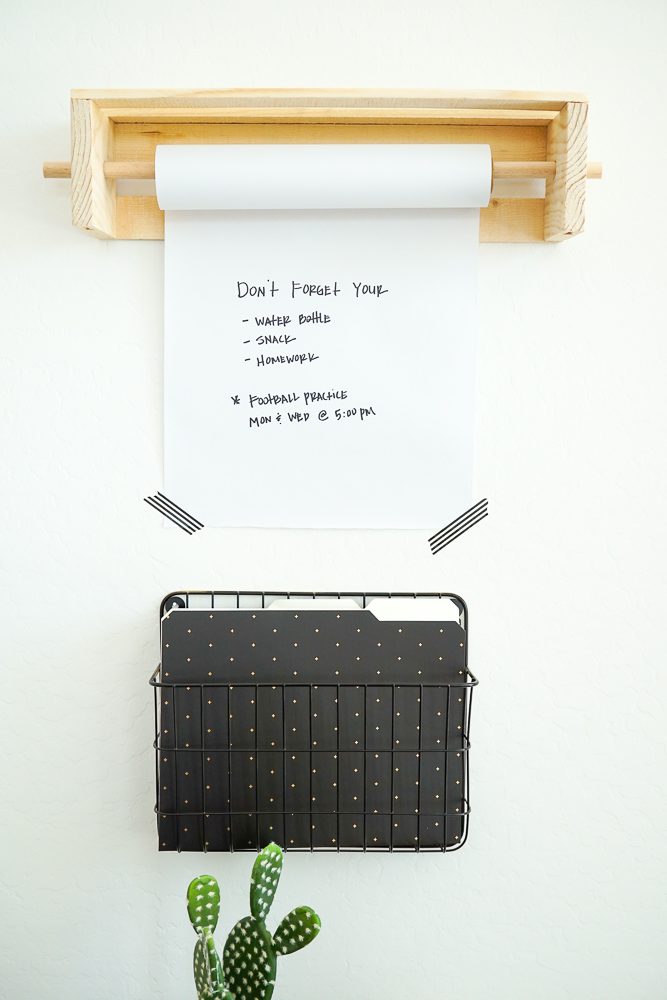
I seriously LOVE the way this turned out but I’m not quite done!!! There is a second part to this!!! YAY!!! I also wanted to add a way to communicate with my kids so I decided to make a space to leave notes.
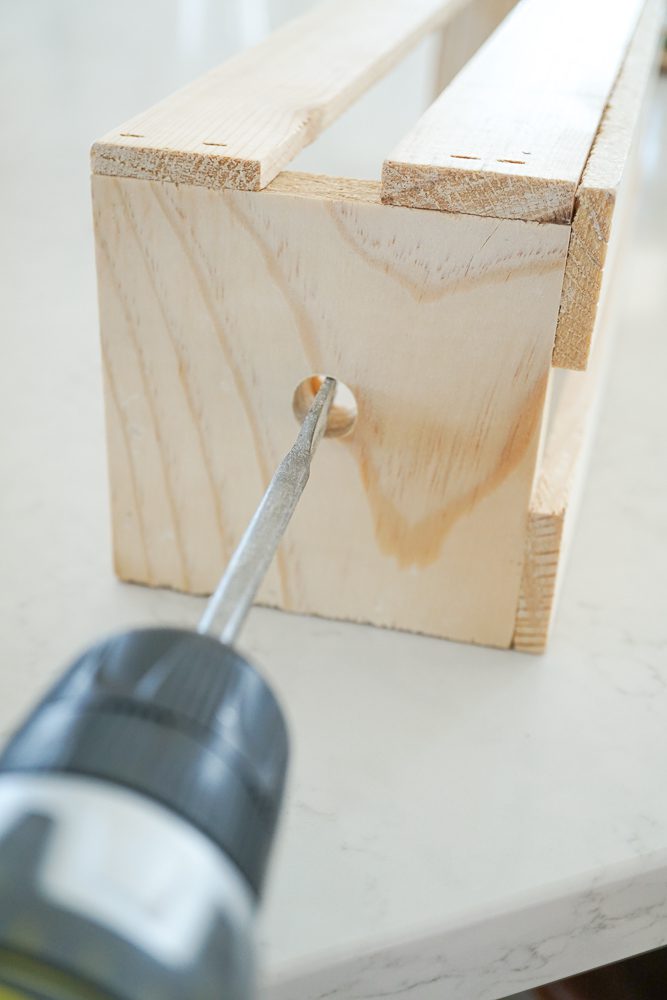
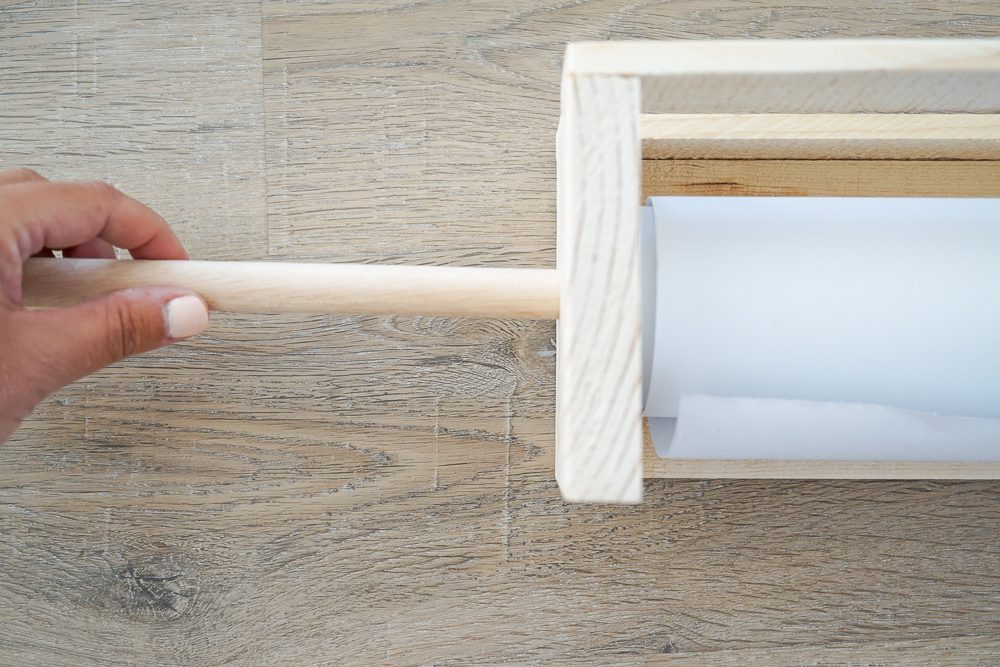
I found this wood ledge that I thought would make the perfect paper roll to hang on the wall.
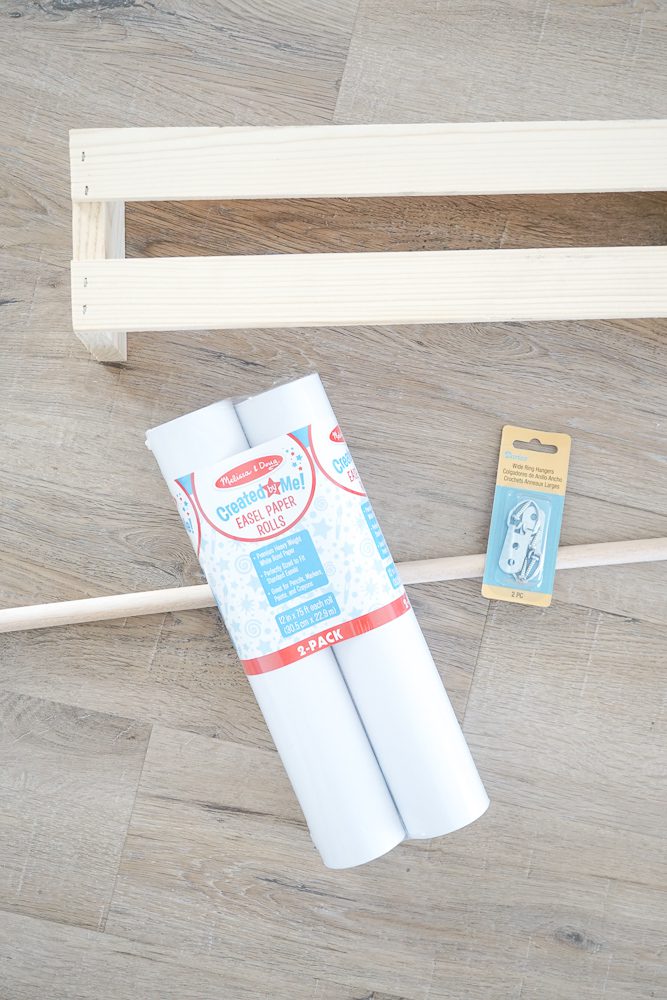
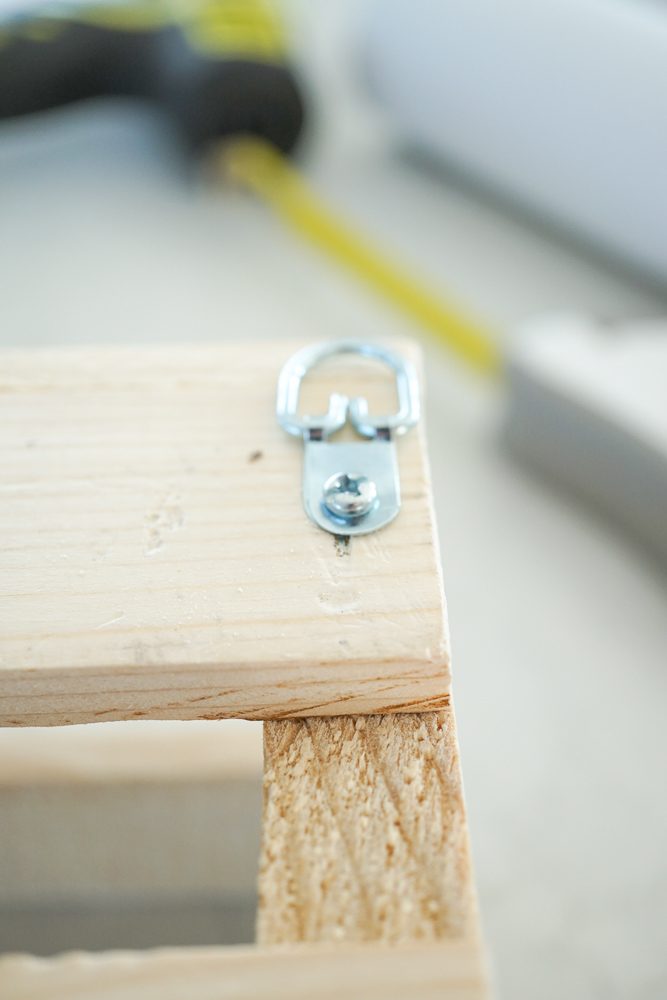
I drilled 5/8″ holes into the side to allow for a 5/8″ dowel to fit in. Perfect for sliding a paper roll onto it. I also attached some D-Rings to hang it onto the wall.
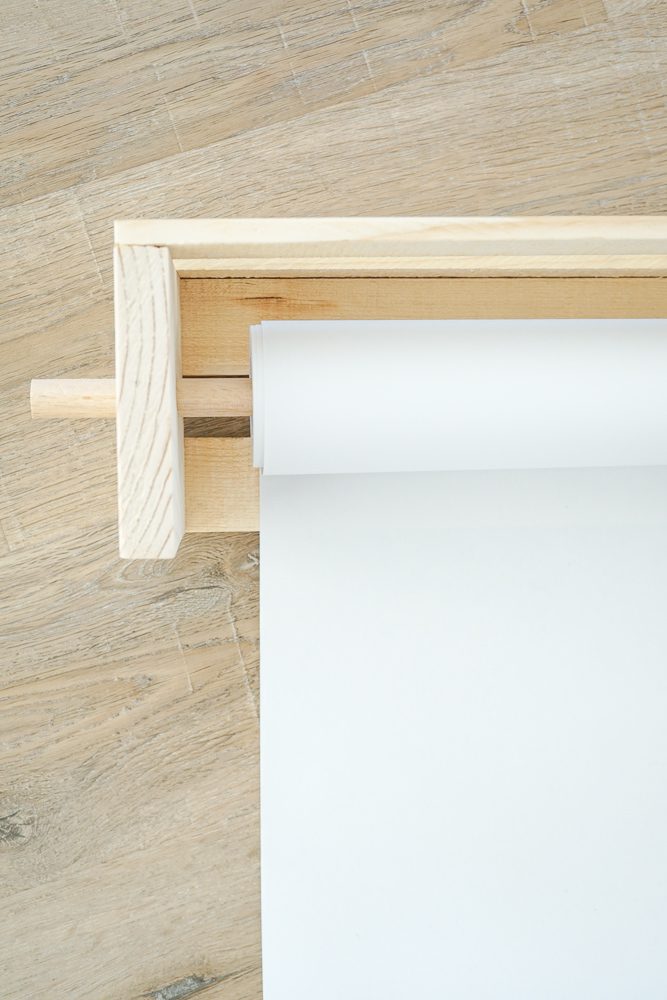
Here is the final look!!! I love it and what’s more important is that my kids love it! I think this is going to be a great solution to start the year off right!

Jessica Welling says
I love this! And the way you styled it too. What a great idea.