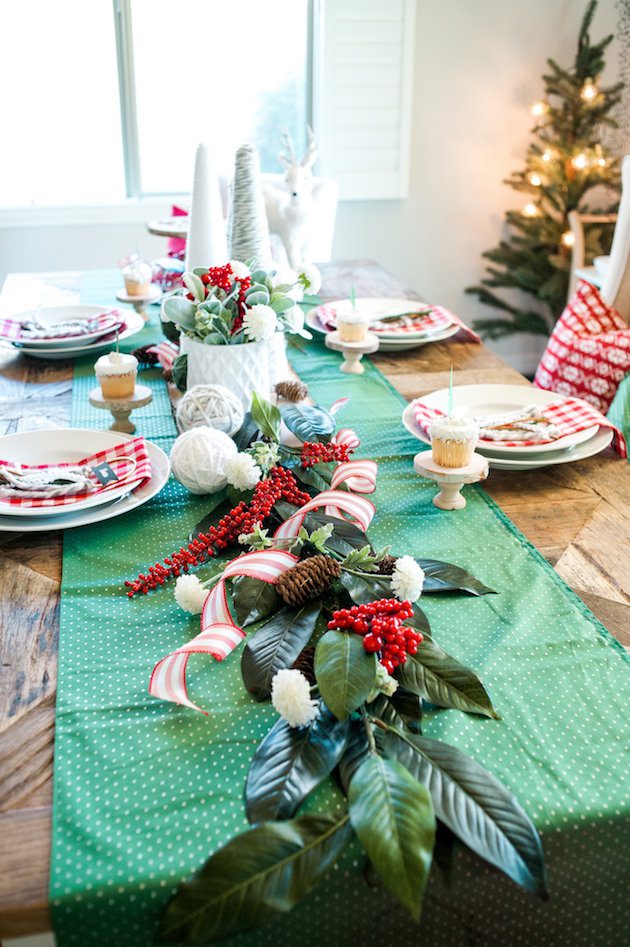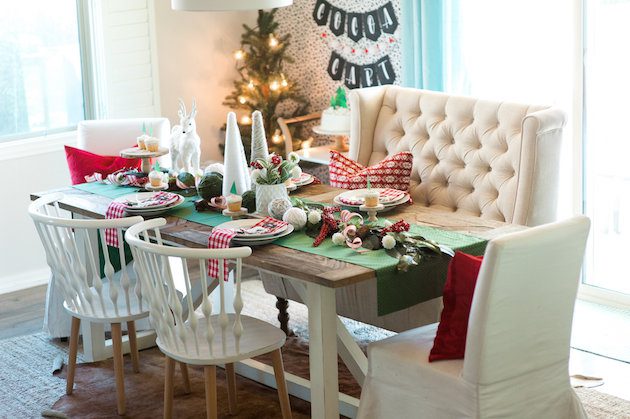
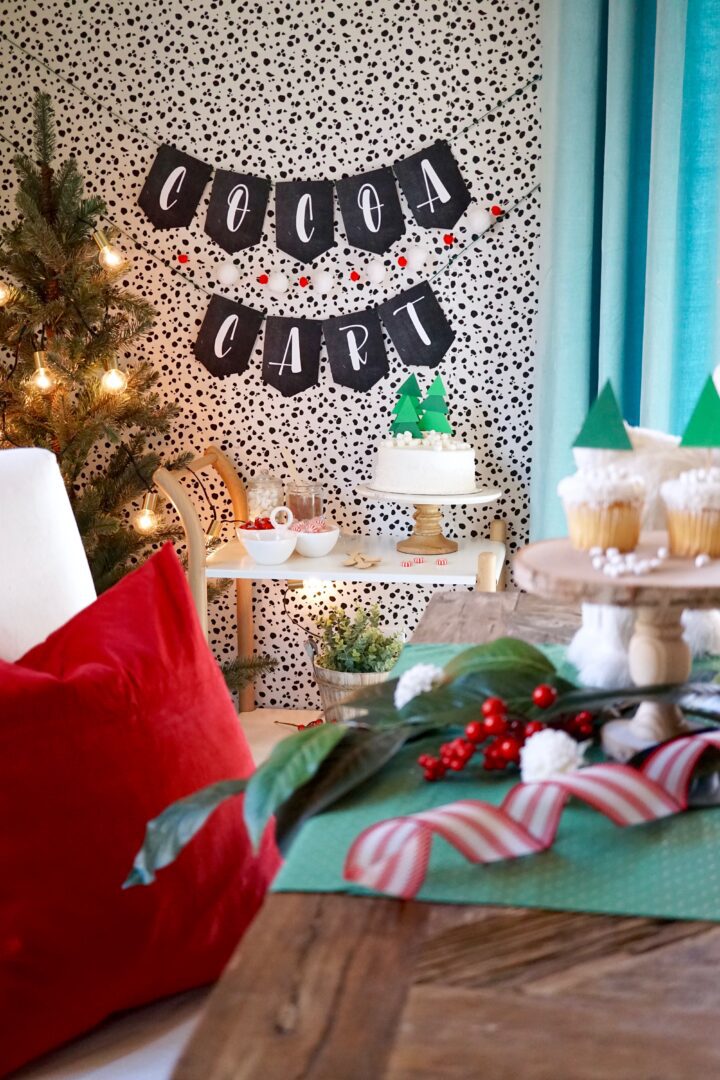
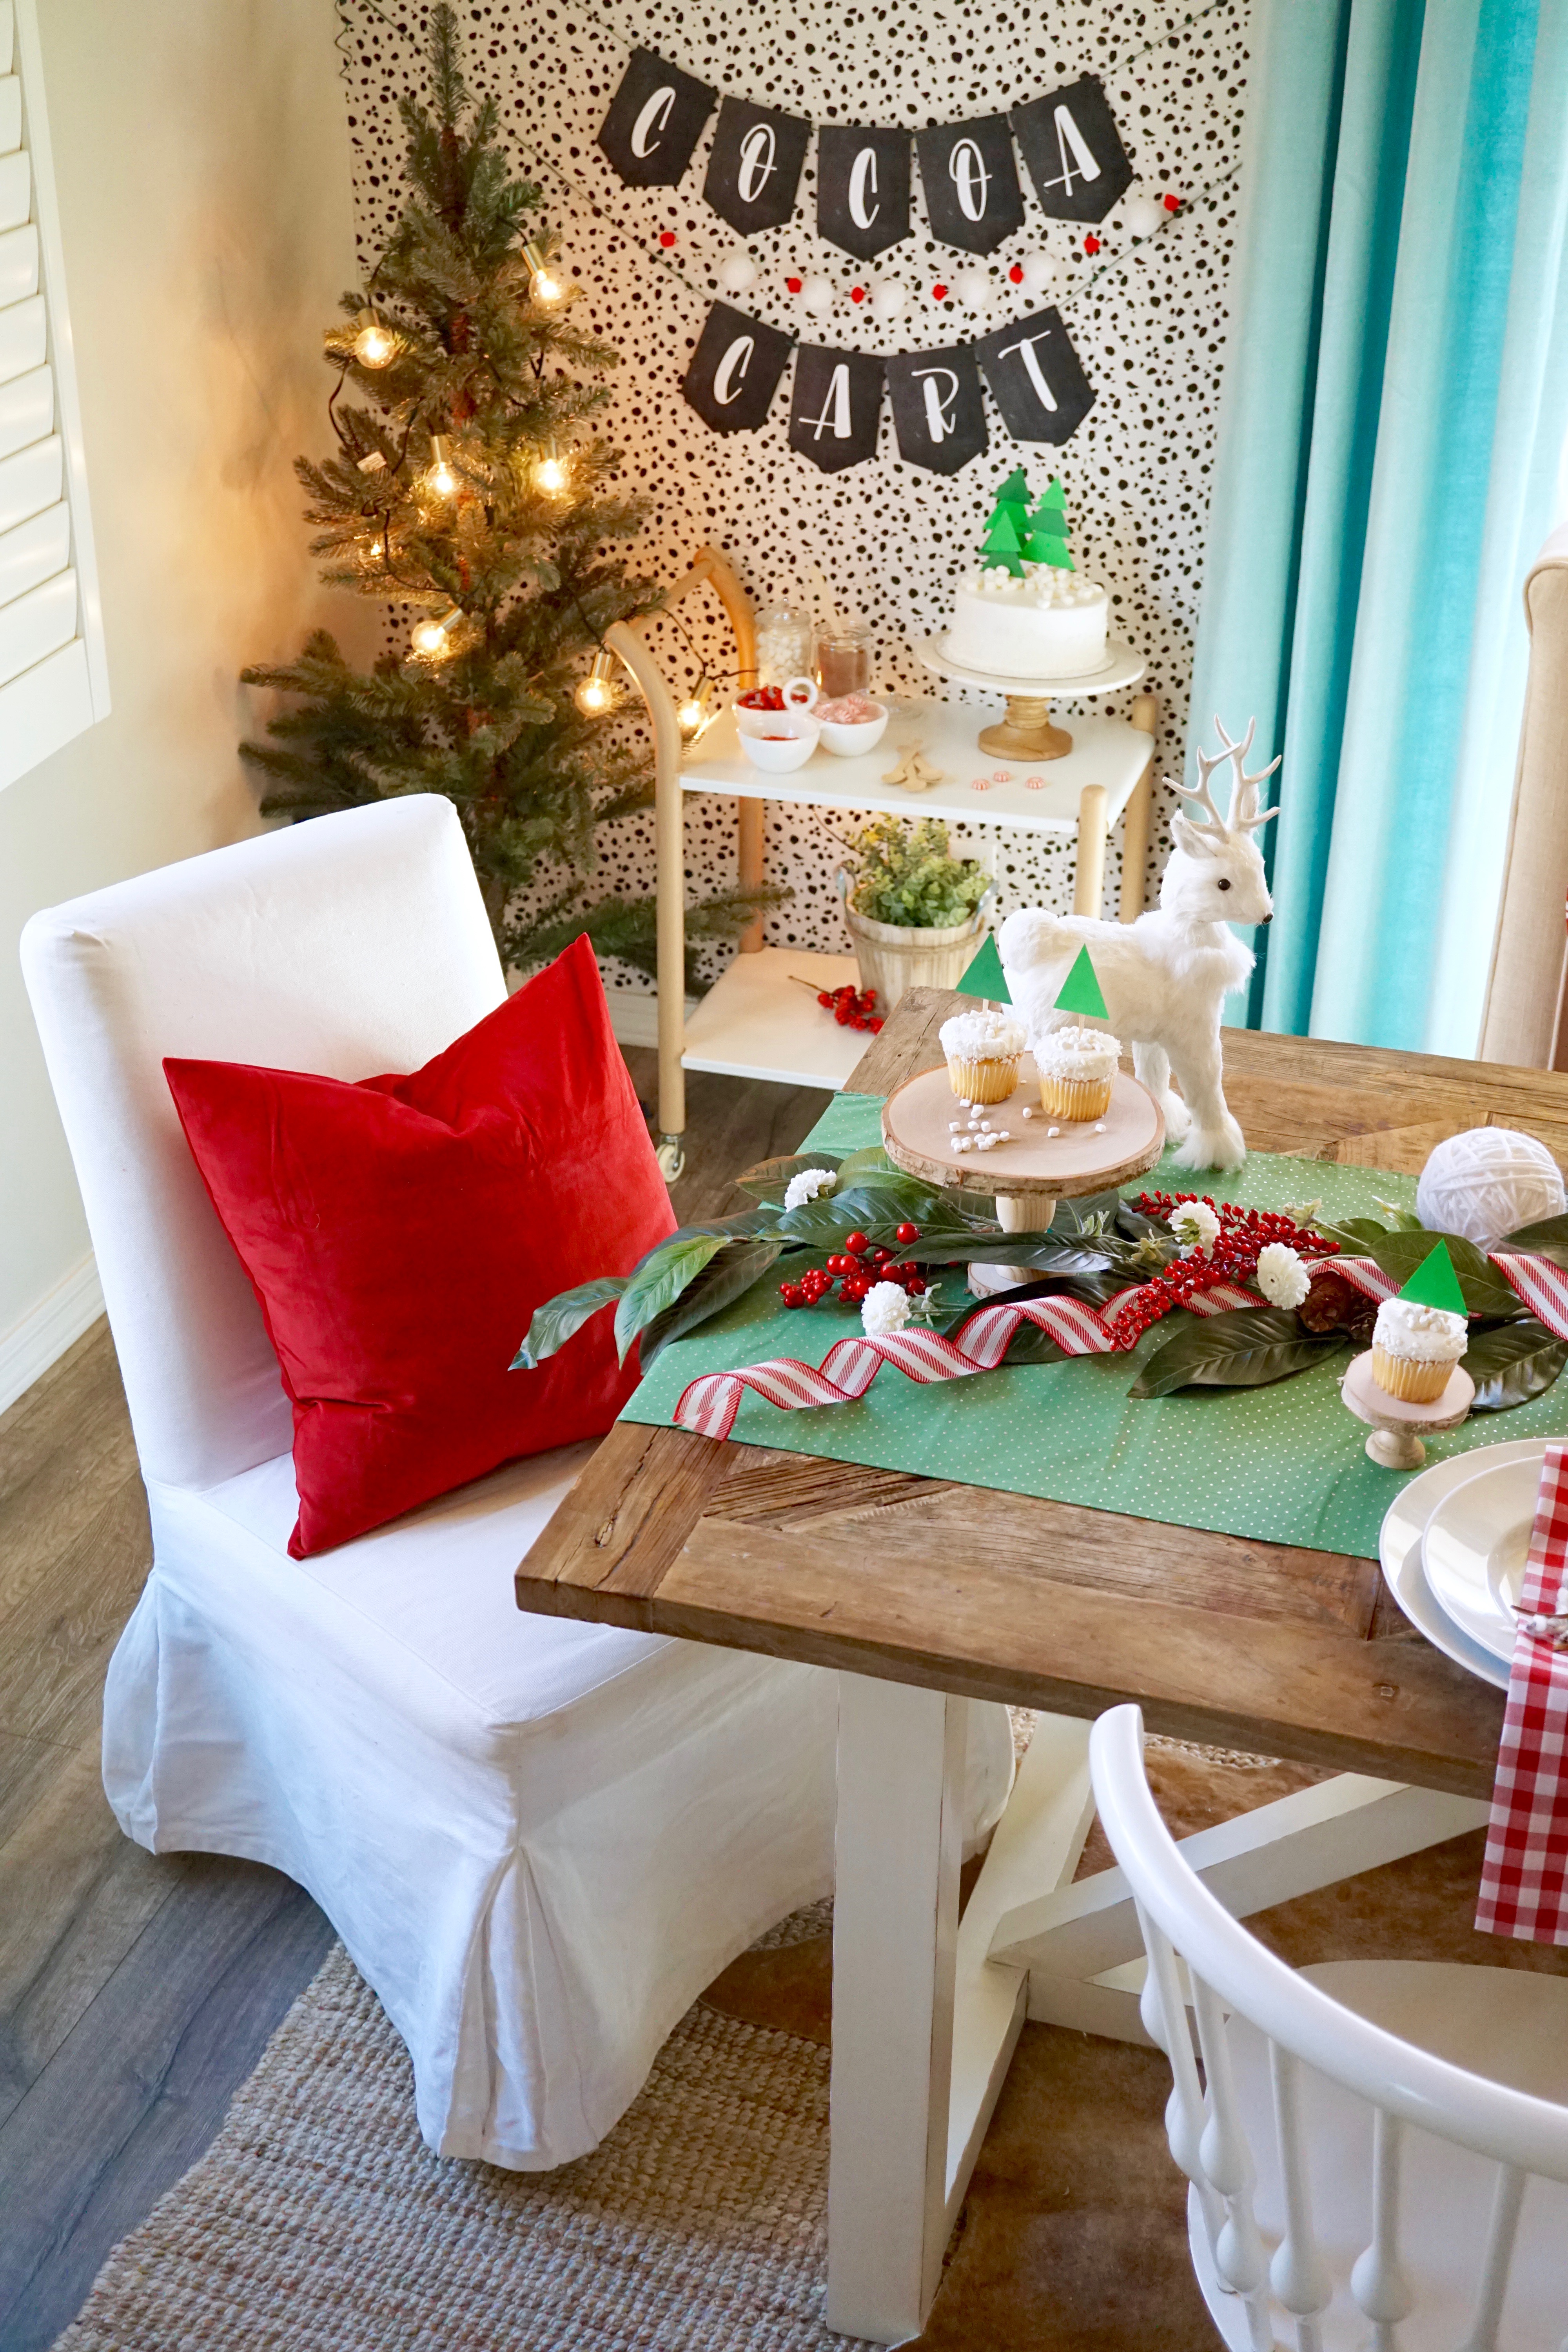
Hello! Holiday season is in FULL swing and I wanted to flash back to a project I did with JOANN showcasing holiday decorating and entertaining. There are so many directions you can go with holiday decor and with this tablescape I stayed with a traditional color palette of red & green. To change it up just a bit…I went with a deeper forest green, ruby red and snow white. I wanted to bring in natural elements with some yarn, wood textures and metal. So, lots of DIY’s in the post so make sure to read through!

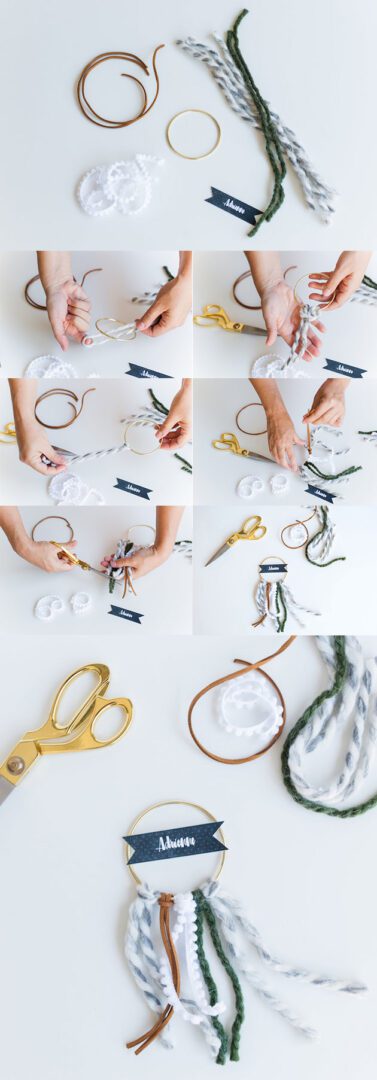
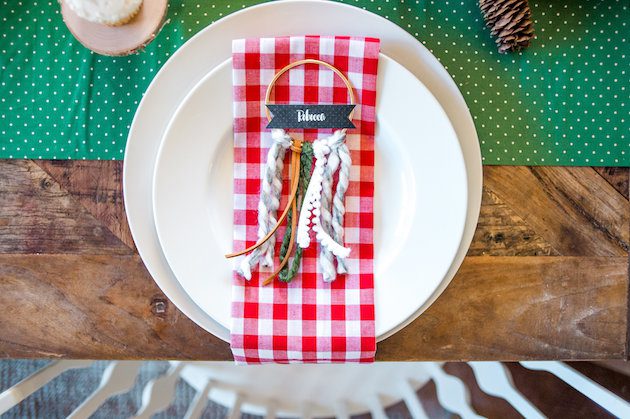
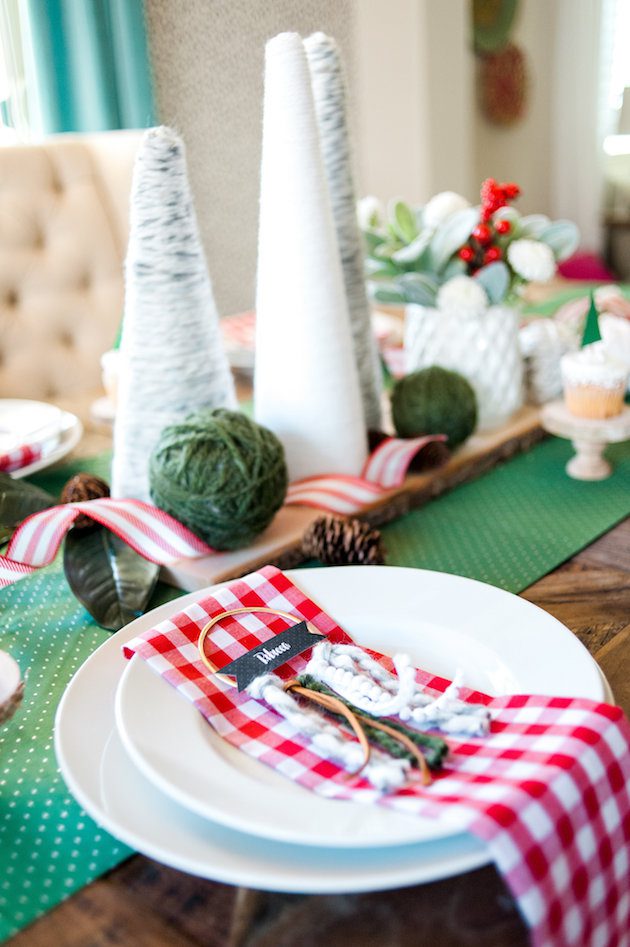
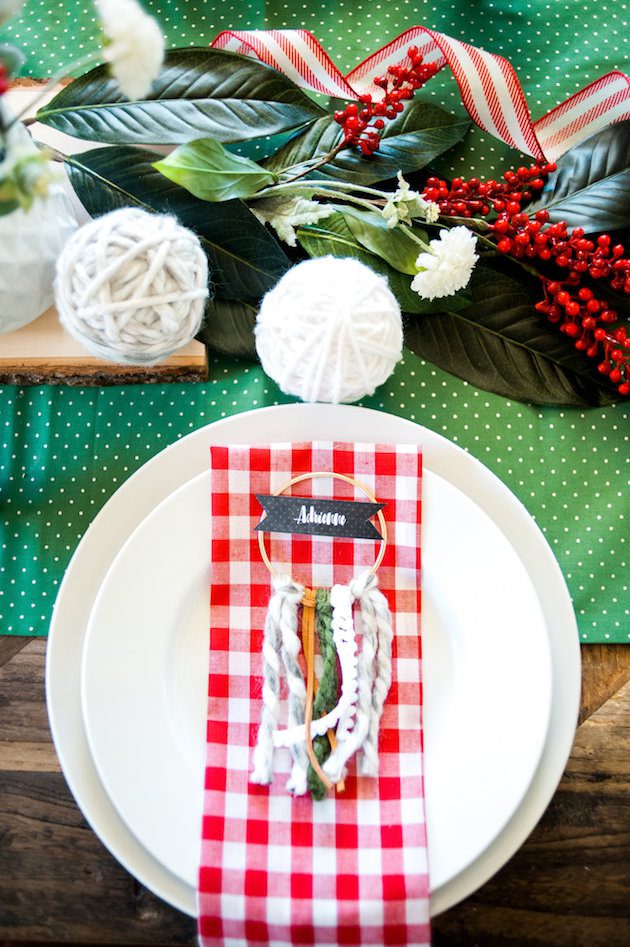
I always sprinkle DIY Projects into my decor and all of the supplies to create these amazing projects were picked up at my local Joann Store. The first project for my tablescape were these adorable personalized place cards. I wanted something different, so I came up with the idea of mini dream catchers with a fun twist. I found these mini gold macrame hoops and immediately knew they had to be incorporated into my plan. I used various yarns, leather cording and pom trim to complete the look, then I topped them with a printable name tag banner.
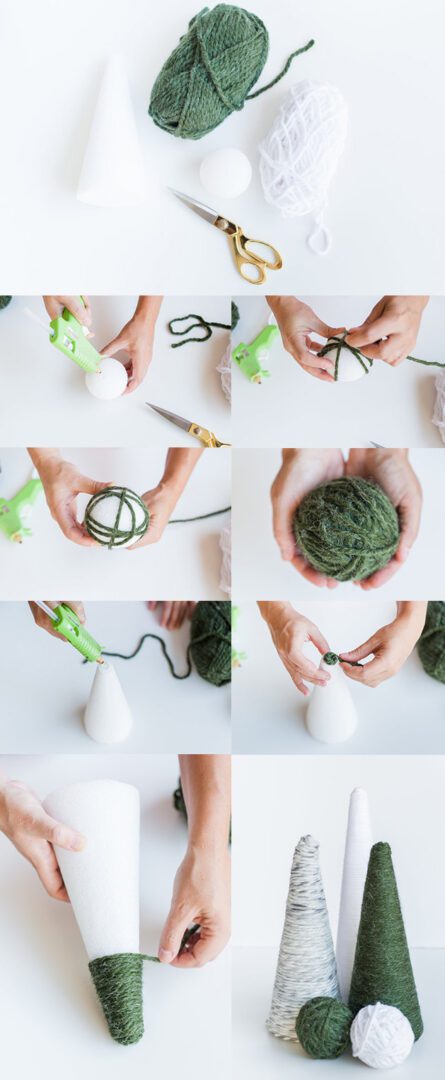
The next project on the list was to make items that I could to pull together for the center of the table. I grabbed a few sizes of foam cones and foam balls along with a variety of yarn colors and textures. Start with a small dab of hot glue to hold the yarn in place, begin wrapping around the ball…as you get started, the foam ball with sort of grip the yarn. Keep wrapping in all directions until the foam ball is covered and secure the end with another dot of hot glue. For the foam trees, start with a small dab of hot glue at the top and start to swirl the yarn around. This with help to get your yarn going. Once you have the top secure, continue to wrap the yarn evenly down the foam cone. Once you get to the bottom, use a small bead of hot glue on the last bit of exposed foam as you wrapped the yarn into place. Super cute, right? So easy and such a budget friendly project that can make a big decor impact.
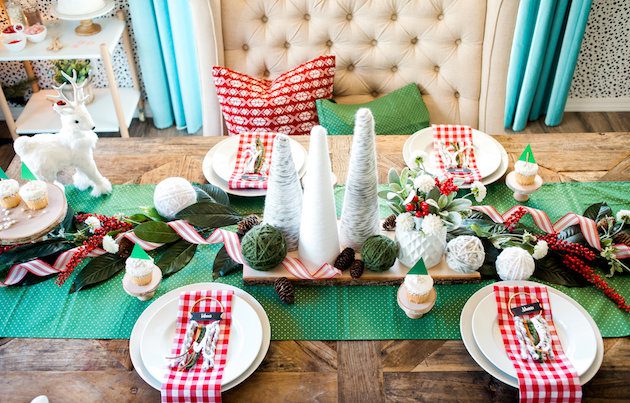
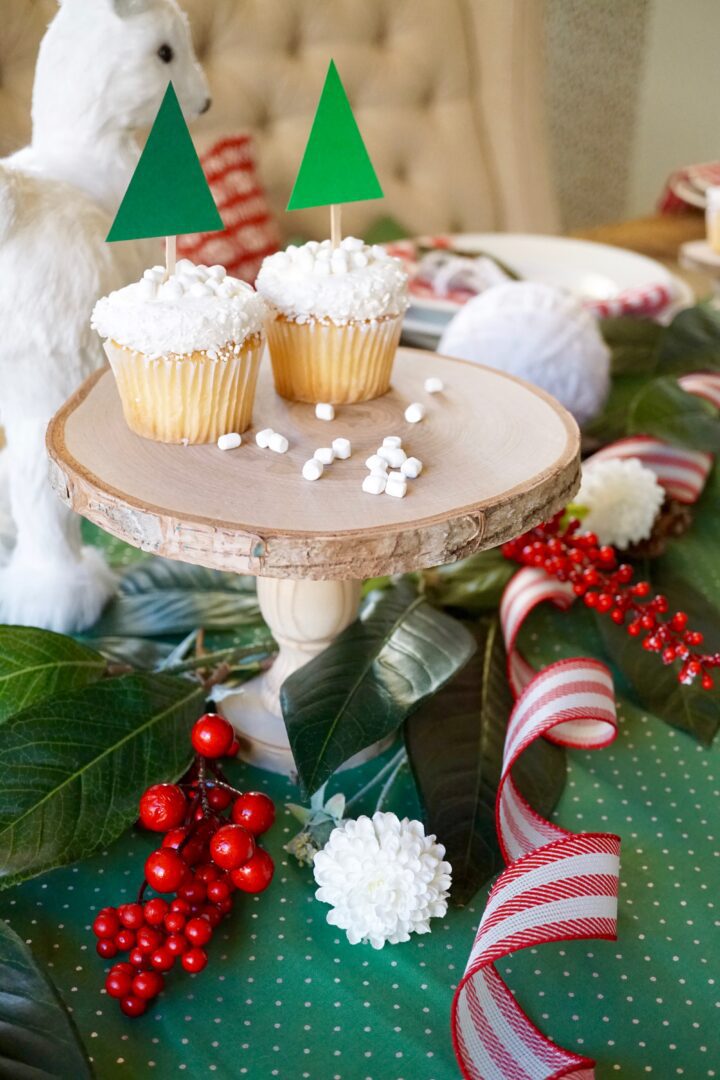
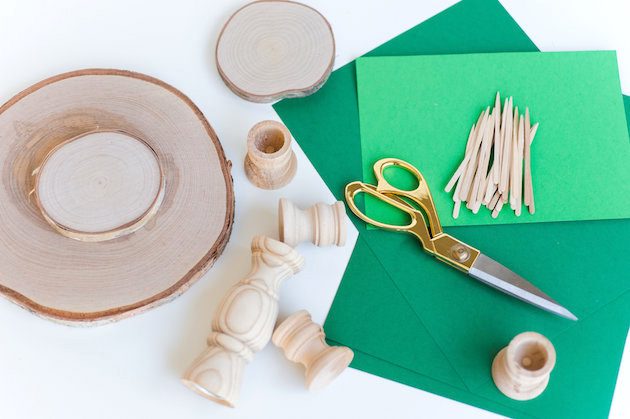
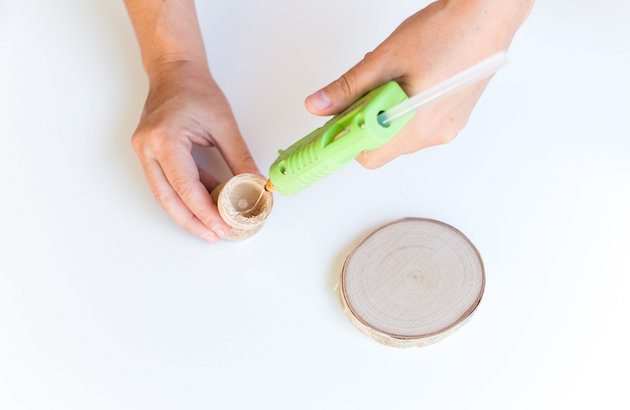
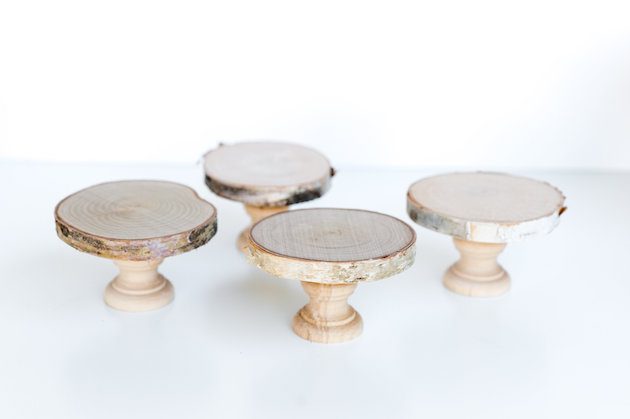
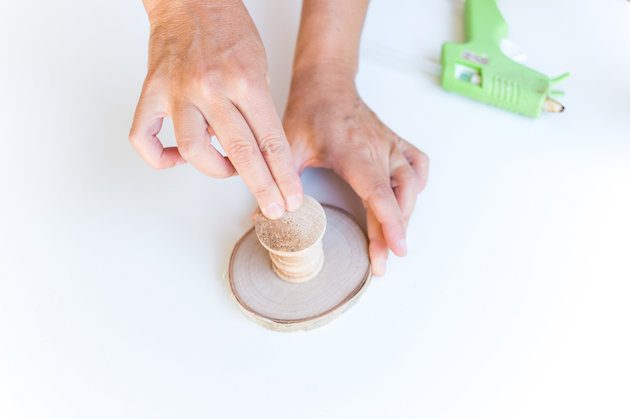
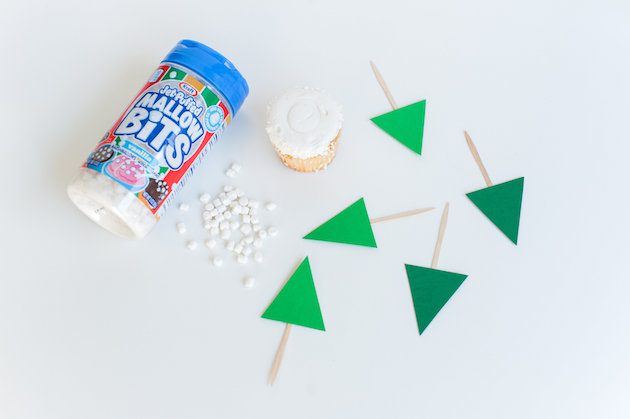
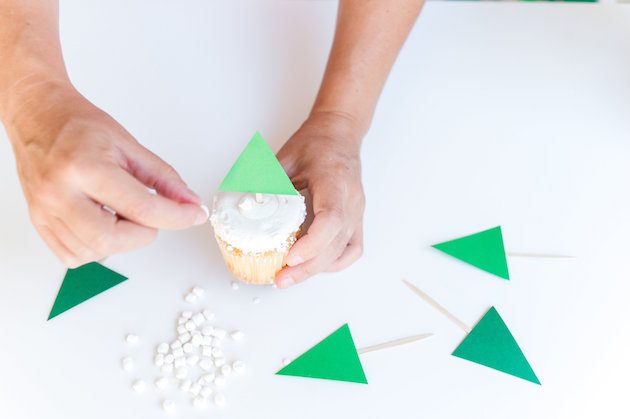
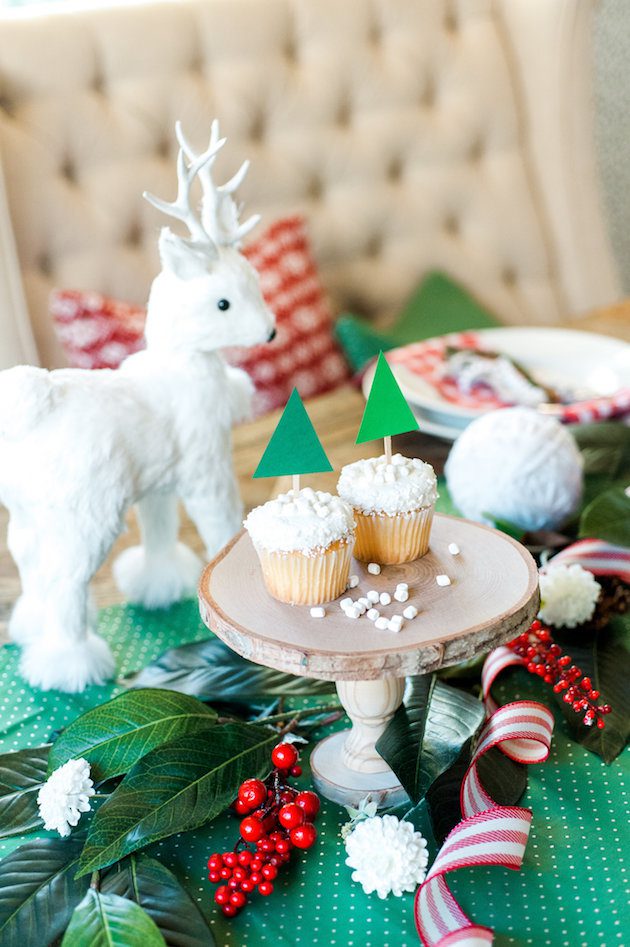
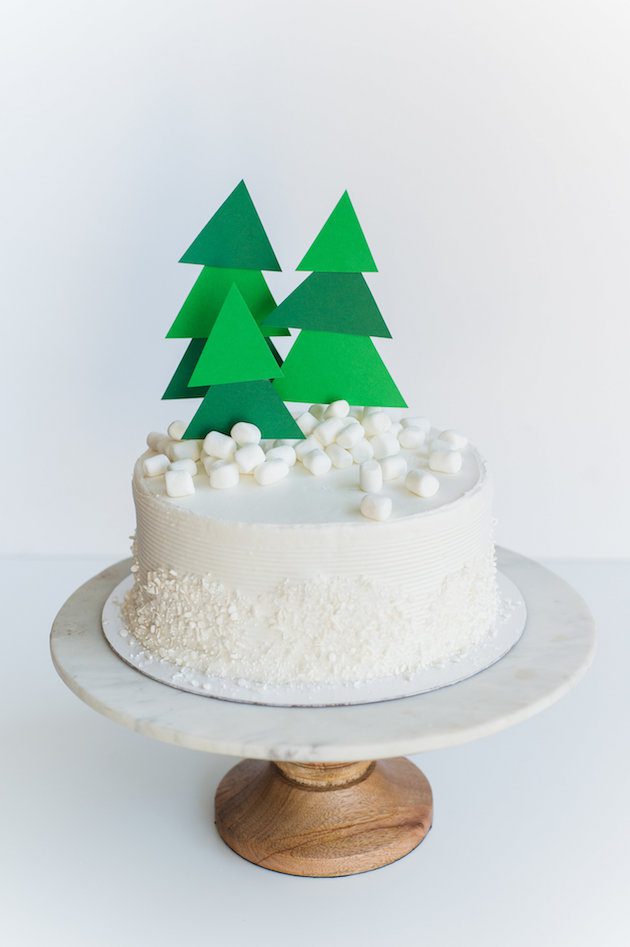
All of the yarn trees and yarn balls were placed on a wood plank to ground & center the design. I also made a cake stand and some small treat stands from birch rounds, birch coasters and mini candle cups. And…with treat stands, there must be treats! So…I grabbed some ready-made cupcakes & a cake…topped with mini marshmallows and some paper crafted toppers and had some party ready desserts!
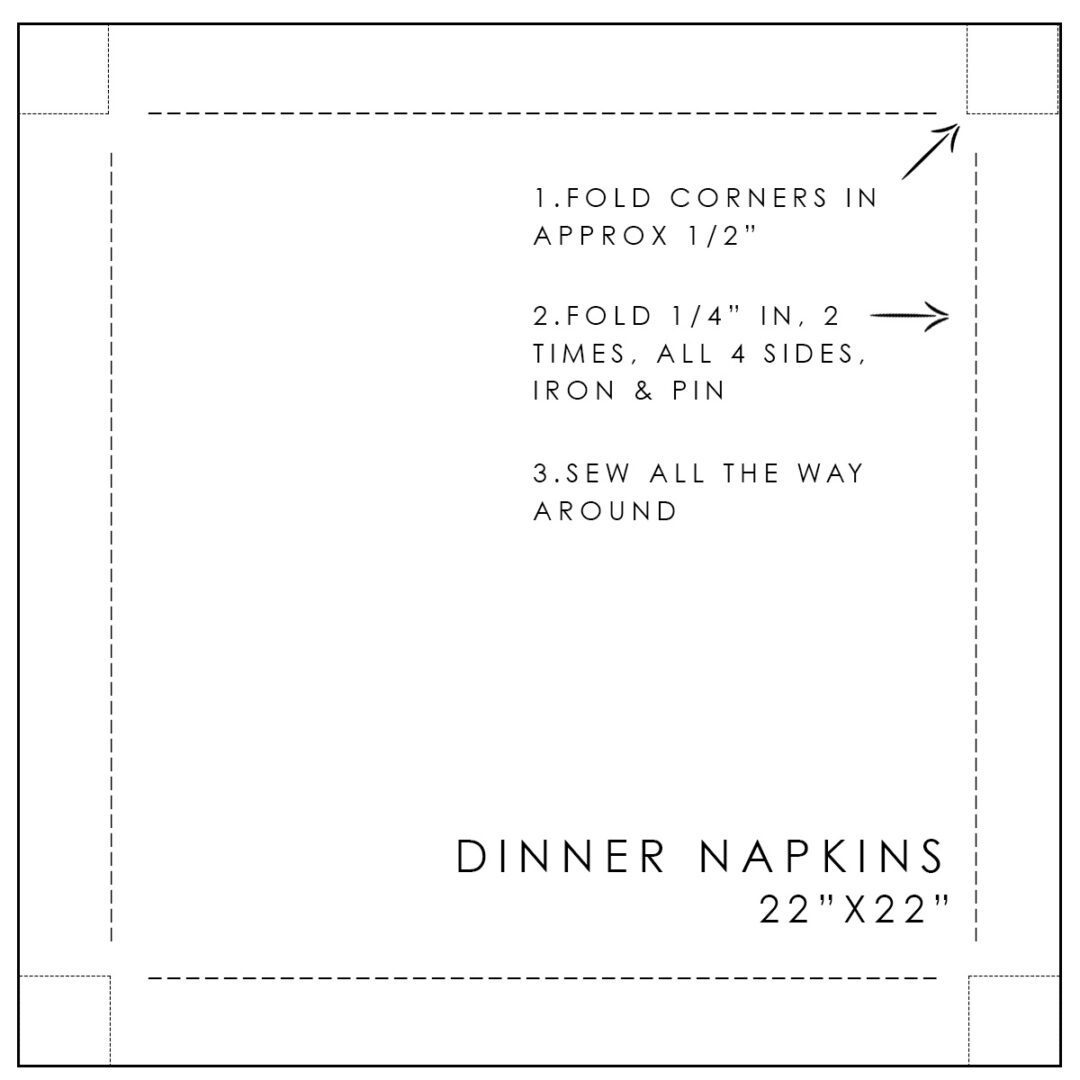
Next, I wanted to bring some pattern onto the table so I found some festive fabrics and sewed some napkins and a no-sew table runner. To sew some napkins…here is a little guide to get you going.
2 yards of fabric – washed, dried and ironed
scissors & pins
sewing machine
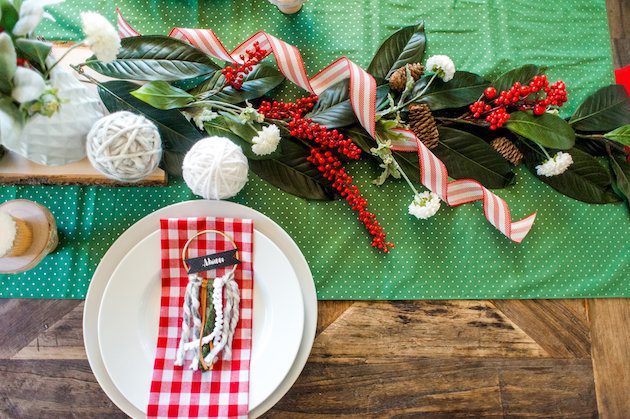
Then, to complete the look, I layered leaf garland, ribbon, pine cones & flowers down the center of the table.
So…there it is…festive, fun and loaded with DIY projects! Who’s ready for Christmas?