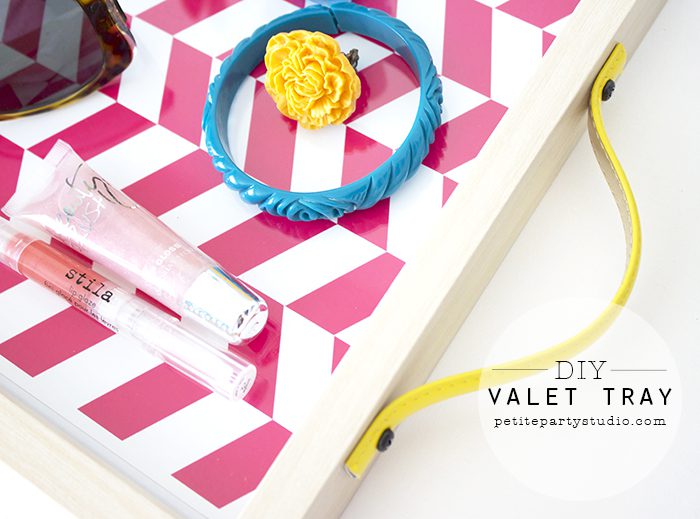
These are the types of ideas that come to us during sleepless nights when you can’t shut off your creative brain. Oh there’s an idea…take a picture frame and make a tray…you know for your dresser, bath vanity or office. Using a picture frame as a tray has been done before but we decided to fancy it up, by cutting up, a cute belt and attaching it for the handles. We couldn’t be more stoked on how it turned out and thought it would be silly to keep something this CUTE for ourselves and not share the DIY.
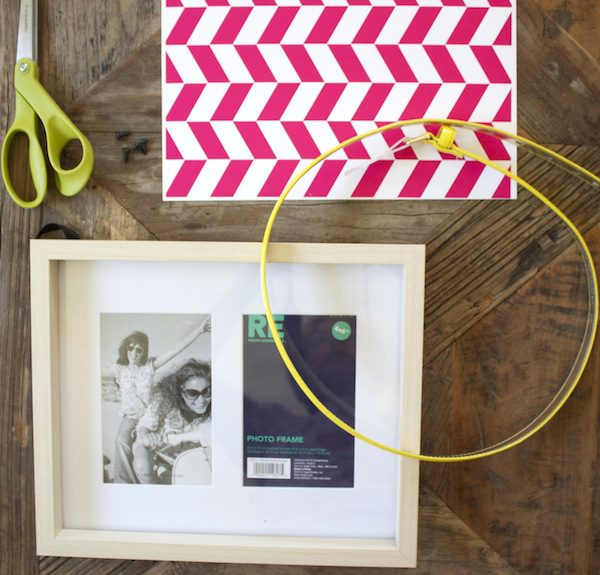
So here it what you will need:
– A 9×11 picture frame (we chose one that had a little depth to it from Target)
– Neon Yellow Patent Leather Belt (also from Target)
– Patterned Paper
– Drill and short screws
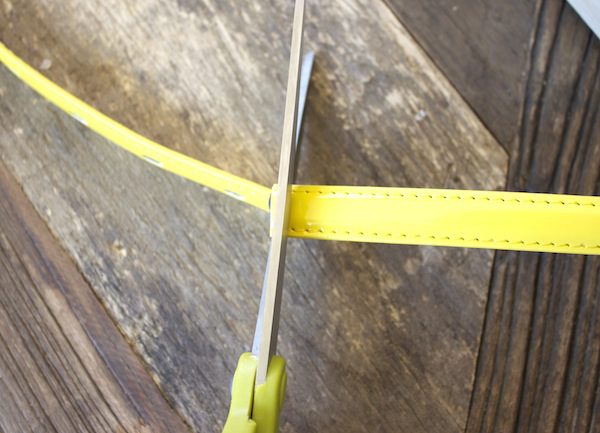
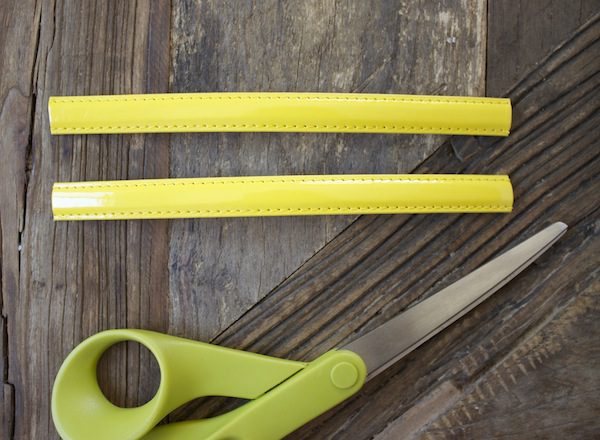
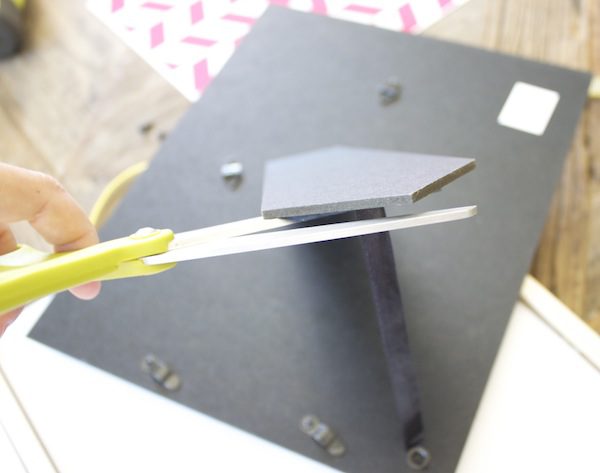
First, I cut the belt into two 7″ pieces, then I drilled small pilot holes in the belt 1/2″ from each cut end.
Next, I disassembled the frame taking off the easel stand and removing the mat. **Remove the glass temporarily while you drill**
On the short ends of the frame, I drilled a pilot hole 2.5″ fro into each end for the handles…so 2 holes on each end making the distance between the handle approx. 4″
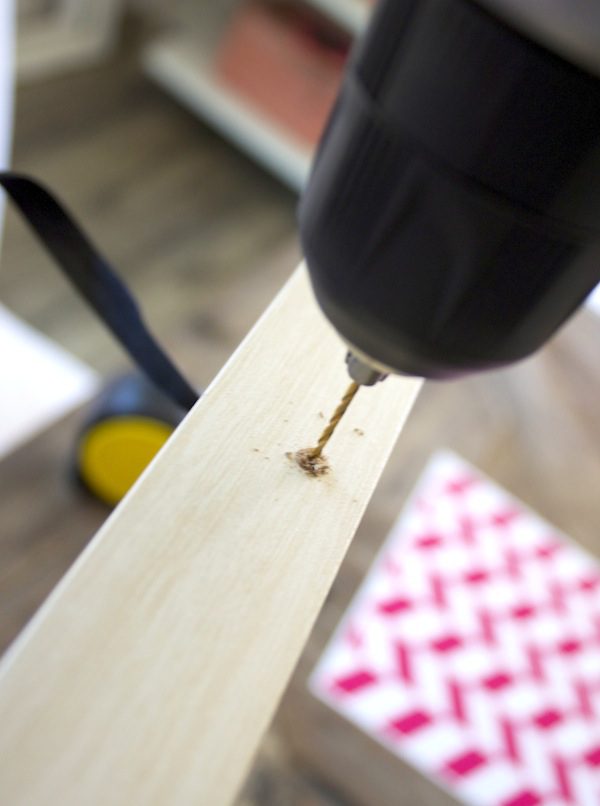
I then attached the handles to the frame using shorts screws…long enough to secure the handles, but not to too long that they will go through.

Once you attach your handles, re-insert the glass, patterned paper of your choice that has been cut to fit and the frame backing.
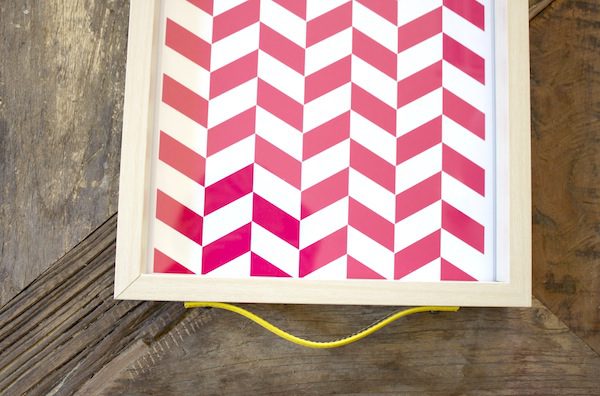
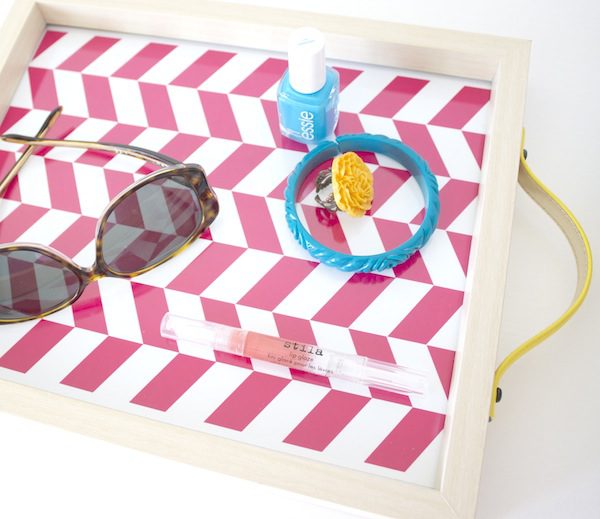
There you go! Your very own DIY VALET TRAY to add to any room that you see fit!
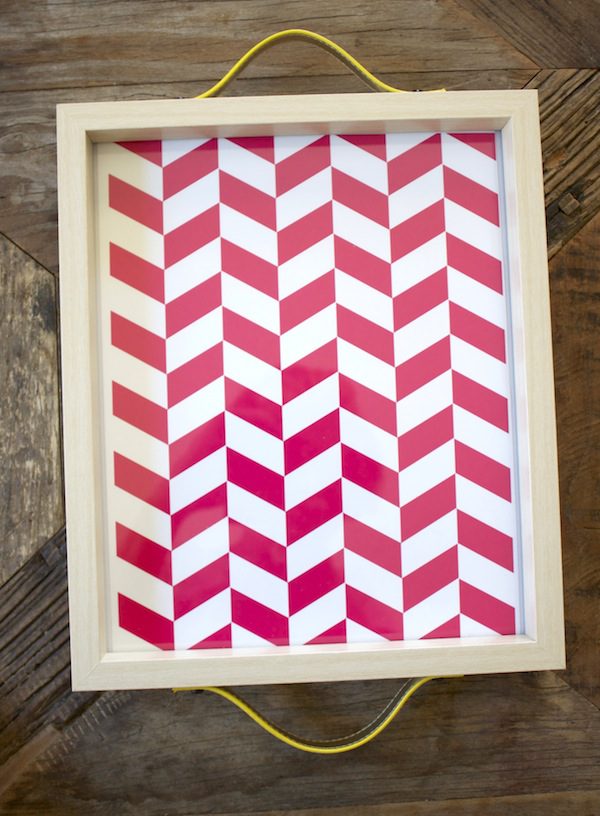
Mine ended up in my bedroom on my dresser as a catch all!


Brenda says
I LOVE this idea (and the patterned paper is beautiful!)!! Thanks for the inspiration!
Rebecca says
thanks Brenda!!
Emily says
Oh mi gosh!!! this is sooo cute~ I love it and I am going to make it straight away!!!
Jenny says
Going to make a few changes to make it more suitable for my husband but this is exactly what I was looking for!