Ok friends…I hope you saw my Backyard BBQ Girls Night In with Spoonflower!
Well here is part two!! Today I am going to show you the fun DIY Pillows and Party Decor with Spoonflower that I did to make that party so purdy!
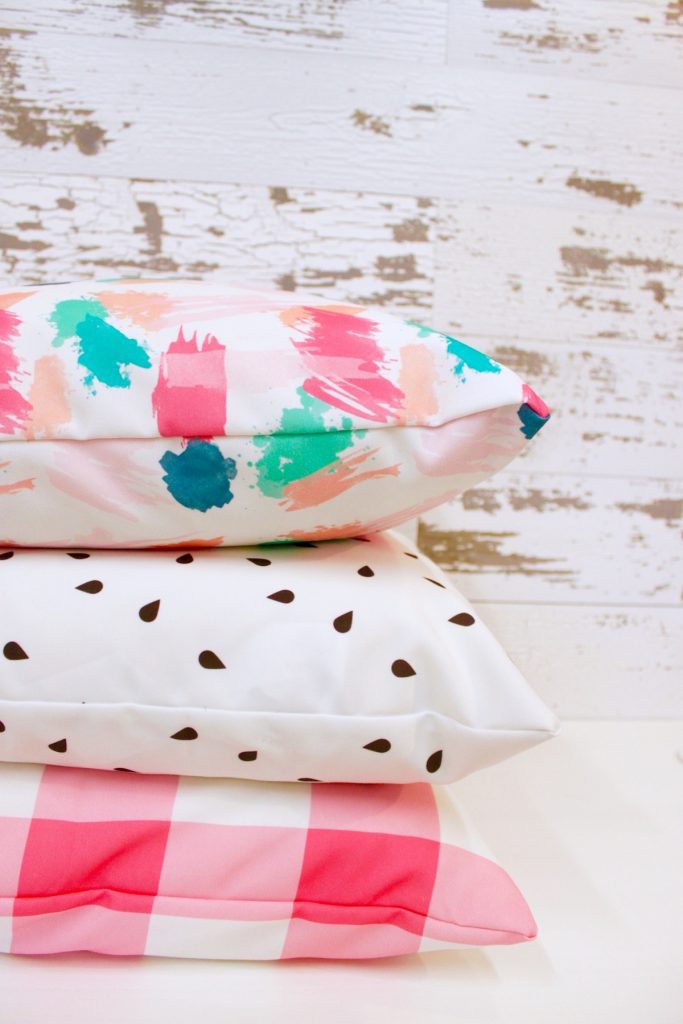
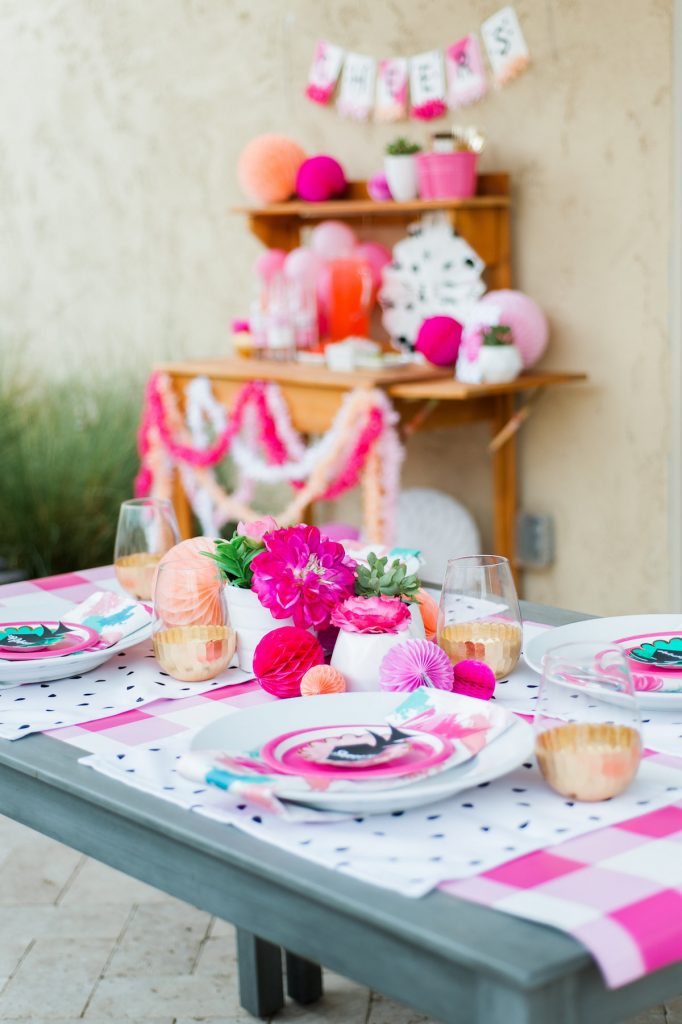
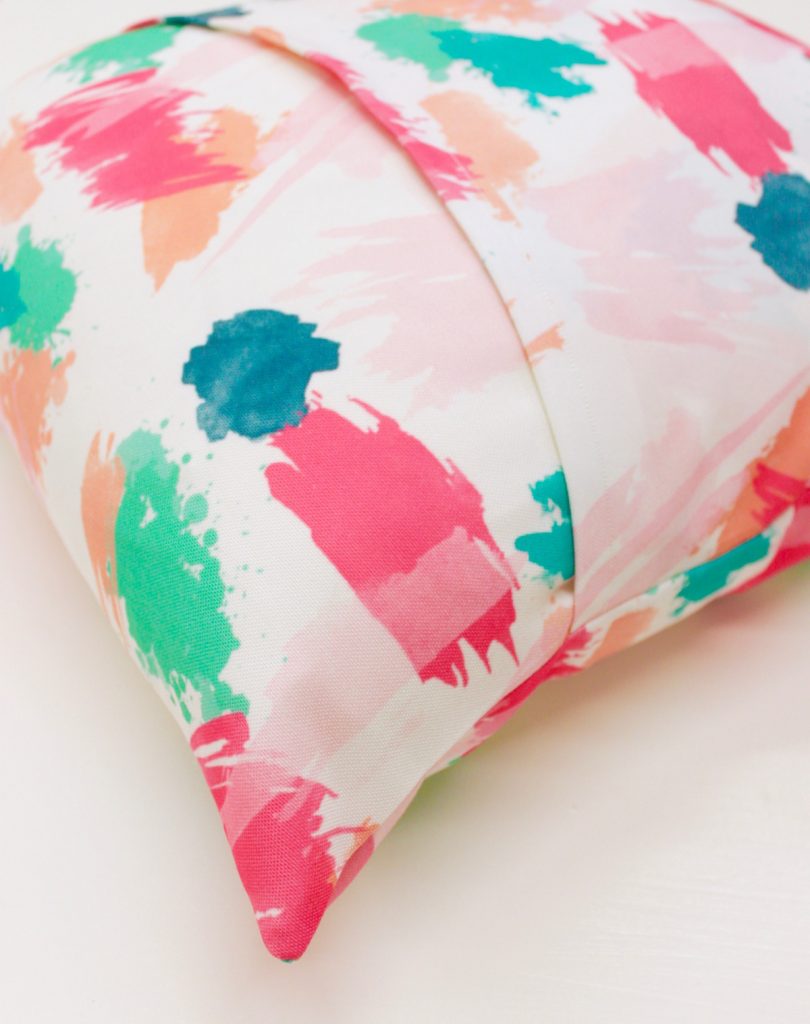
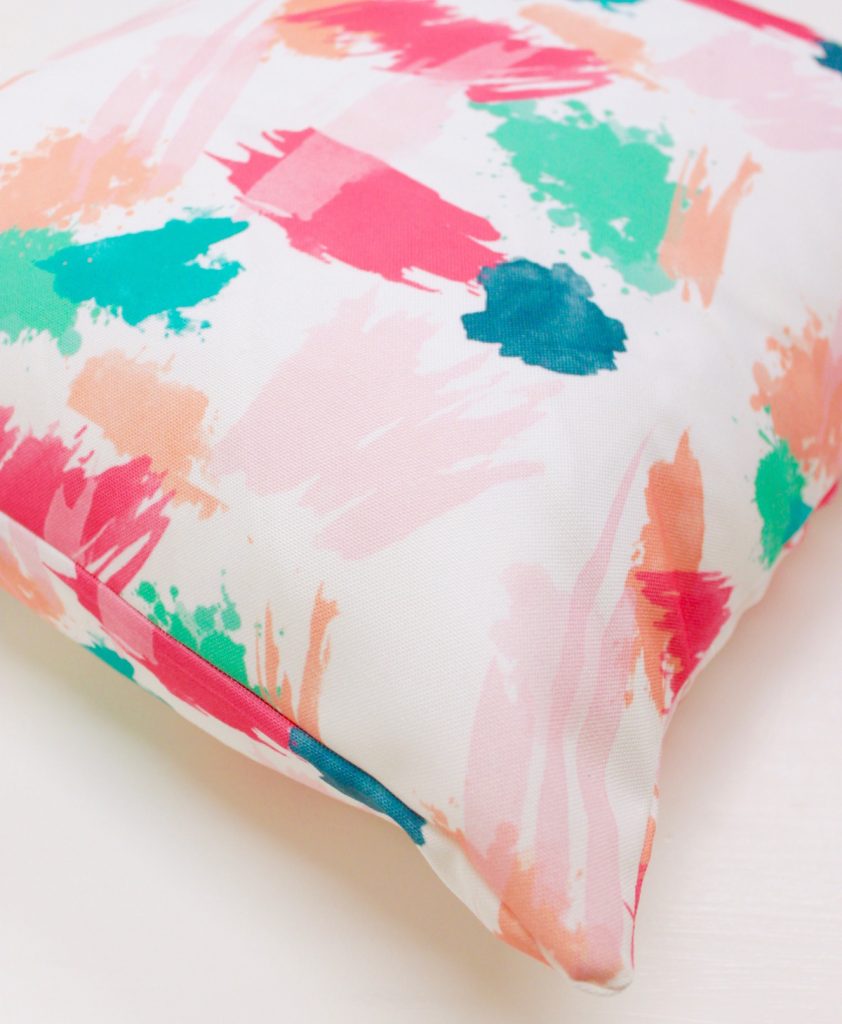
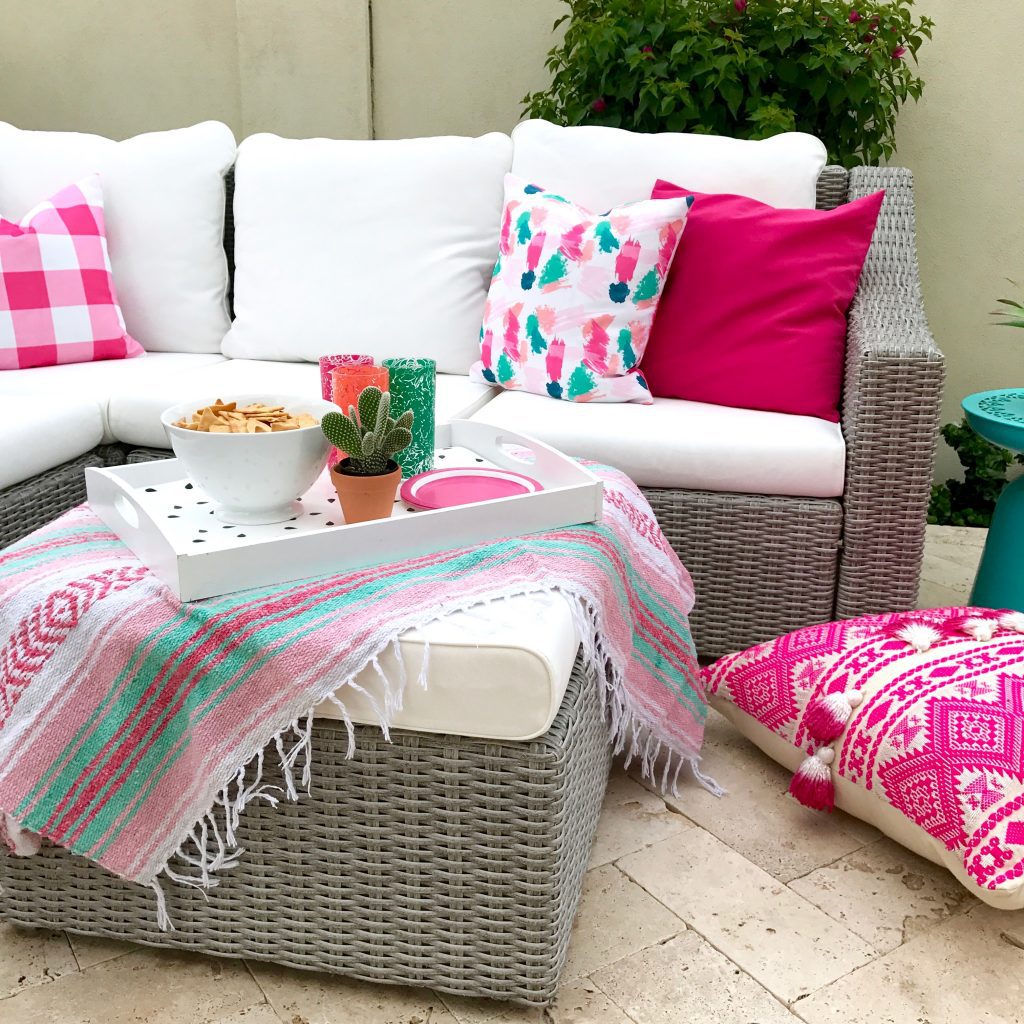
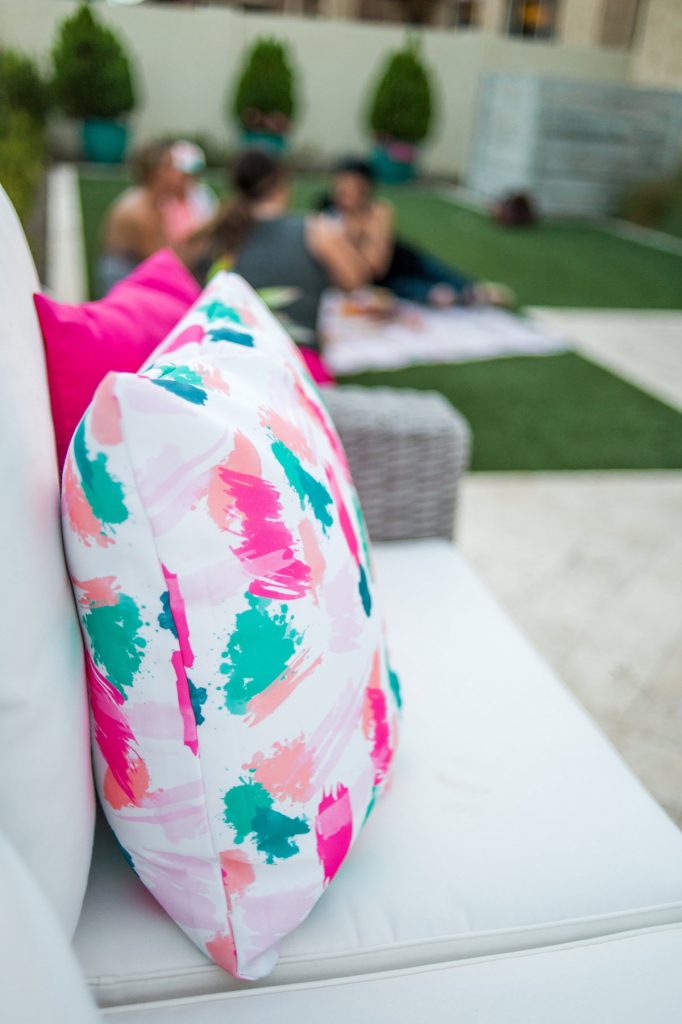
I started by designing 4 patterns and uploading them to the Spoonflower website…once I approved the design, they shipped the fabric to me. When I started planning this gathering, I knew I wanted a fresh & modern take on a summer BBQ…fruit inspired, fun patterns and bold colors. Of course pink was the main color since it is my fave and I think it is so happy!!
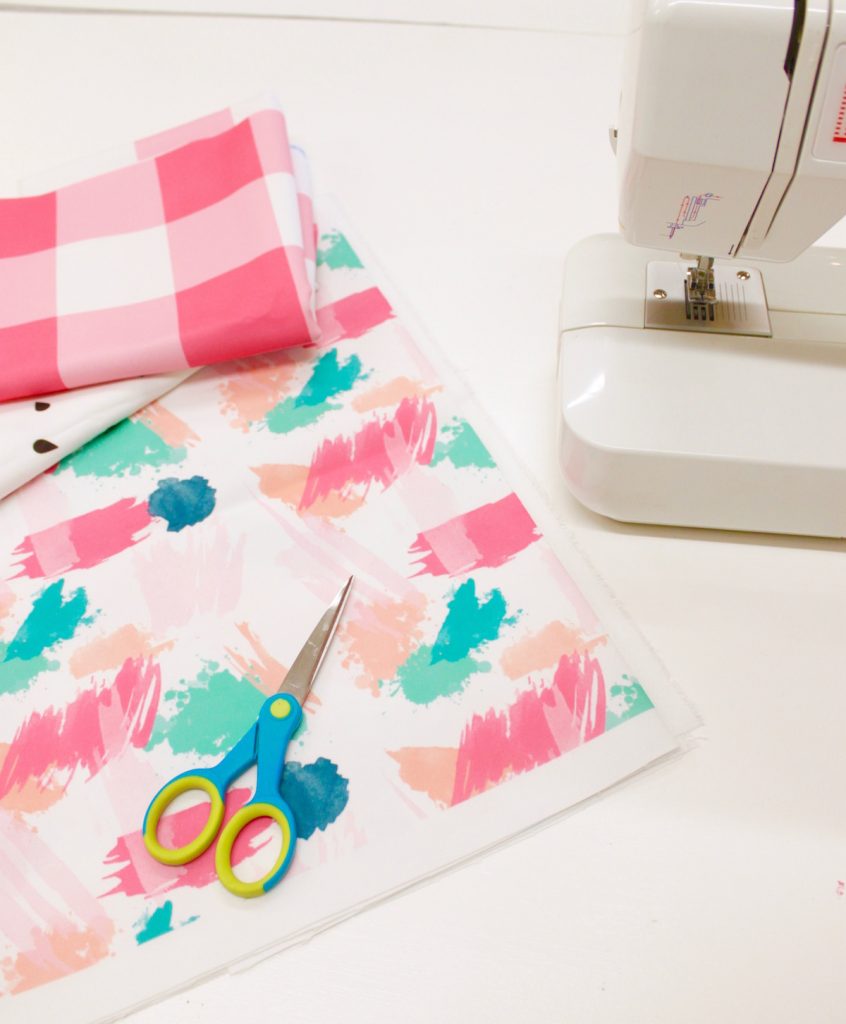
Here are the steps to sew your own envelope closure pillow for a 20″ x 20 ” finished pillow.
Cut 3 pieces of fabrics…
(1) 2o.5″ x 20.5″ for the for the pillow front
(2) 20.5″ x 16″ backs for the envelope closure
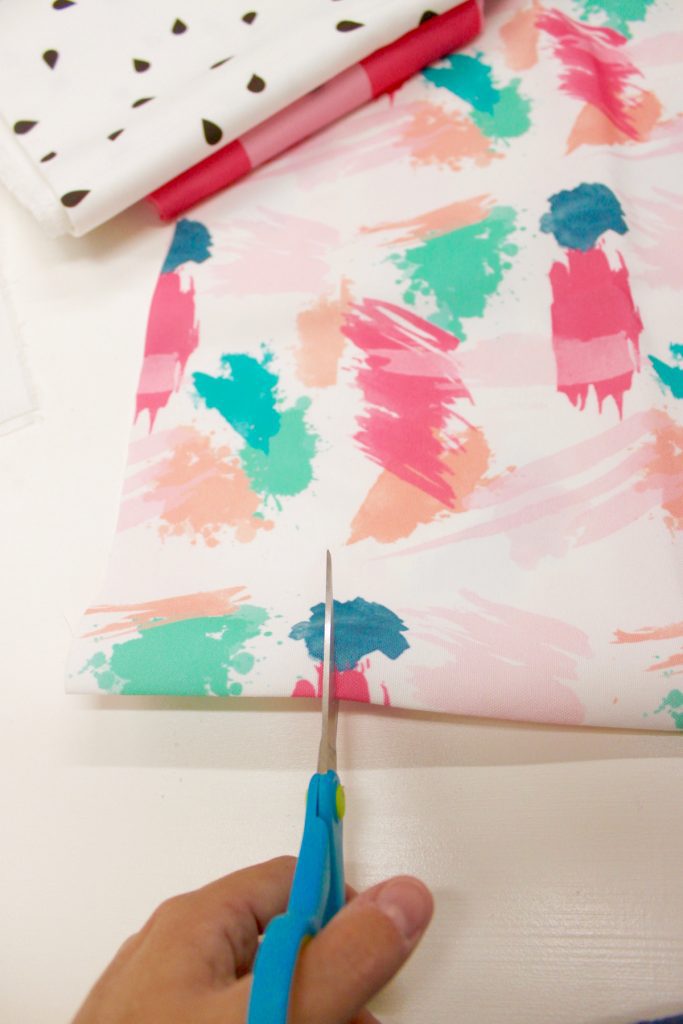
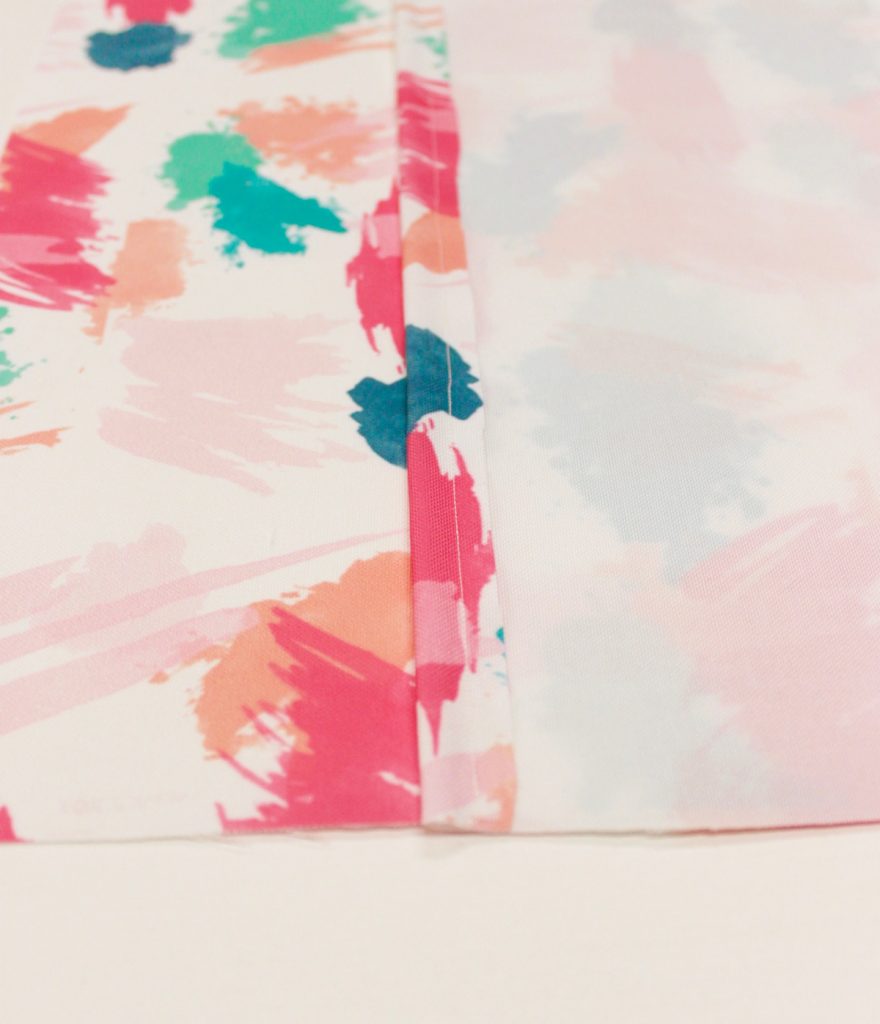
First take the two backs and sew a 1/4″ hem on both of the ends.
Once you have your envelope hems sewn…follow these steps, make sure to pin before you sew.
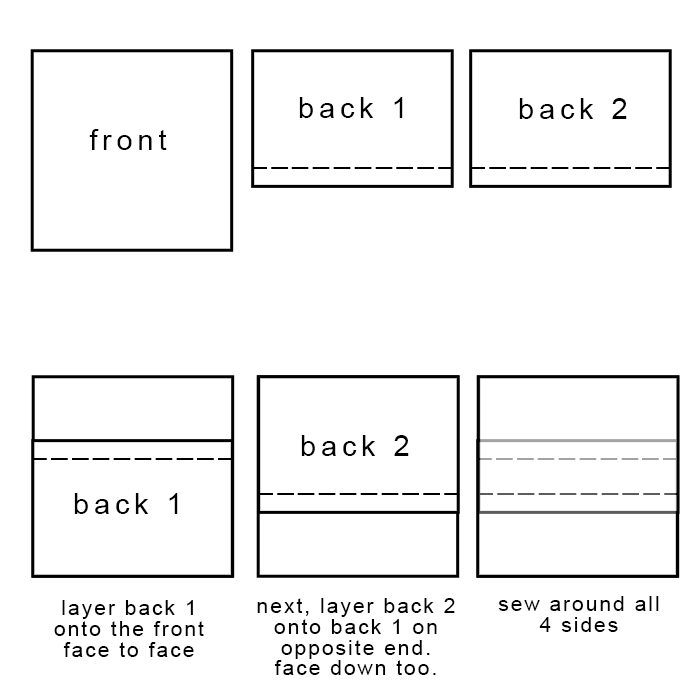
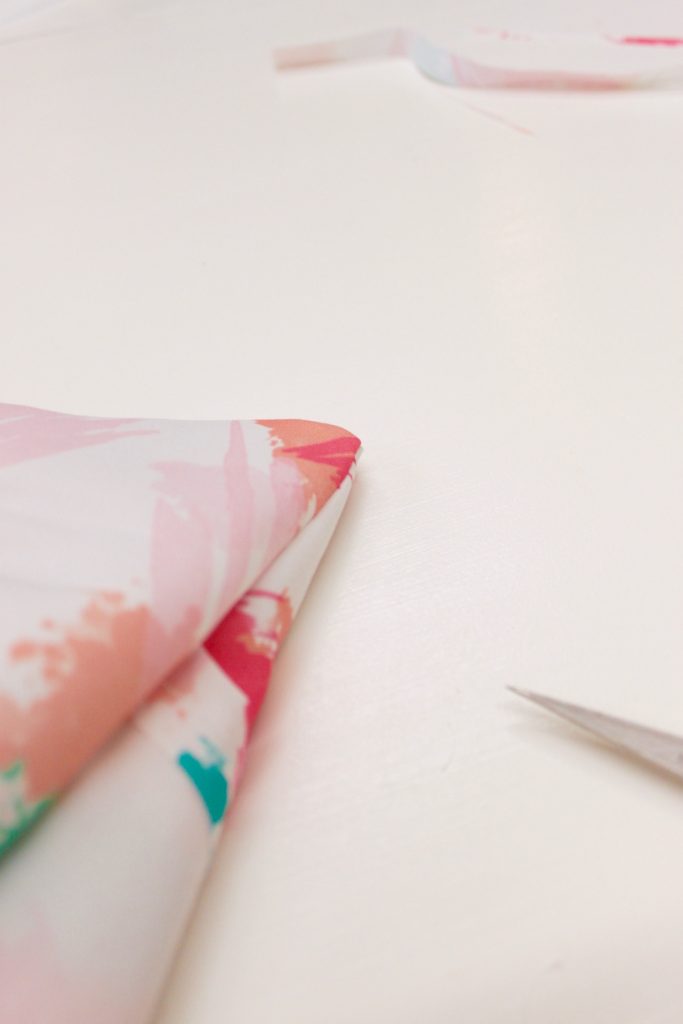
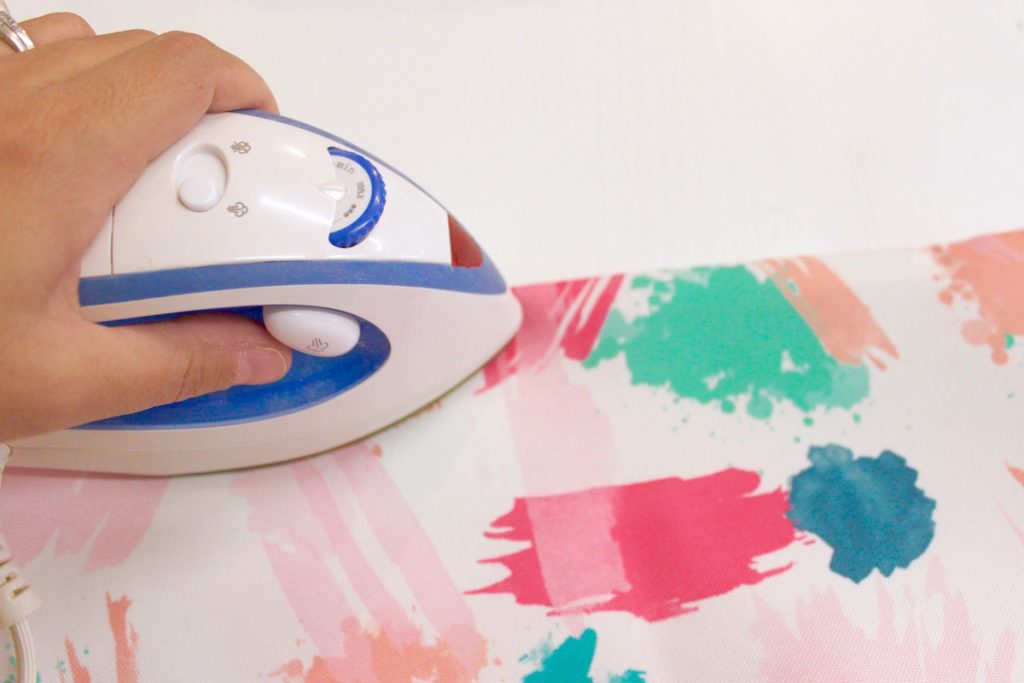
Once all four sides are sewn, turn your cover right side out and run a quick iron on your seams, then stuff with a pillow form and you’re good to go!
Next up? Party Banner!!!!
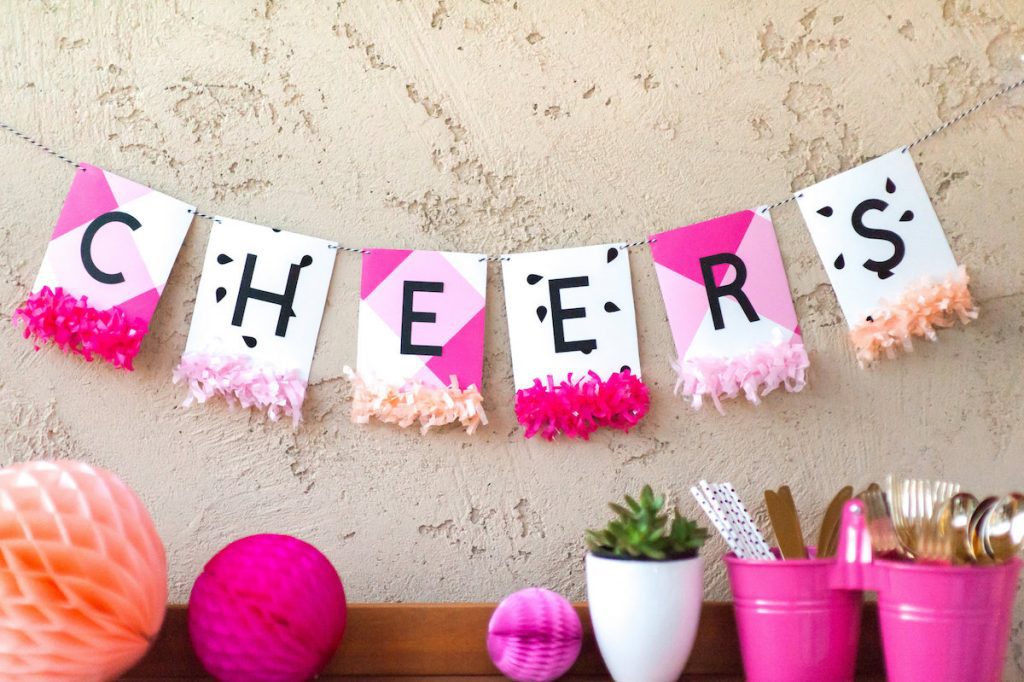
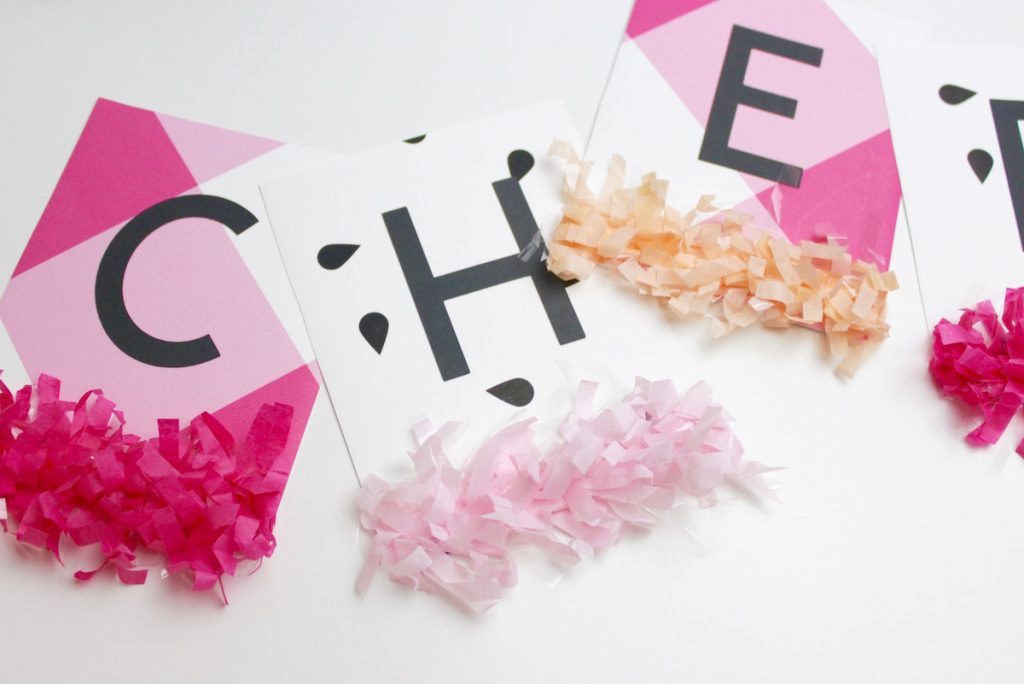
I LOVED making this project and you will too!!! Here is what you’ll need:
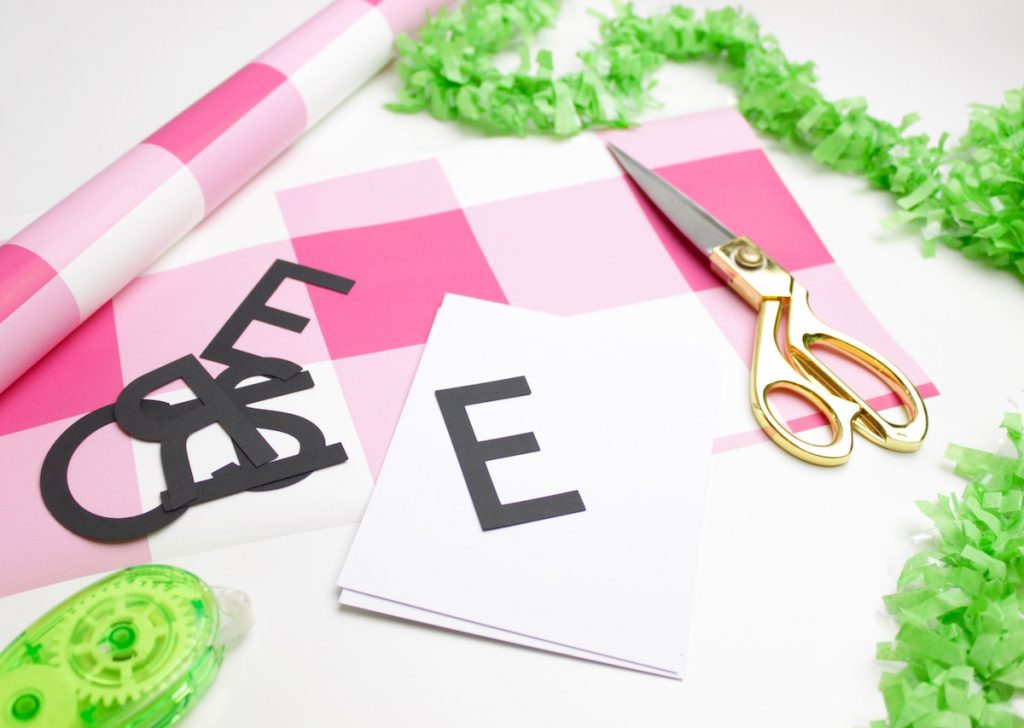
banner letters
tissue fringe
double sided tape
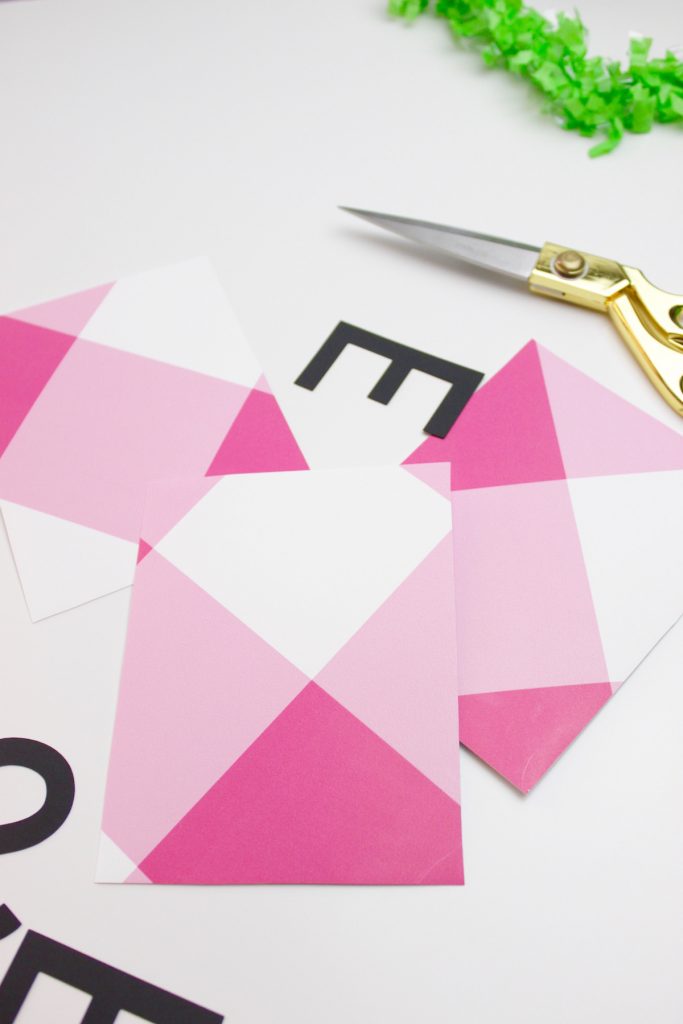
cardstock cut to 4×6 pieces
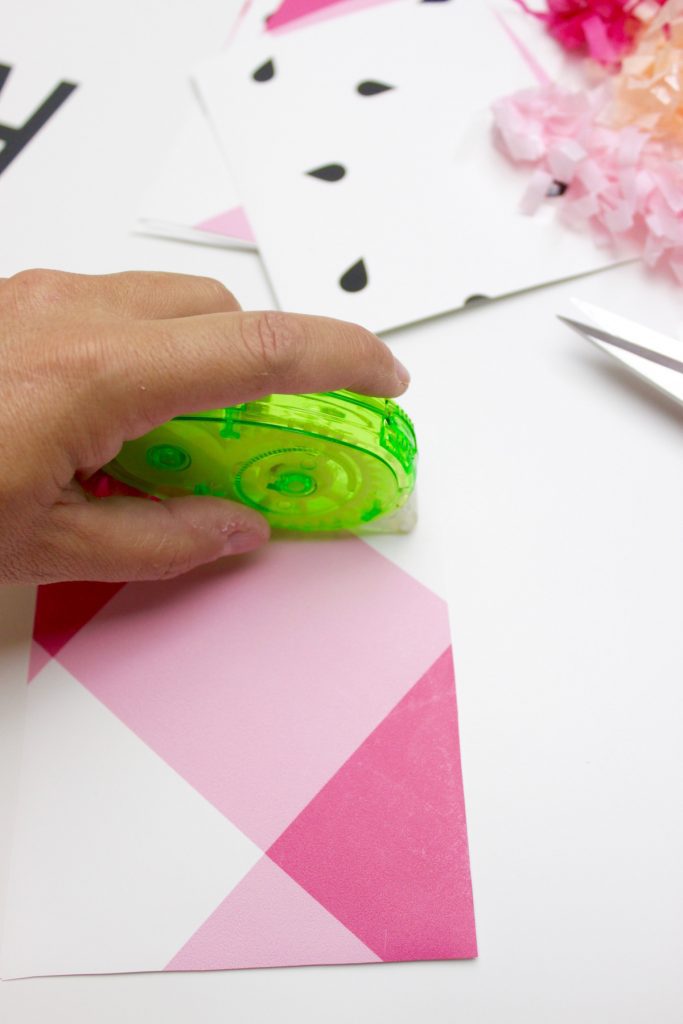
Using double sided tape line the cardstock cards with gift wrap
Attach the fringe to front of each card and trim any excess off.
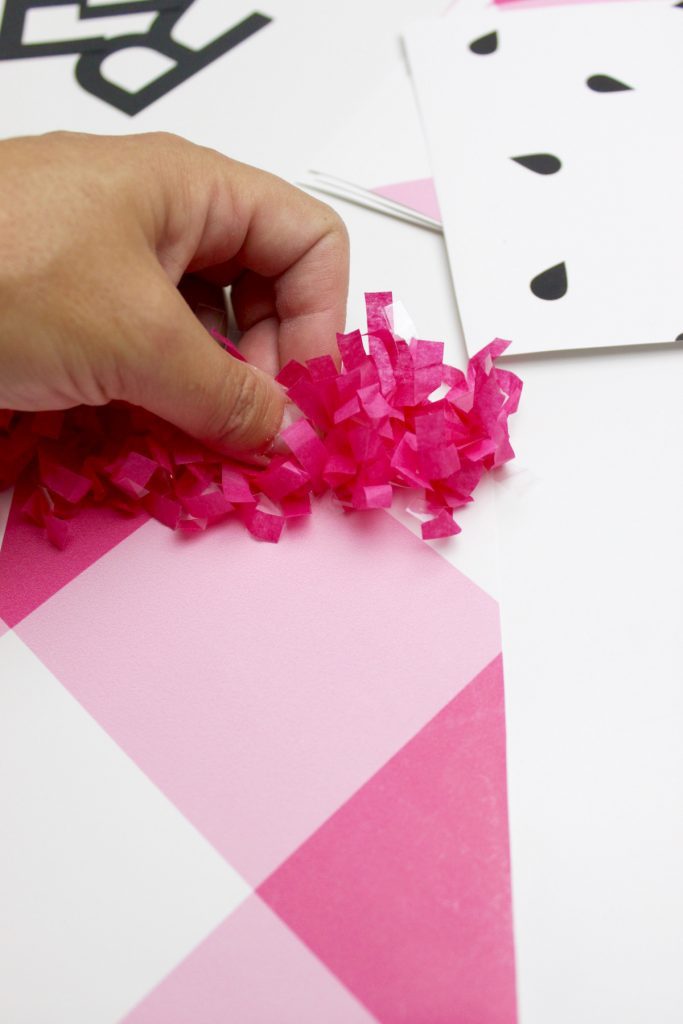

Attach letters to the front of the card to spell out whatever you’d like your banner to say!
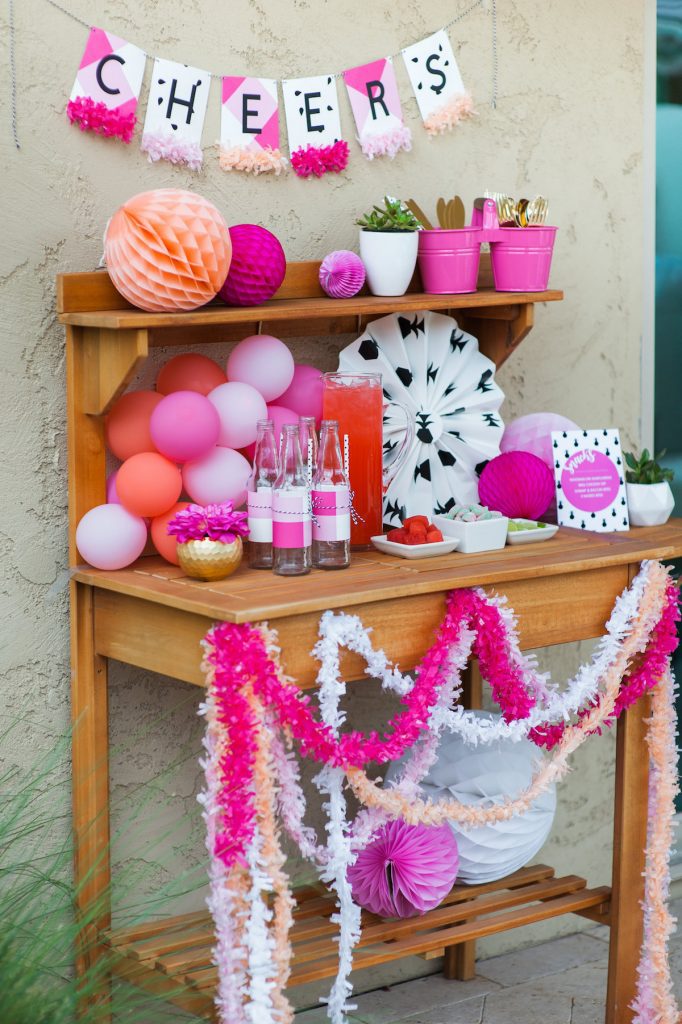
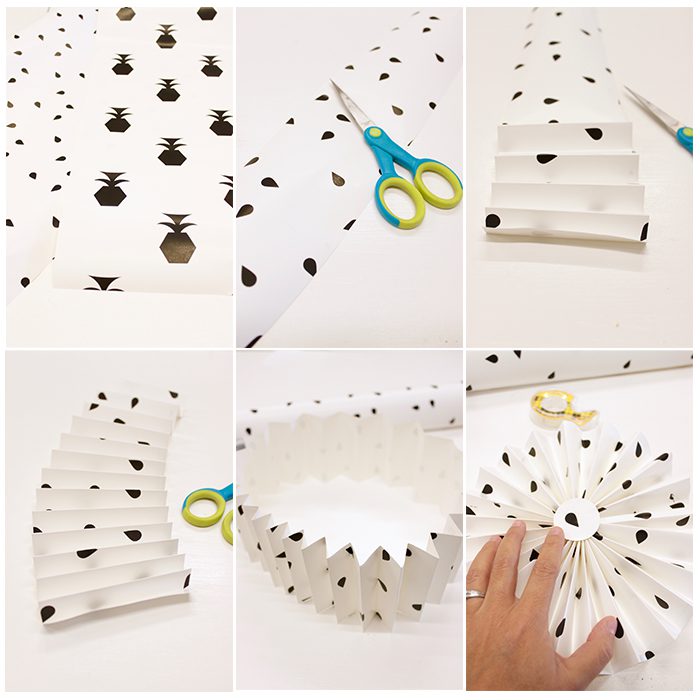
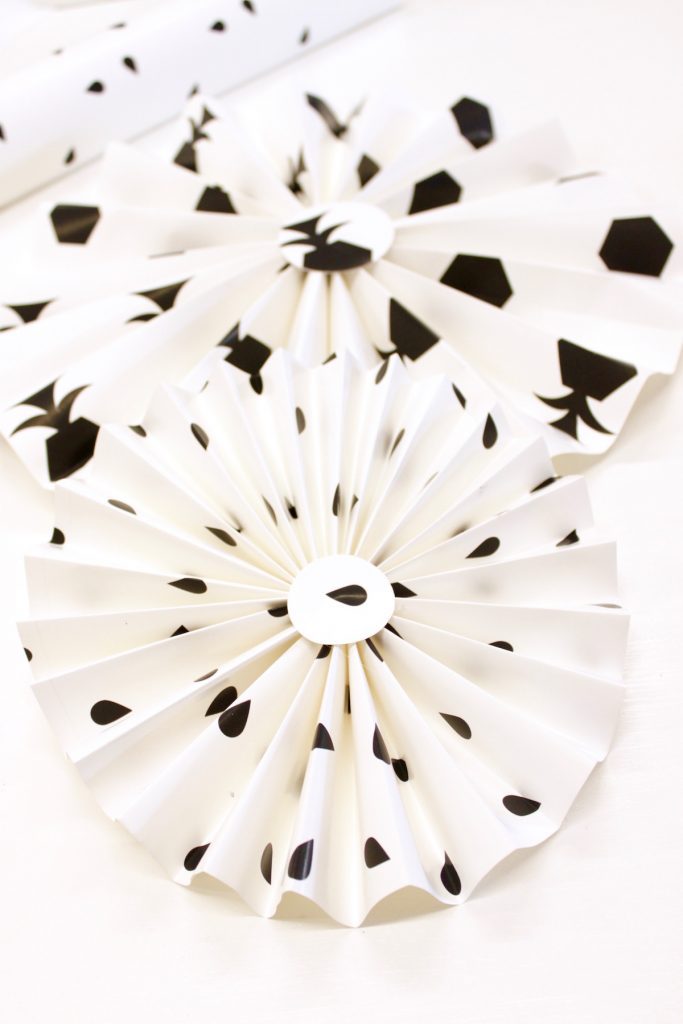
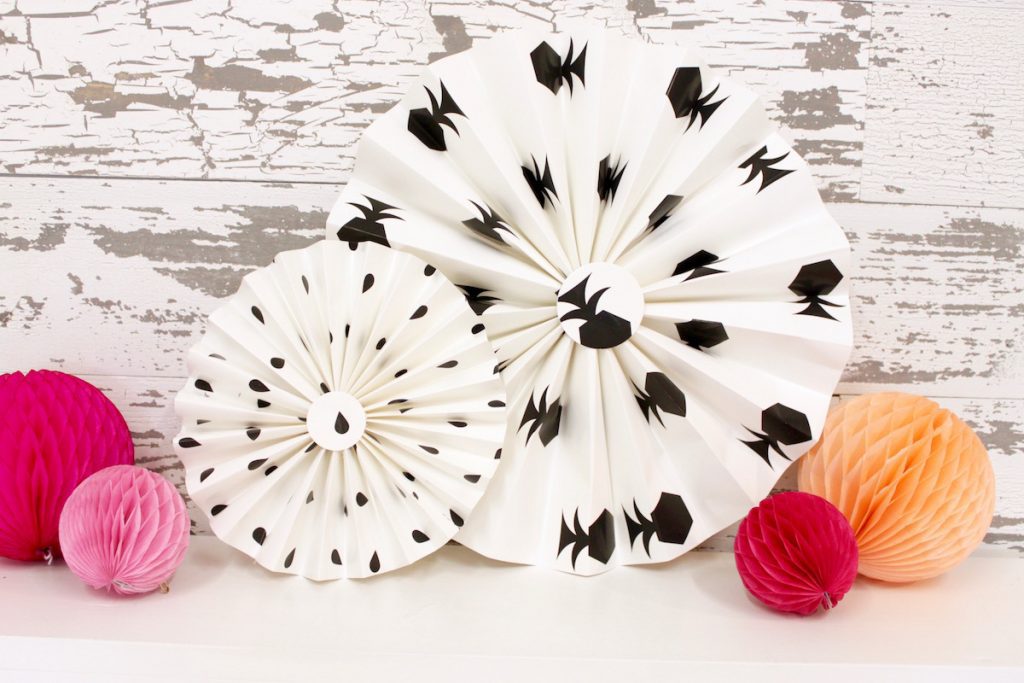
Lastly…party paper pinwheels!! These are so fun and easy to make and the best part is that you have endless options for designs! I used the gift wrap that I designed and they turned out so CUTE!!
Cut paper into strips, the width the the paper is the length of half of the finished pinwheel size. Once you have your strips cut, start to accordion fold the paper…I did approximately 1/2″ folds. Add sections until you can make a circle and it folds in easily. Once the fan was folded inward, I secured it with a 2″ circle on the front and the back.
So were you able to follow along? AWESOME!! Not sure you have the skills to tackle the sewing part of this project? Head to Roostery to order ready made goods or head over to Spoonflower to grab some gift wrap and get to crafting!! Thanks for stopping by!!
