Hard to believe that I made this project two years ago and never shared it with you guys! We are coming up on the holiday season which means planning and designing decor for the holidays season has arrived. I am sharing with you a super fun DIY project that is PERFECT for a small space or a way to add some holiday charm into a room you may not be able to fit a tree in!
Whether you have a small space or was to make a holiday impact, this project is so much fun.
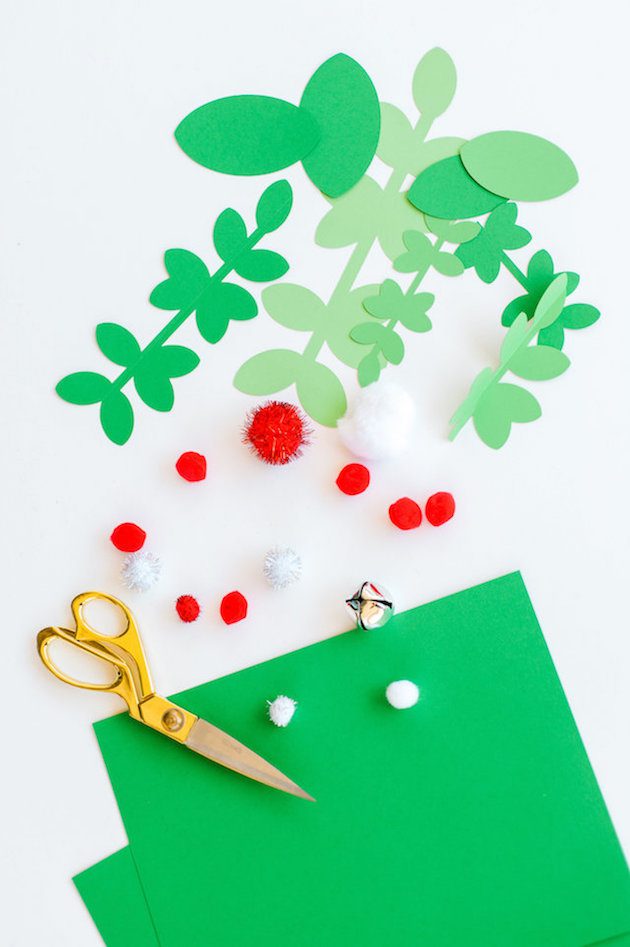
Here is what you will need from your local Joann Stores:
Green Cardstock (various shades)
1 Sheet Foam Board 20″x30″
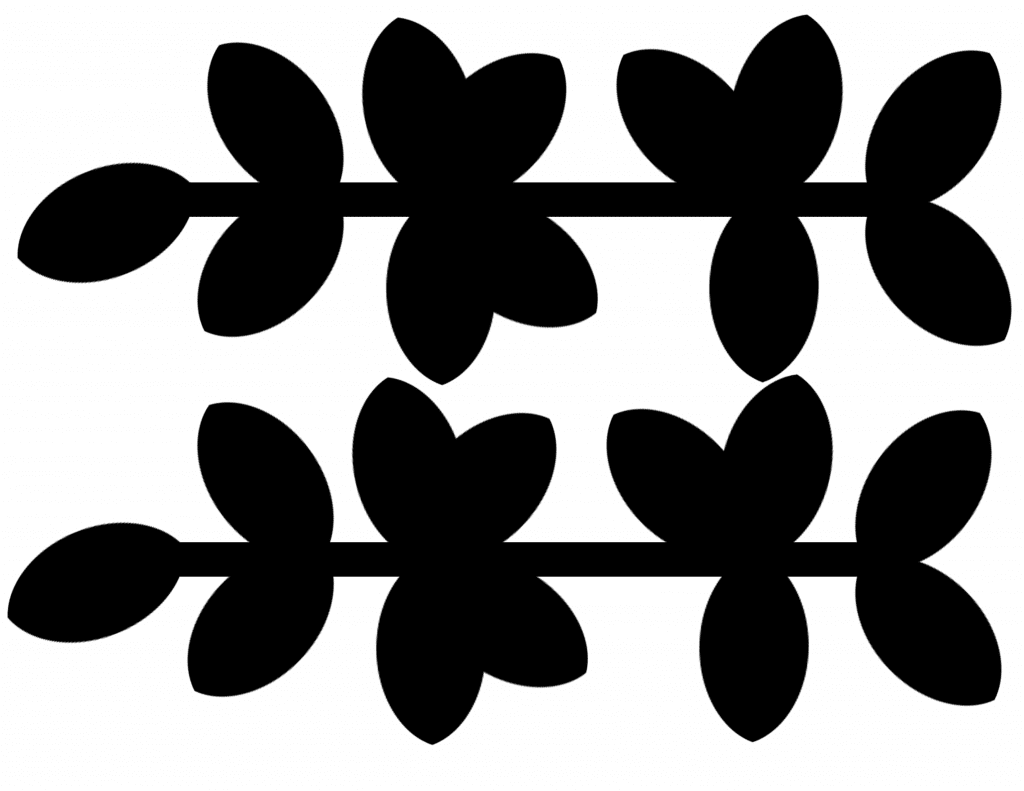
Start by printing out this template in various sizes by adjusting your print size or upload this image to use with a Cricut Cutting Machine.
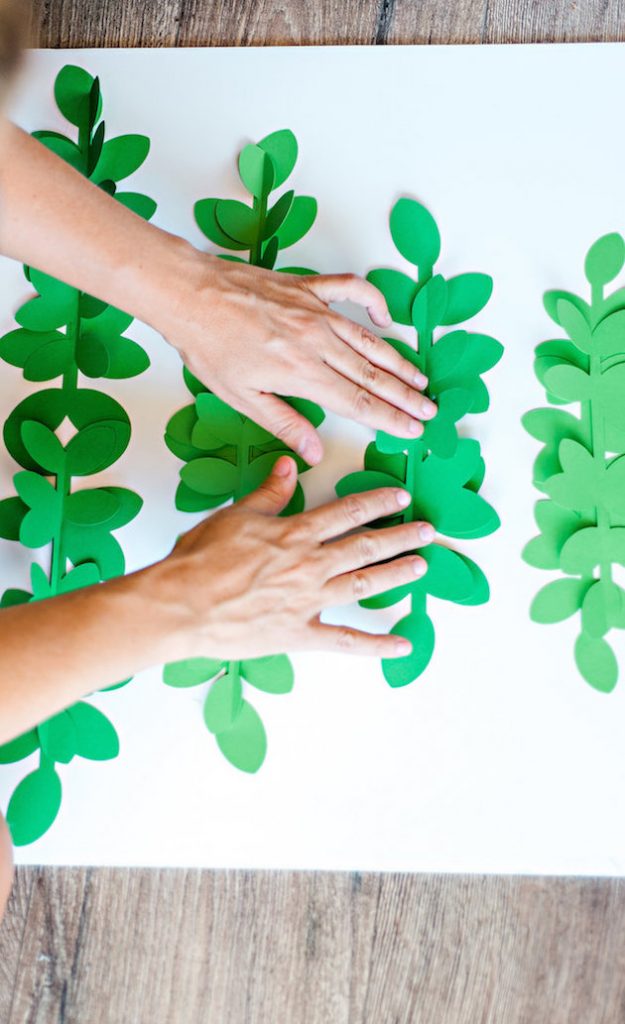
I had 7 tiers to my tree with each tier getting just a tad smaller. I first dry fit all of the twigs to make sure I had the correct placement
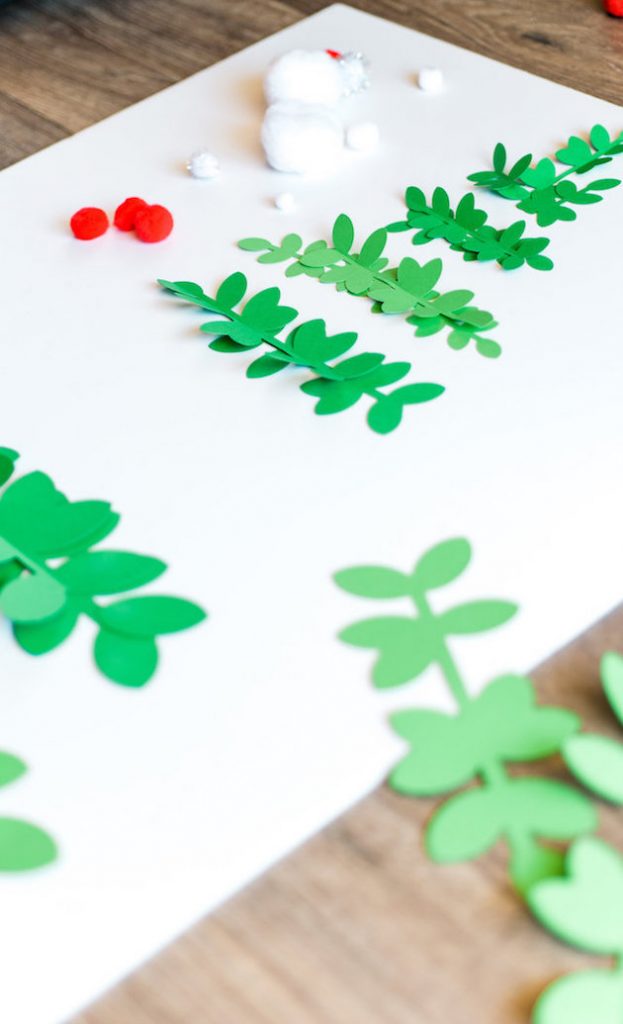
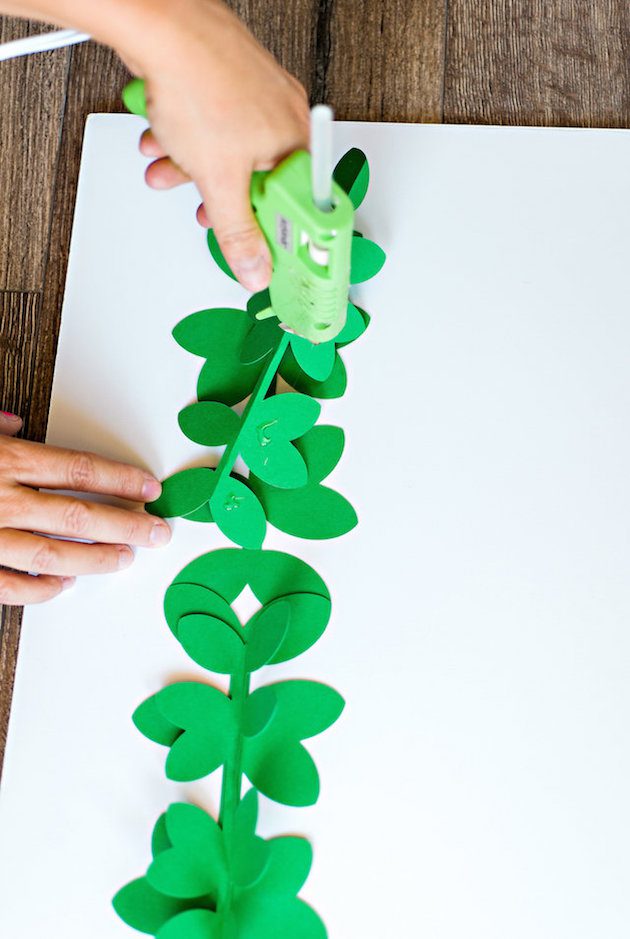
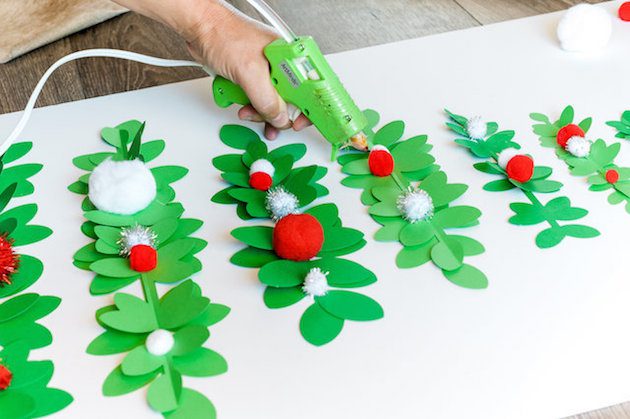
For each tier I used approximately 4 pieces…2 of the twig cut outs laid flat and the other two were scored and folded to give dimension. I used a piece of foam board for this project so it’s easy to put up and take down. Attached the paper twigs to the form board using some sort of adhesive, hot glue worked great.

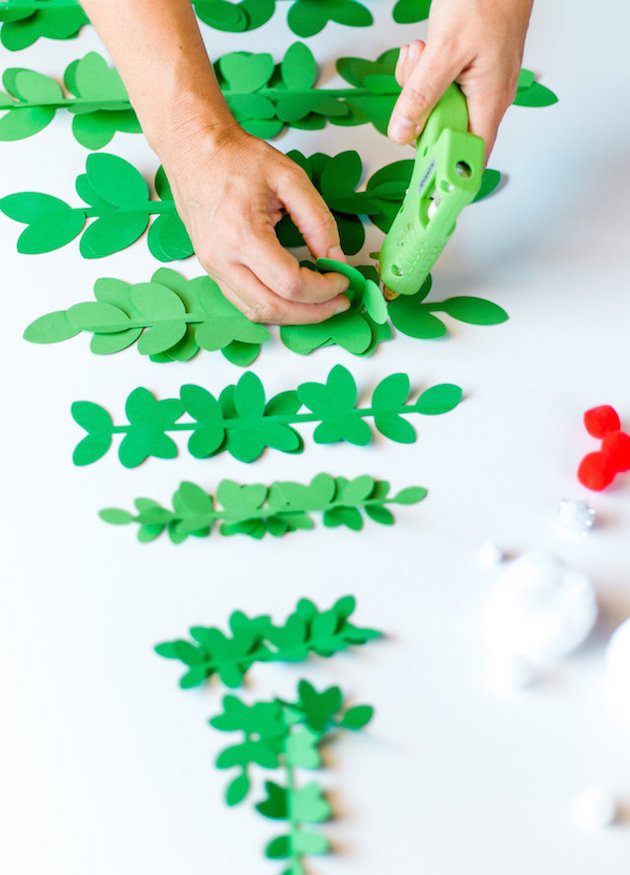
Working my way bottom up I placed and secured each tier.
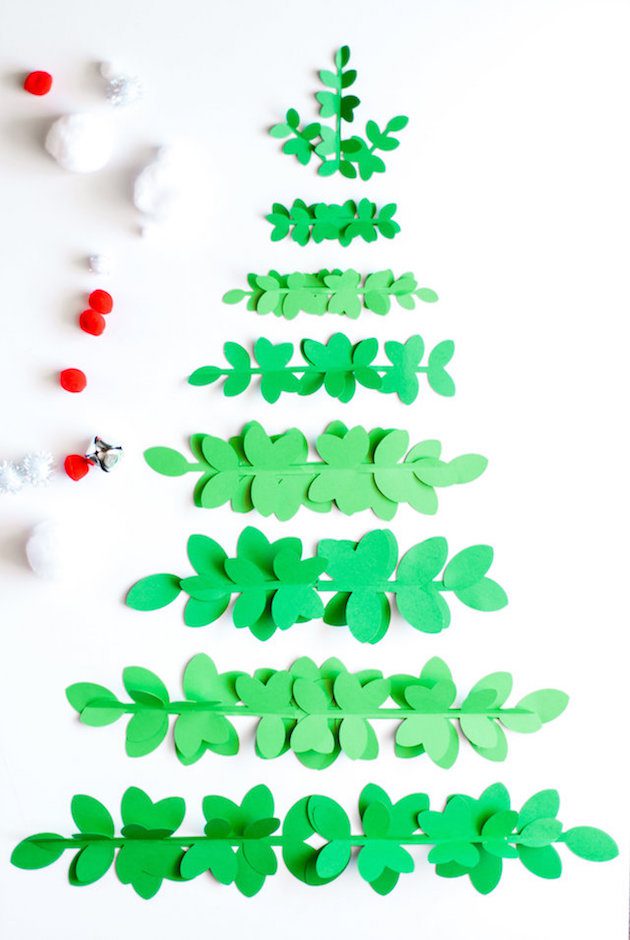
Once all of the tiers were glued into place, I started to decorate the tree with a variety of Poms.

And…what tree is complete without some gifts to hide under it? I wrapped a few mock presents to decorate under the tree to really complete the project. Simply use various ribbons and trim along with left over paper twigs to embellish your gifts!


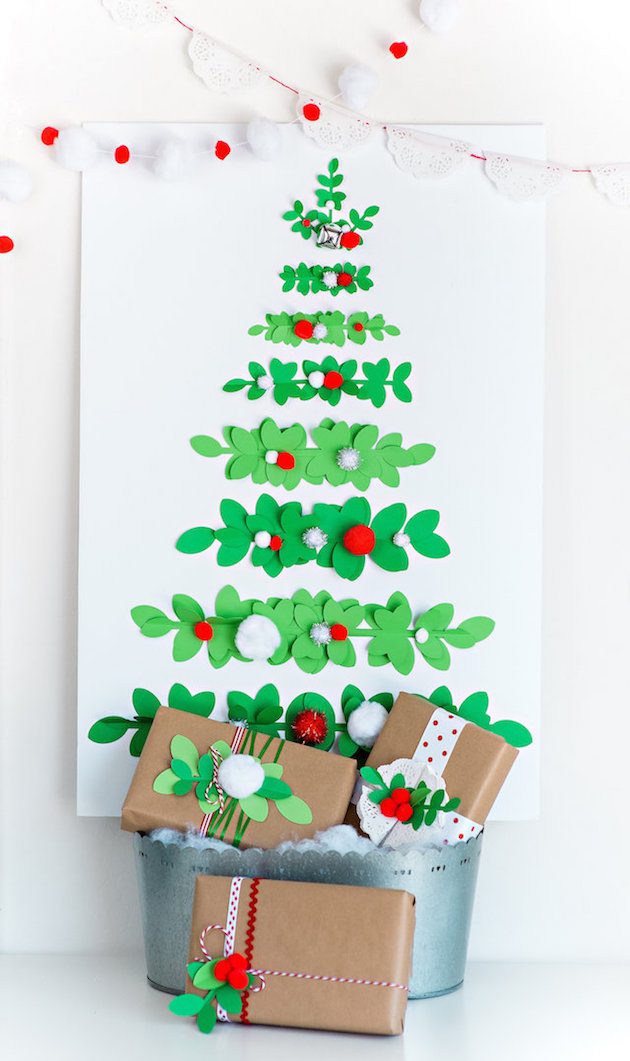
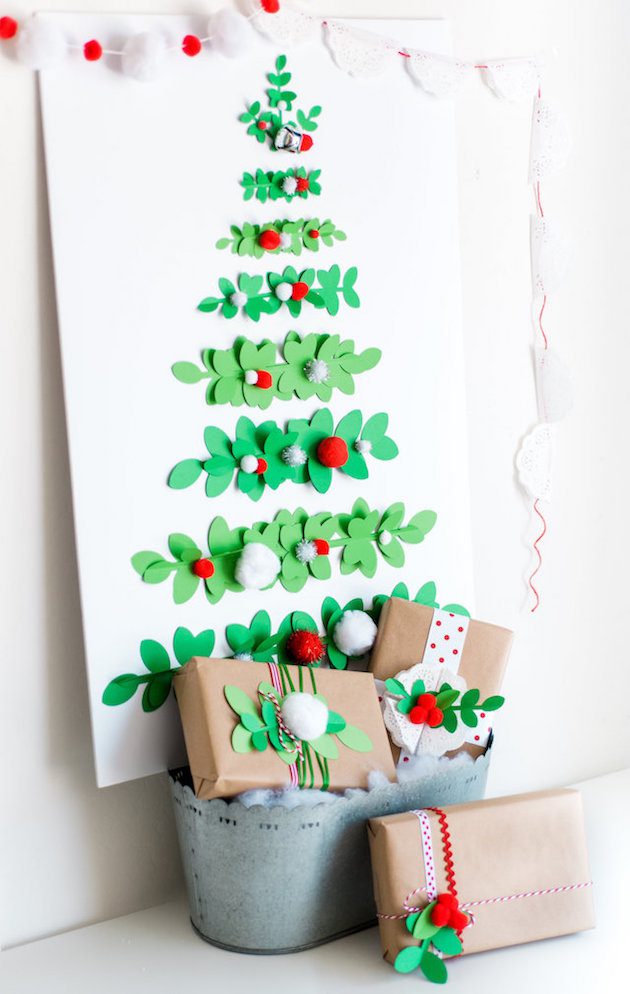 Ready to see how it all came together? Ta-dah! Love, love, love the way this adds the perfect amount of holiday cheer and decor to a small space.