
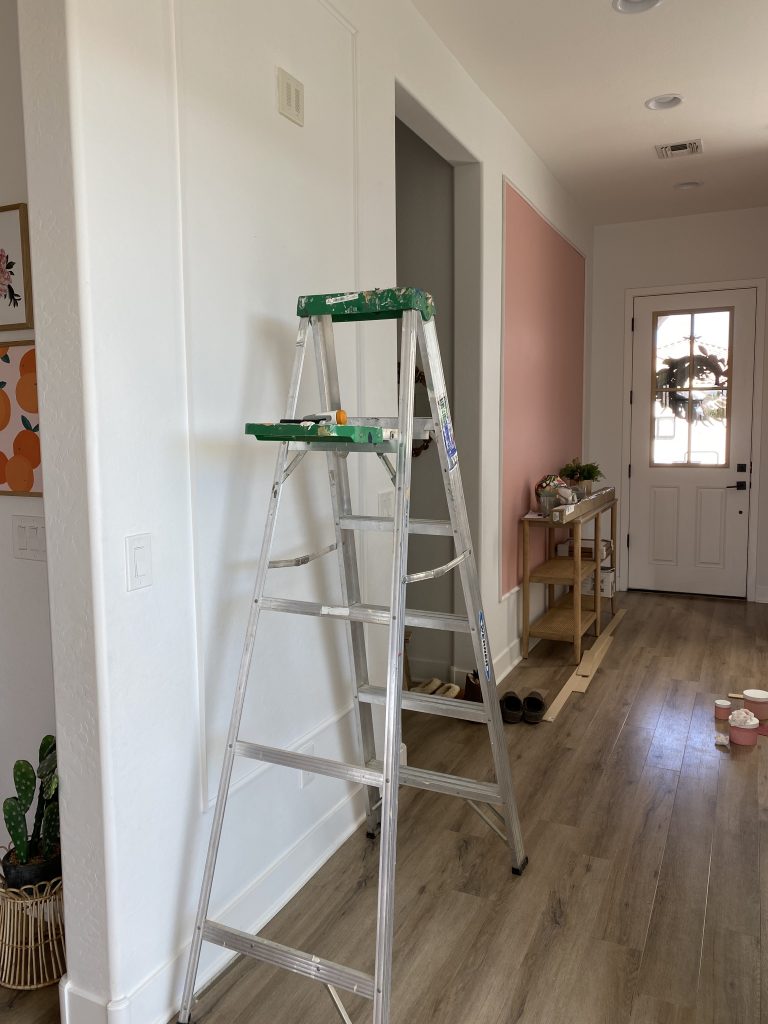
Hi friends! It’s Week 3 of the One Room Challenge and we are on our way!!! I have started to assemble furniture and hang wallpaper. Have you every hung wallpaper before? Well, I understand that it can be a little intimidating if you’ve never done it before but I want to reassure you that it not as difficult as it may seem. I want to share a few tips to make your next, or first wallpaper installation a SUCCESS!
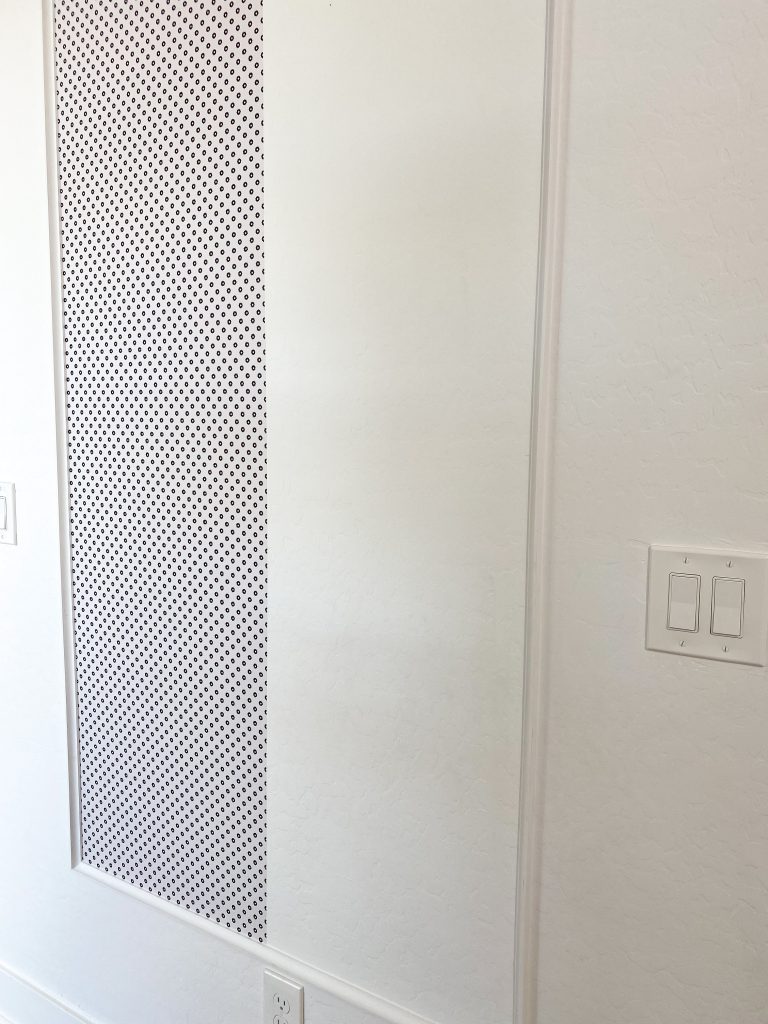
This is the wallpaper I chose from Tempaper…Ditsy Floral in Black. This is peel and stick wallpaper and comes in 20.5″W x 16.5′ single rolls.

Here are a few of the supplies that I use to install peel & stick paper. Being prepared with all of the necessary tools is the best way to successfully install your paper.
Smoother
Utility Knife – I love the snap off utility knives, it ensures I always have a sharp edge
Level
Pencil
Tape Measure
Straight Edge

Tempaper has all sorts of detailed videos and instructions right HERE but I will also share a few of my go-to tips for installation.
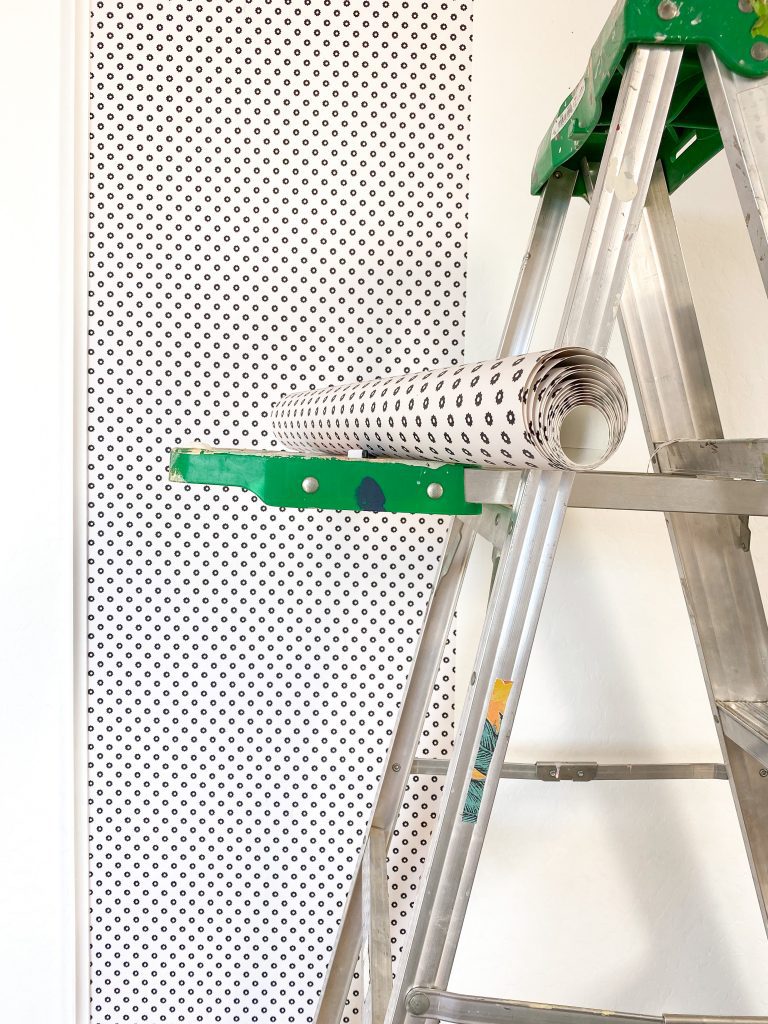
Measure twice…cut once, I promise this is so important. I start by pre-cutting my first panel to go up and always allow for a 2-3 inches of extra wallpaper towards the bottom for trimming.

Before hanging the first panel, make sure to align the pattern of the second panel with the first before cutting the length of the second panel. Every wallpaper pattern aligns differently. The way the pattern lines up from panel to panel refers to the repeat. The repeat refers to the distance between where the pattern starts over. The “repeat” must also be factored in when determining how much wallpaper you will need.
I like to number the backside of my panels in the order in which I will hang them. I also make a small pencil mark on the fronts of my panels where the pattern aligns.
I then mark a vertical line with my level to help keep the paper straight as I work down. I peel back a little of the backing at a time to make sure I don’t work too far ahead. I use my smoother as I work down and peel the backing back with each section as I smooth out any air bubbles.
**Be patient with yourself and make sure your trimming blade it sharp to avoid tearing.
I am installing the wallpaper into some of these existing picture frame moldings…and the areas that don’t have the molding, I am adding that in. I am hoping to finish up the wallpaper over the next day or so.
For in between weekly progress updates follow along on Instagram and don’t forget to check out my ORC friends and what they’re up to this week!

Media BH&G | TM ORC
